Howdy folks. This will be my last post on this blog. I am going to shut down the MrVintageMan in a few weeks. Not to fret; there is nothing wrong with me. I’ve just decided that it’s time to move on to other projects.
When I started this blog nine years ago, I set out with 2 goals in mind. One goal was to improve my writing and publishing skills. The other goal was to see if I could use this blog to launch into some kind of freelance career in my golden years. I’ve always wanted to be a writer, so starting a blog seemed like a good way to dip my toes into the writing pool.
So, did I accomplish my goals? The answer is a definitive yes on the first one. I look back on my earlier posts and redden up with embarrassment. Really though, I shouldn’t be too hard on myself. Writing is like any other skill. It take practice and effort to get better.
The answer to the second is a little murkier. I now consider myself a writer, but I have come to realize that I have no desire to use my writing skills as a side hustle. I am in love with the idea of being a writer, but not in love enough to put in the effort to be a successful one.
My vision for this blog was to discuss ways in which to age with grace and dignity. I wanted to talk about the pros and cons of aging. I felt that including such topics as reading, bicycling, gardening, beer, movies, travel, the West (both the Old and the modern), the military, etc., would show that we can still learn and be active in our later years.
But I could never quite make the pieces all fit together. I never could make my interests in the West and in the military fit comfortably into my writing.
Turns out that I am not a connoisseur of beers; I like what I like and am not inclined to experiment. And really, how much can is there to write about bicycling?
For the past couple of years, my blog has been reduced to mainly talking about the Vintage garden and doing book reviews. Here I am, well into my 60’s, and still doing book reports.
And that is why I am closing this blog down. For some time I have felt that writing this blog has felt more like a doing homework assignment, and less than a passion project.
Does this mean I’m giving up blogging forever? Not necessarily. But if I do decide to blog again, I will be focused on a singular subject.
Anyway, I just want to thank everyone for their support and kind wishes. I especially want to shout out a big thank you to MrsVintage for being my cheerleader through these past 9 years. Thank you, Sweetie!
I will now close out with a well-known goodbye from Roy Rogers:
A good book in the fall is like a fire in the hearth; it warms the soul against the coming cold.
Unknown
The best reading season of the year is…
I am of the opinion that autumn is the best season for reading. There is just a certain magic about reading in the fall that the other seasons just seem to lack. Sure, winter is certainly a good time for reading books because, speaking for myself here, there is little else to do. But there’s no particular enchantment in winter reading.
Spring is a season of revitalization. While the first few weeks are in many parts of the country are called “mud season”, there still is a charge in the air. We become energized as the days grow longer and the sun shines brighter. The winter lethargy lifts and we want to get moving again. Which is why spring cleaning is a thing. When the outdoors is calling, who wants to read?
The first few months of summer are usually packed with all sorts of activities. Traveling, camping, going to the beach, BBQ’s, summer projects, etc., etc. There’s a reason “summer” or “beach” books are usually light and easy reads. With all that going on, who has time to read?
Autumn is a season of contradictions. On the one hand, it’s a season of celebration. When summer’s heat finally dissipates, many of us find we can comfortably go outside again, where we can revel in Mother Nature’s fall foliage finery. Football, both college and pro, is back. For some, it is big game hunting season. For others, it is a time to enjoy Oktoberfests, corn mazes, and pumpkin festivals.
On the other and, autumn is also a melancholy season. The days are now shorter than the days, the sunlight is noticeably dimmer. The mornings grow ever chillier, a harbinger of the colder and drearier months that yet lie ahead.
As well, throw in the fact that we are now in the final quarter of the year. The final stretch, as it were. After being in a state of blissful suspended animation during the summer, reality intrudes and reminds us that time is, and has been, relentlessly ticking away. We become aware of our mortality. The fact that there is a holiday at the end of October that basically celebrates death reinforces this awareness.
All of this makes for a perfect season for quiet study and contemplation. It’s a time to relax a little, for unwinding, for learning to let go.
Well, at least it is until Thanksgiving rolls around.
My autumn reading list
The Vietnam War: A Military History by Geoffrey Wawro
My knowledge of the Vietnam war is lacking, which is a shame. My father served in Vietnam (Da-Nang 1965-66), as did many of my supervisors and mentors during the early years of my career in the Air Force/Air National Guard. I guess I’ve given this war short-shrift because it was a divisive war that ended in failure. Who wants to read about that. Ironically, just 30 years after American troops pulled out of Vietnam, I myself deployed to a divisive war that ended in failure (Iraq 2003, 2007-08 & 2009).
I’m thinking Geoffrey Wawro’s‘The Vietnam War: a Military History‘ is a good place for me to correct this egregious oversight. This book a recent release, which means it should include a lot of information that has been declassified in in the past couple of decades. For example, The Gulf of Tonkin Incident that helped precipitate America’s involvement in the war was long suspected to be a false flag operation created by the Johnson administration, has been revealed that was indeed the case: https://www.usni.org/magazines/naval-history-magazine/2008/february/truth-about-tonkinhttps://www.usni.org/magazines/naval-history-magazine/2008/february/truth-about-tonkin. This is not a book I am looking forward to reading, but one that I feel on a personal level I need to read.
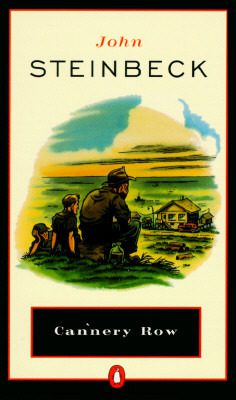
Cannery Row by John Steinbeck
After reading a “heavy” historical or current events tome, I like to switch gears and read something light. A mental palate cleanser, if you will. I read John Steinbeck’sCannery Row way back in high school. I remember enjoying it very much. In fact, it’s about the only Steinbeck novel I ever liked. Steinbeck stated in an essay that he was inspired to write a light-hearted book in response to requests from soldiers and sailors serving during WWII. The troops asked him to write about anything but the war. They were both homesick and sick of the war.
So, Steinbeck wrote about ‘Doc” and the other denizens who lived in Monterey, California during the Great Depression. Sounds grim, but it’s actually a comedy.
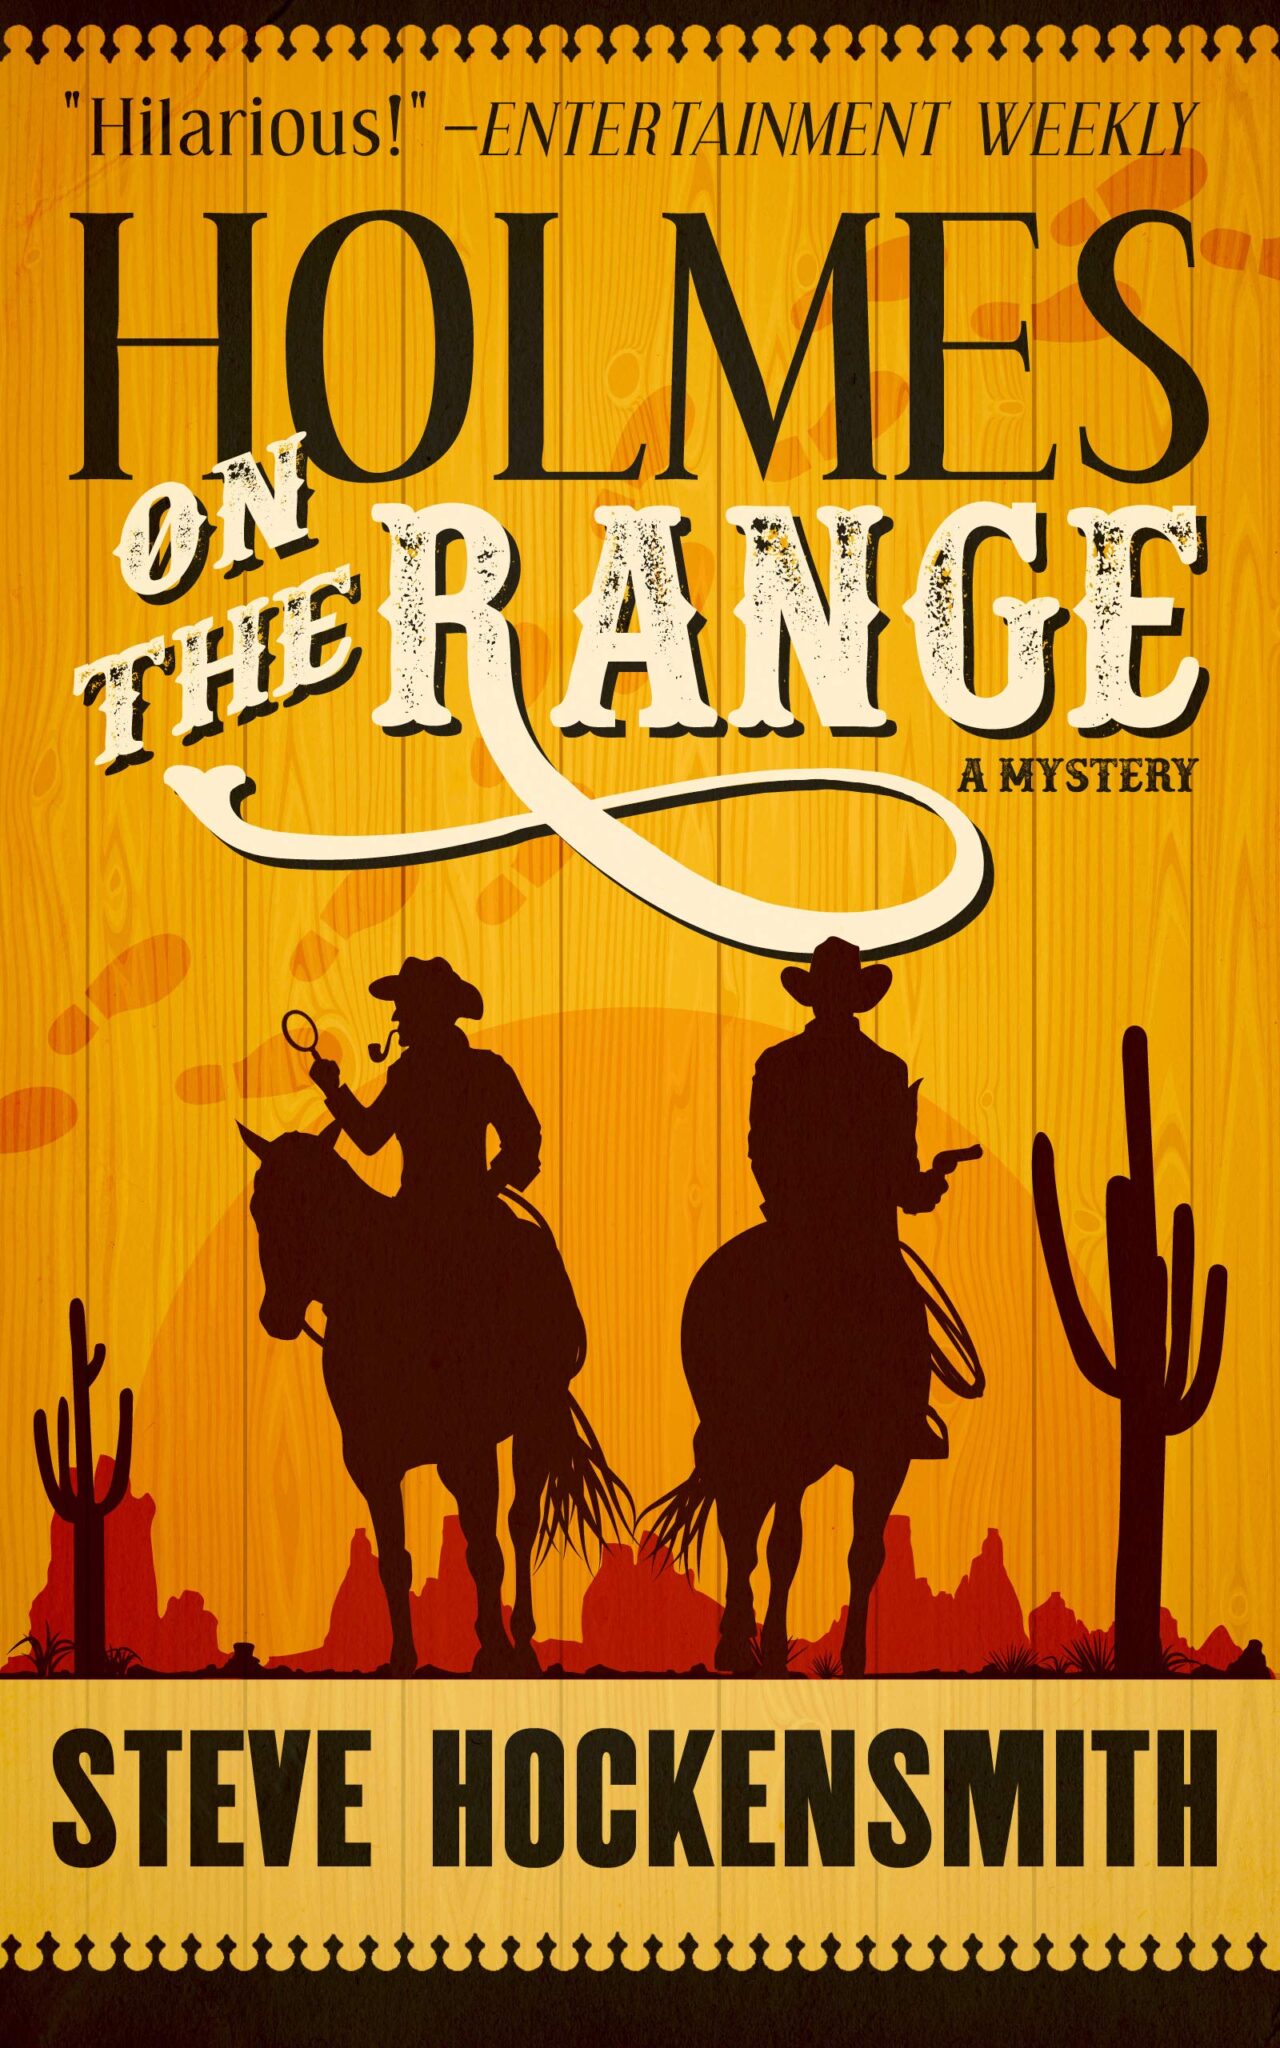
Holmes on the Range by Steve Hockensmith
Holmes on the Range by Steve Hockensmith is the first in a series of mysteries concerning the Red brothers. I know nothing about this series, but how can you go wrong with a murder mystery set in the Old West? Hopefully, you can’t.
The series is set during the tail-end of the 19th century, when the American frontier has officially been closed. Brothers Old Red and Big Red struggle to find work. Taking a job at a remote ranch in Montana, the brothers love to read Sir Arthur Conan Doyle’sSherlock Holmes mysteries during their sparse free time.
When a fellow cowpoke at the ranch turns up dead, the Red brothers decide to apply all they’ve learned from Sherlock Holmes to solve the mystery. Sounds like the making of a good yarn.
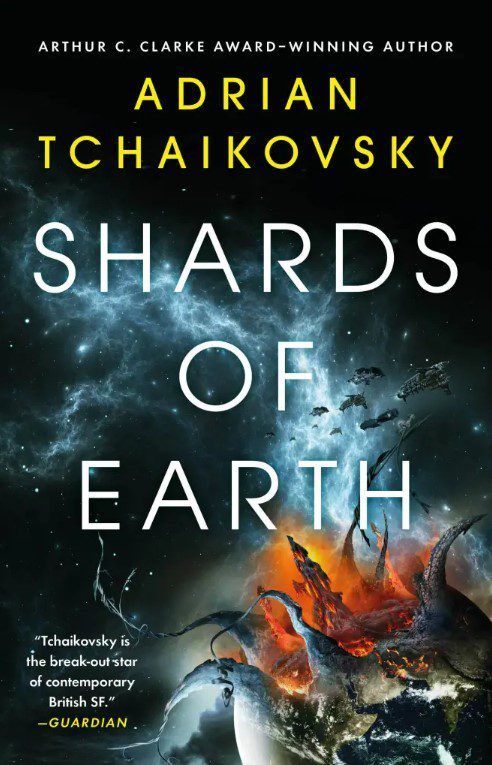
Shards of Earth by Adrian Tchaikovsky
Here’s a another first of a series I know little about. I have to say, fantasy and science fiction has become so boring and derivative over the past couple of decades that I struggle to find anything that interests me in the genre anymore. I took a gamble onthe Expanse books by S.A. Corey (https://www.bookseriesinorder.com/expanse/), and they turned out to be some of the best sci-fi I have ever read.
So, I am taking another gamble with AdrianTchaikovsky‘s The Final Architecture series. In the distant future, humanity faces a mysterious foe they call the Architects. The Architects destroy worlds, for reasons known only to them. In desperation, humans have created modified soldiers to battle the Architects. Then the Architects seemingly retreat and vanish. The modified humans now have to try to integrate into a society they don’t understand and that would prefer not to have them around.
The first book, Shards of Earth, takes place after earth has been destroyed. One of the modified soldiers decides to find out what happened to the Architects, and if there are other threats looming in the depths of space.
As a young lad, come late October I would immerse myself in some scary (but not too scary!) stories in celebration of All-Hallows Eve. That young boy still resides in my soul. So when the Halloween rolls around, and the veil between this world and the next stretches thin, I still enjoy a scary (but not too scary!) story to wile away the hours.
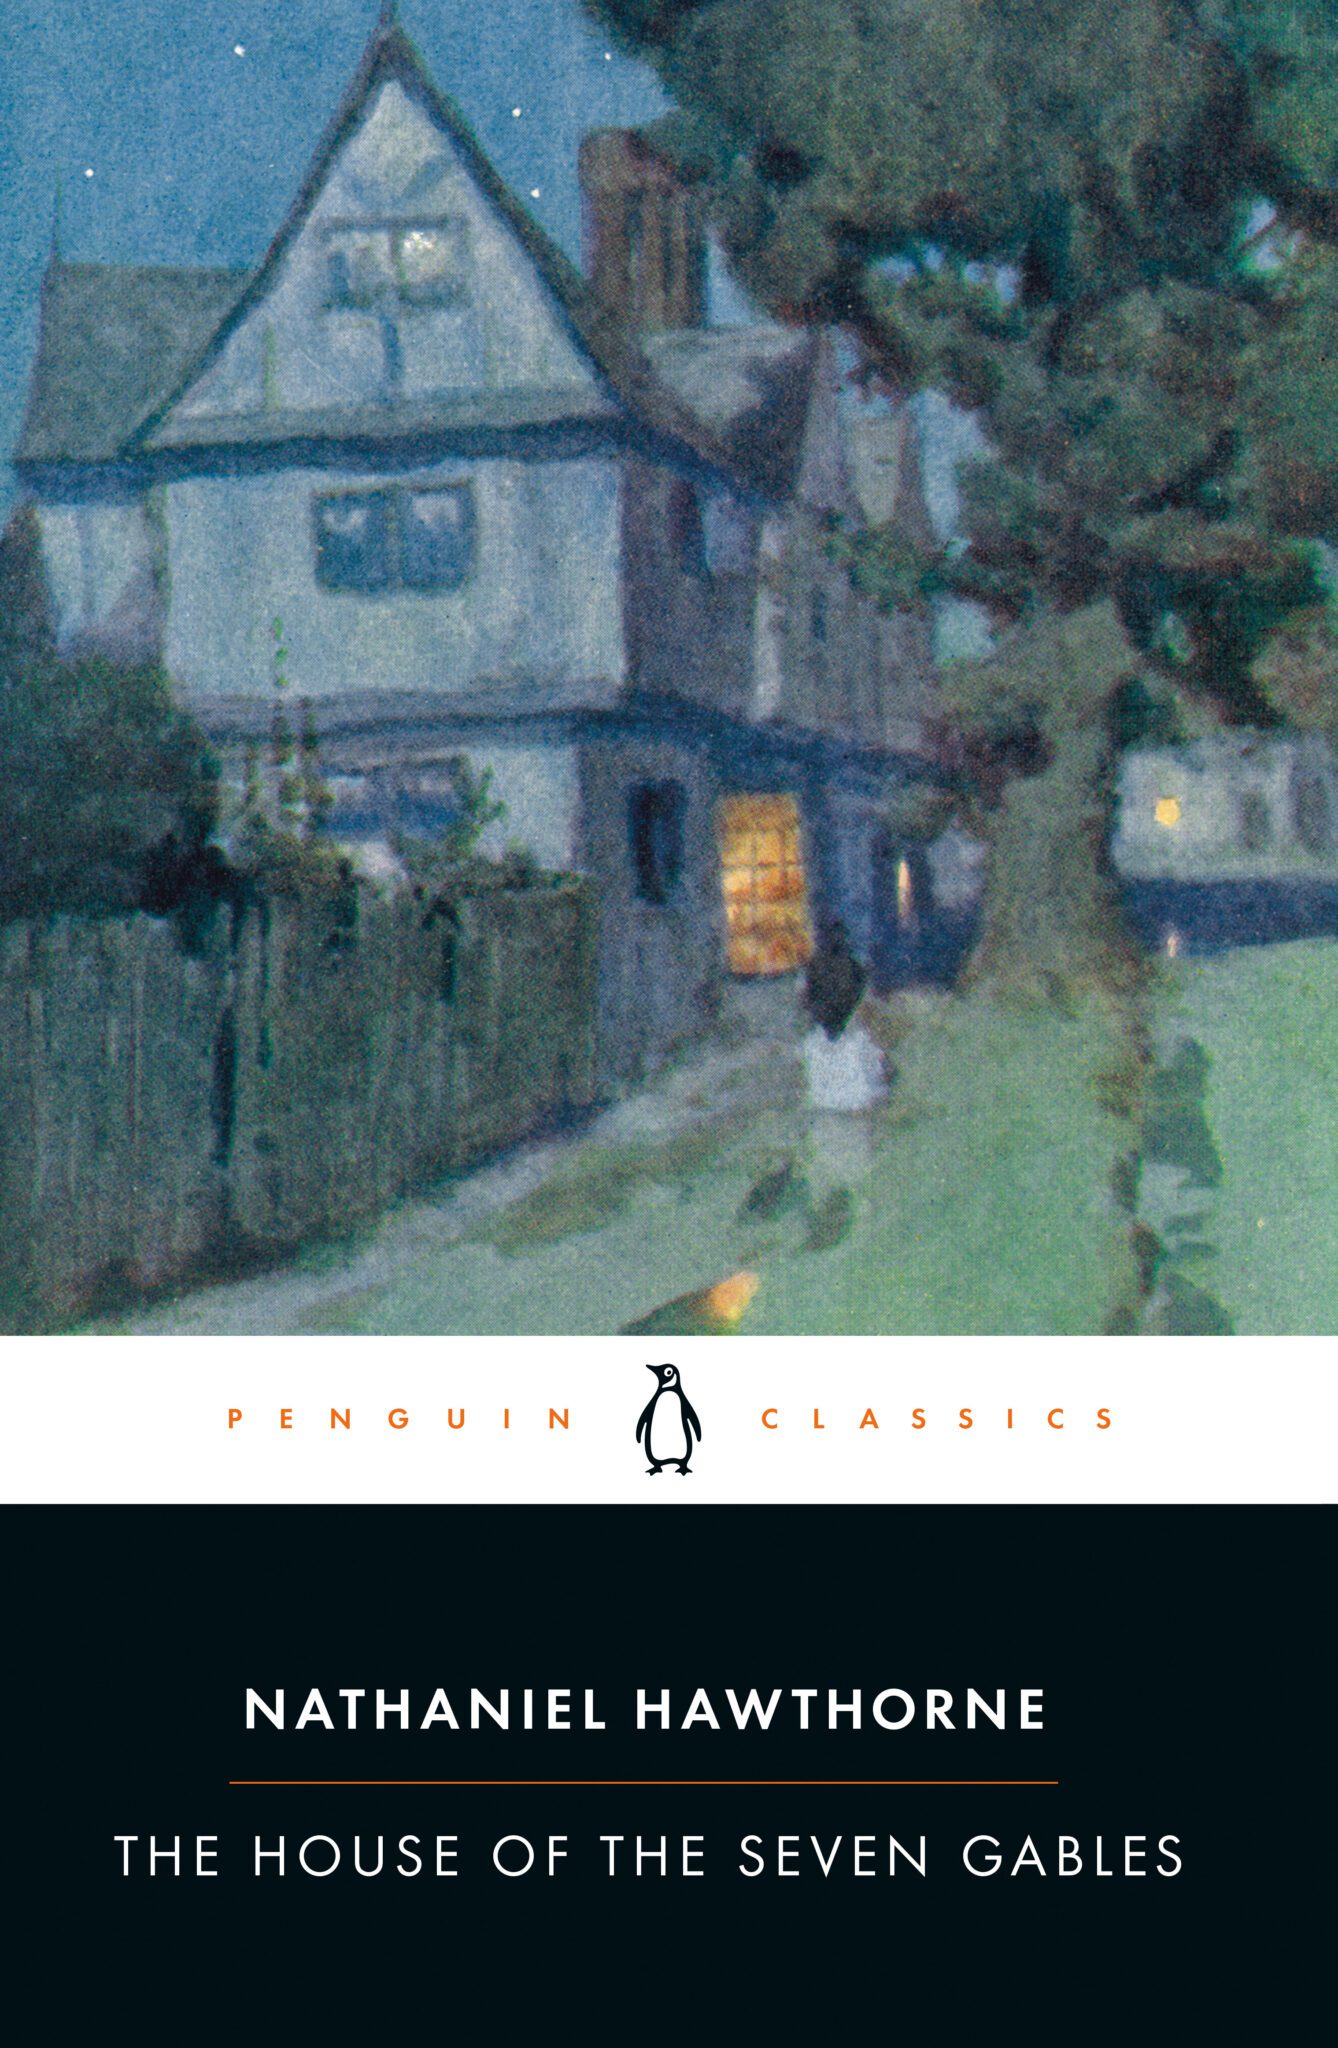
The House of the Seven Gables by Nathaniel Hawthorne
This is another book that I read back in my school daze, but it made no impression on me whatsoever. Now that I am older and theoretically wiser, perhaps I will get more out of Nathaniel Hawthorne’s story of a house with seven peaked roofs (gables). The story concerns a forbidding home haunted by tragedy and, possibly, the paranormal.
Here’s hoping it provides me with a mild scare.
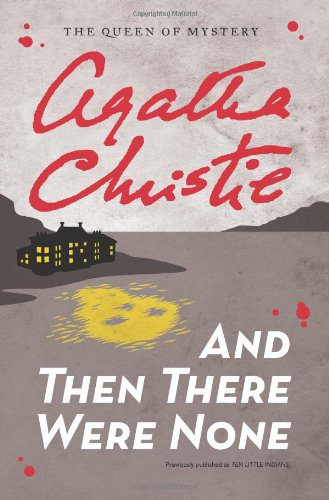
And Then There Were None by Agatha Christie
This is the third year in a row that I have chosen to read an Agatha Christie novel during the eerie days leading up to All-hallows Eve. And to be honest, I have come to realize I am not a Christie fan. She gets fixated on minutiae that bogs her stories down. Monty Python did a skit set in a Christie murder mystery, which unfortunately I cannot find, where the characters were hyper-fixated on train schedules, instead of the actual murder itself. Pretty funny.
Anyhoo, I’m going to Dame Christie one more try. And Then There Were None concerns a rather morbid children’s nursery rhyme, an eccentric millionaire, and a mansion on a remote island. 10 strangers been invited to a millionaires home on an island of the coast of Devon. In each of their rooms is a framed copy of the nursery rhyme. Soon, the guests are knocked off one by one, in a manner described in the rhyme. Sounds interesting, so I am cautiously optimistic.
Enjoy the season
So, when the darkness draws in around you, and a chill settles across the land, and the wind makes the house shudder and creak, give yourself permission to change into comfy clothes, turn on the gas fireplace (if you have one), and lose yourself in the pages of a book. You’ve earned it.
There’s a fine line between gardening and insanity.
Cliff Clavin
Gardening as a mental disorder
I have come to the inescapable conclusion that to be a good gardener one must first either be a bit loco or a masochist. After all, is there any other hobby or past-time that exposes the practitioner to so many events that are so completely out of his or her control? Ha!, I say. And no, there isn’t. Golf game got rained out? Reschedule. Made a mistake while knitting? Oh well, undo the mistake and redo it. Gardening? Where do we begin.
Let’s start with the weather. Everybody talks about it, but nobody does anything about it. Obviously, it get hot during the summer. But there’s different kinds of hot. Out here in the western half of the U.S., our summers are a dry heat. I’ll take dry over humid any day, but often times plants would like a little moisture in the air. Throw in desiccating winds and intense sunlight, and plants that are not adapted to such conditions will suffer and become stunted, maybe even give up the ghost. We westerners regularly deal with droughts, sometimes droughts that can last for years.
But our gardening brethren in the eastern part of the country endure different problems. True, they usually have more rain than the west, because they higher humidity levels. So they endure sauna hot. Tarzan couldn’t take that sort of hot. You might think that humidity would be a plus, but you would be WRONG. Plants in such conditions can become afflicted with all sorts of fungal problems, including black-spot, rust,botrytis and powdery mildew among others, which all can disfigure or even kill plants.
Lot’s of other weather issues that gardeners have to put up with. For example, there are the unseasonably late freezes/snowstorms in late spring that can zap the new growth on trees and perennials, while outright killing tender annuals and plants, such as tomatoes and peppers, that were planted too early. Conversely, there are the unseasonably early freezes/snowstorms in early autumn that destroys the harvest and damages plants that haven’t full prepared for the cold months yet to come.
Then there’s the storms. Gale force winds and pounding rain wreck all sorts of havoc in the landscape. Those who live along the eastern and southern coasts are at the mercy of hurricanes. Not only do these powerful storms pose a threat to humans and buildings, but they can completely destroy an established landscape, uprooting trees and tearing smaller plants apart in the blink of an eye.
Oh, let’s not forget the hail. Let me tell you, hailstorms here along the Colorado Front Range have a real “dogs and cats living together” apocalyptic feel to them. I have had hail come down so hard that you would think we had been hit by a snowstorm, to the point I have had to shovel the driveway and sidewalk just like it was February instead of late June. Hail like this can strip leaves and small branches from trees, and leave the garden totally denuded, sometimes killing plants outright.
Worse are the freaky sized hail. The largest hailstone that I have ever personally seen was about the size of a plum. But a few years ago, a town about 30 miles east of the Vintage domicile was hit with softball sized hail. Destroyed roofs and cars, punched holes in siding, and bashed trees and shrubs so hard that they were damaged beyond recovery.
Pests and diseases
The act of creating a garden is far all intents and purposes the act of creating an all you can eat salad bar, and inviting all manner of creatures to partake of it. Let’s start with our four-legged, furry mammalian cousins. Deer, rabbits, squirrels, chipmunks, voles, and raccoons will be most pleased to sample delicious offerings the gardener has provided, and thereby lay waste to the landscape.
Then there is are invertebrate scoundrels’ who will be happy to finish off what remains. These buggers (pun intended) will happily chew, gnaw, bore (ash and honeylocust borers), mine (iris leaf-miners), suck, decapitate (cutworms), and otherwise kill or deform plants, and crush the gardener’s spirit. The list is nearly endless: grasshoppers, Colorado potato beetles, grubs, caterpillars, aphids, scale, and so on ad-nauseum.
What has survived up to this point is still subject to various bacteria, viruses and fungi that can spread through plants like, well, an epidemic. I’m not even going to try and list any of the varieties of those.
Finally, let us not forget the blunders committed by the gardener him/herself. Accidentally stomping on plants while tending to the garden. Spraying what you thought was a pesticide, only to realize too late that it’s an herbicide. Underwatering plants and killing them. Overwatering plants and drowning them. Putting the right plant in the wrong place, leading to plant failure. Accidently mistaking a favored plant for a weed and yanking it out of the ground. (Old gardening joke: how can you tell difference between a weed and a prized plant? Pull it out of the ground. If it comes back, it was a weed).
You get the idea. Look, farmers also deal with all these issues and more. But they at least are attempting to make a living. Gardeners suffer all this engaging in an activity that is supposed to be enjoyable.
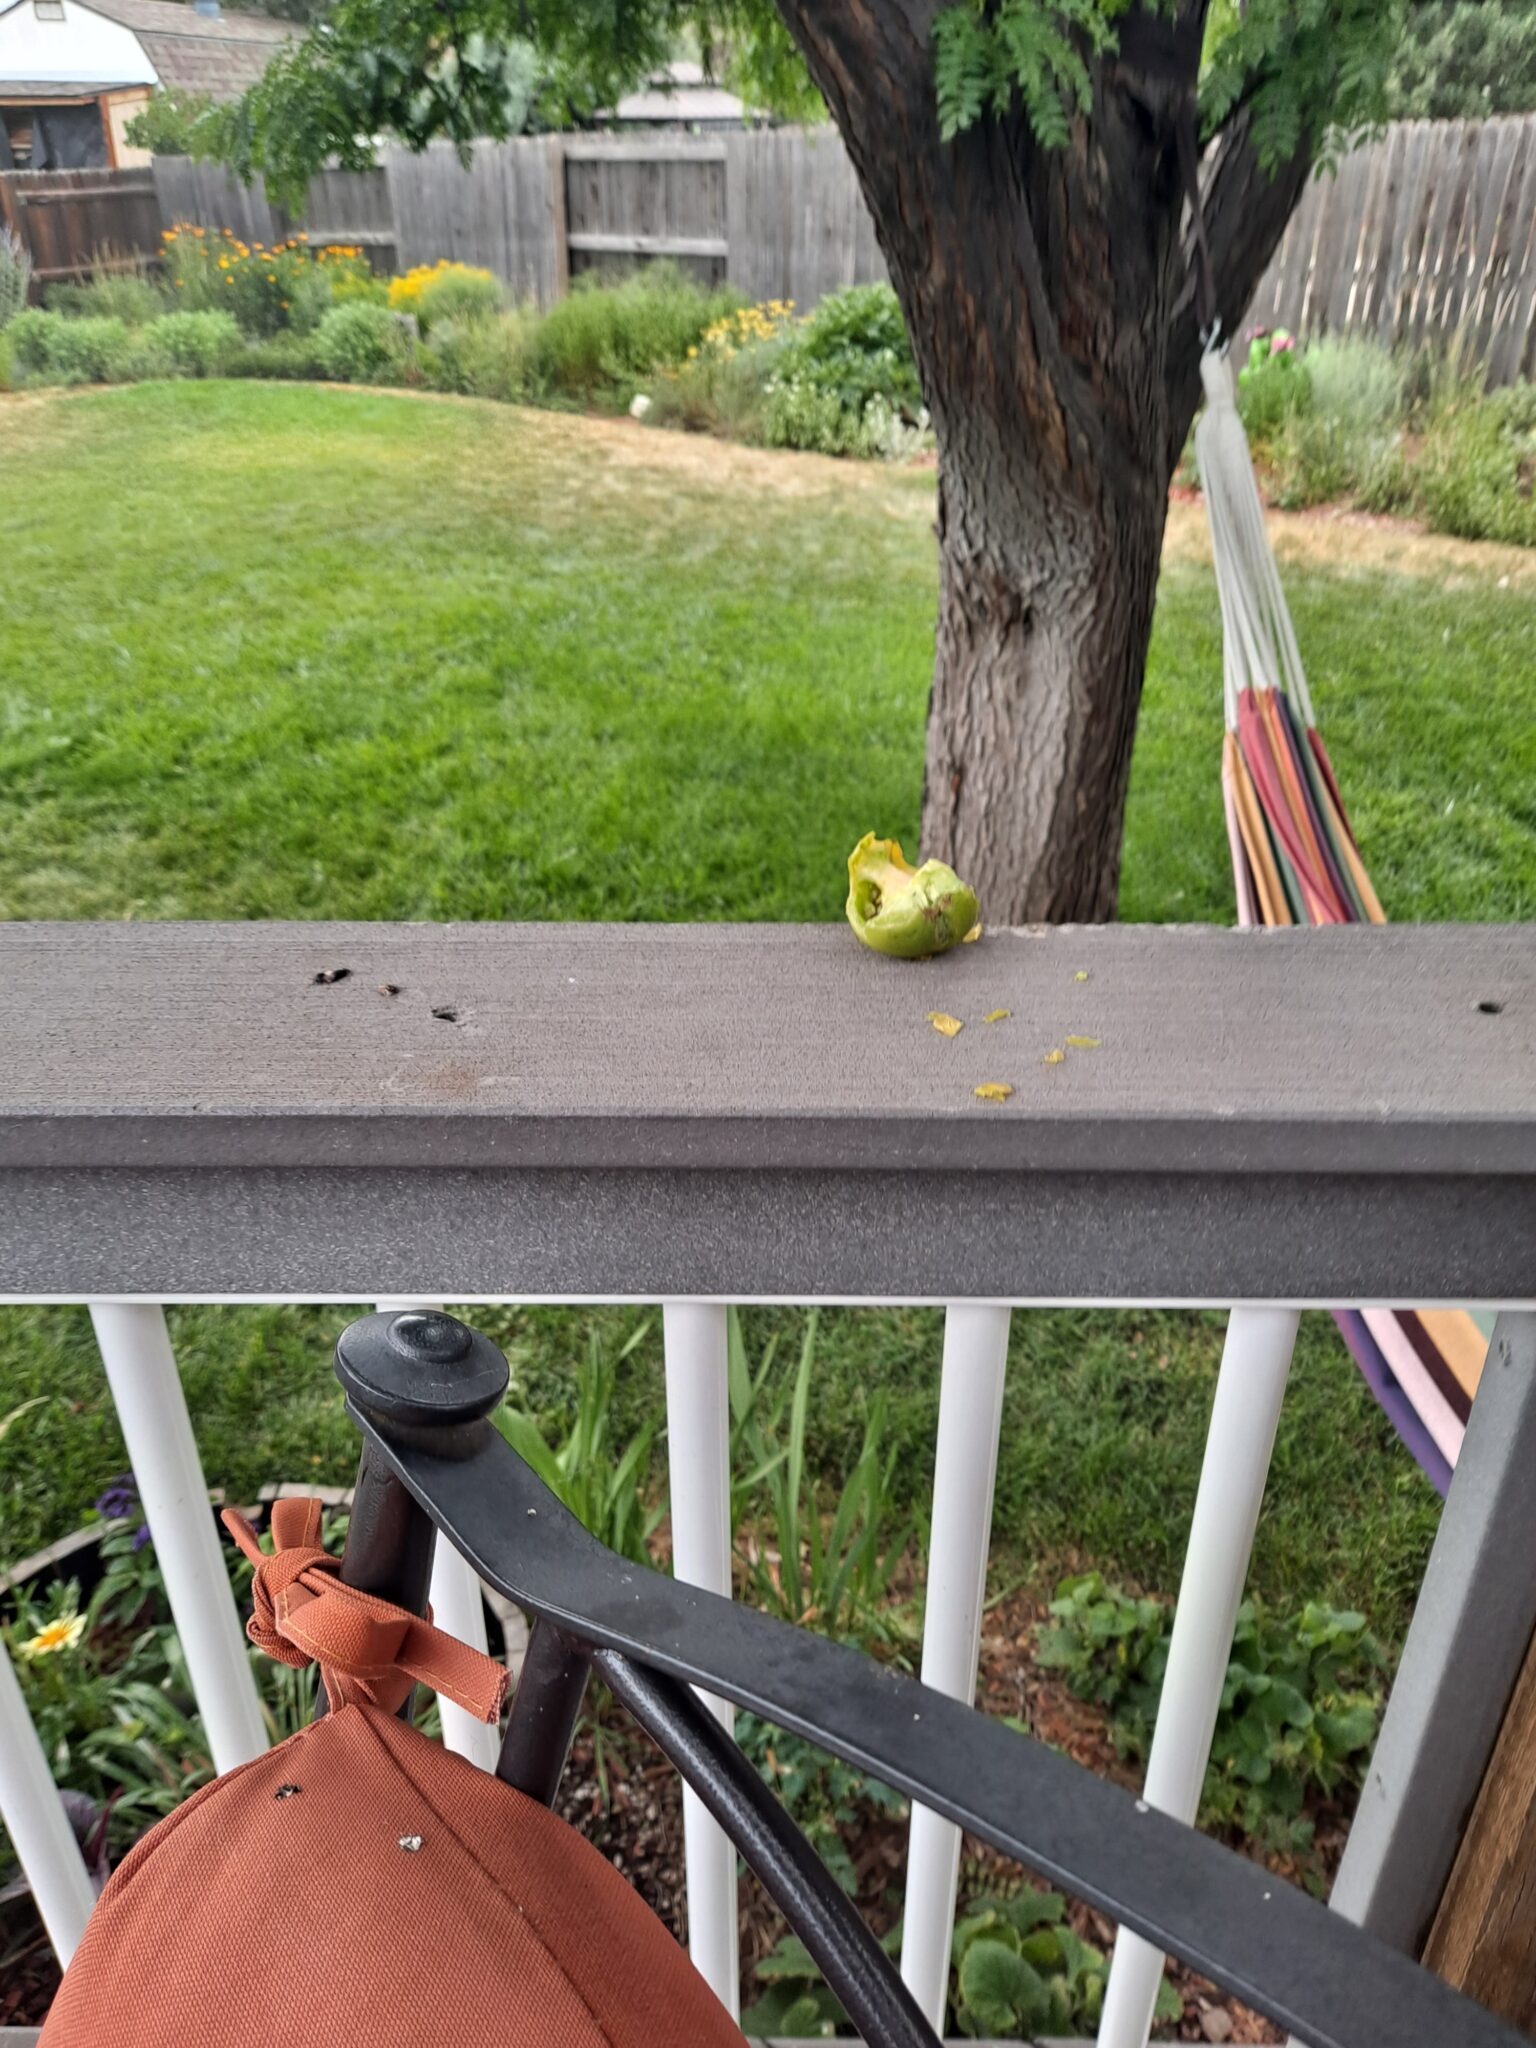
A suburban rat has been raiding my tomato plant and eating the fruit before they even ripen. The little bastard sits on the deck railing and chows down where I can see it. Even more annoying, it doesn’t even finish the fruit. It eats half and leaves the rest where I can find it. Asshole is taunting me.
Summer of 2025
One thing I learned about gardening early on is that what happened last year has no bearing on what will happen this year. Each growing season is unique, and I realized that I that what worked in the past may not work in the here and now.
Some years, I find gardening to be an absolute joy. The weather is moderate, rainfalls are plentiful, weeds are easily managed, pests and diseases are rare, and the harvest is bountiful. It’s growing seasons like these that got me into gardening in the first place.
Then there are the years where I liken gardening to working on a chain gang. The weather in spring is wet and cold for far too long, the heat of summer becomes brutal and stays that way for months. It gets so hot that I can’t even enjoy lounging in the hammock. Rains are scarce or totally absent, and the landscape is ravaged by the garden version of the 7 biblical plaques. Gardening becomes a slog as I have to deal with one setback after another.
In years like that, sick of summer and of gardening by mid-July. I throw in the trowel (see what I did there?), and wave good-bye to the garden and head inside to enjoy the a/c. I tell the garden that “I’m going inside where it’s cool. Outside of an occasional watering or mowing, you are on your own for the next two months. I’ll see you in late September. Good luck”.
A good year…
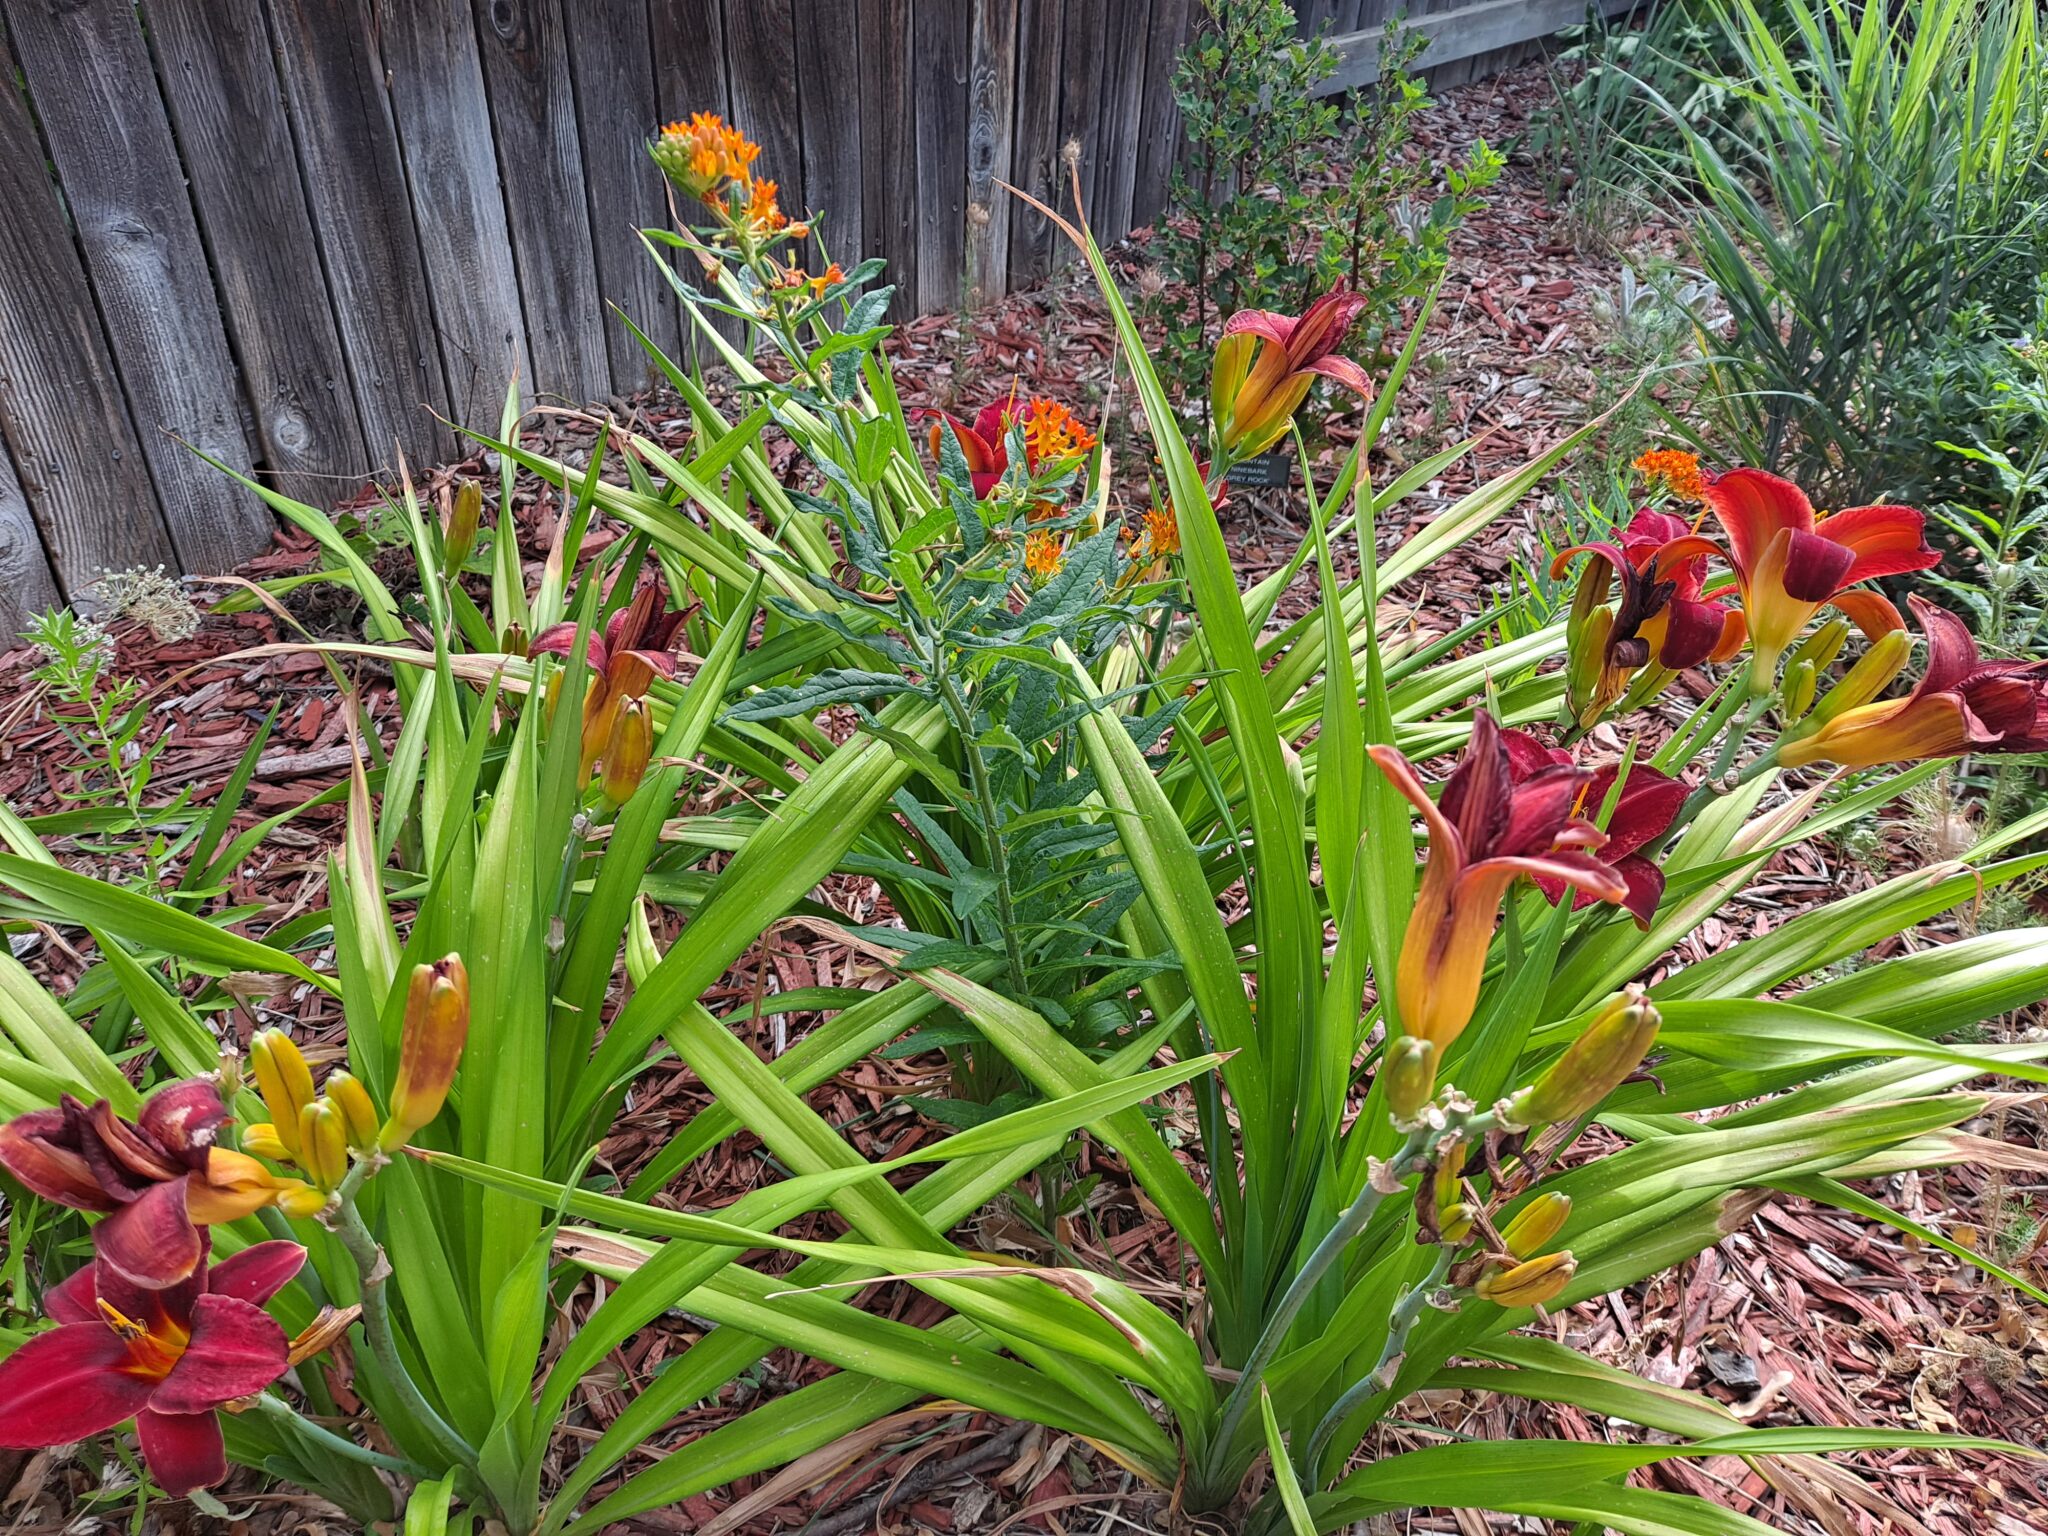
This year has been one of the good ones. The weather has been seasonal, and the summer heat has not been to bad. Oh, sure, we’ve had a couple of mini heatwaves where the temps hit the triple digits. But they were mercifully short, only lasting two or three days. Otherwise it gets hot in the afternoons, as expected, but I can work in relative comfort during the cooler hours of the mornings or evenings.
Not much disease or die-back this year. While I lost a couple of plants over the winter, the rest of the landscape has been especially lush this year.
Longtime readers of this blog know that I have been battling with a series of pests over the past few years. A few years ago the garden was overrun by rabbits, which seemingly chewed every third plant right down to the ground. Over the past couple of years, I was plagued by swarms of locusts which stripped many plants completely bare of leaves. And one year, I had an infestation of tomato hornworms that completely devoured a tomato plant in less that two days.
This year, I have not seen one single bunny in either the front or back yards. There are grasshoppers of course, but not nearly in the numbers I’ve had in seasons past. The only fly in the ointment has been the squirrels, which I’ll get to later in this post.
Even the weeds haven’t been too bad. I jumped on them hard in May and June. I girded my loins, and would go out every Saturday morning with a 2 1/2 gallon bucket, to pull weeds. For a few weeks, I would have to empty the bucket 2, 3, even 4 times. Now, while I still weed every Saturday, I am only getting a handful of them, at most.
I am really enjoying gardening this year, making sure to savor every moment that I can. For I am all too aware that next year will probably be a different story. But that’s a problem for future me. Right now, I’m just taking it one relaxing day at a time.
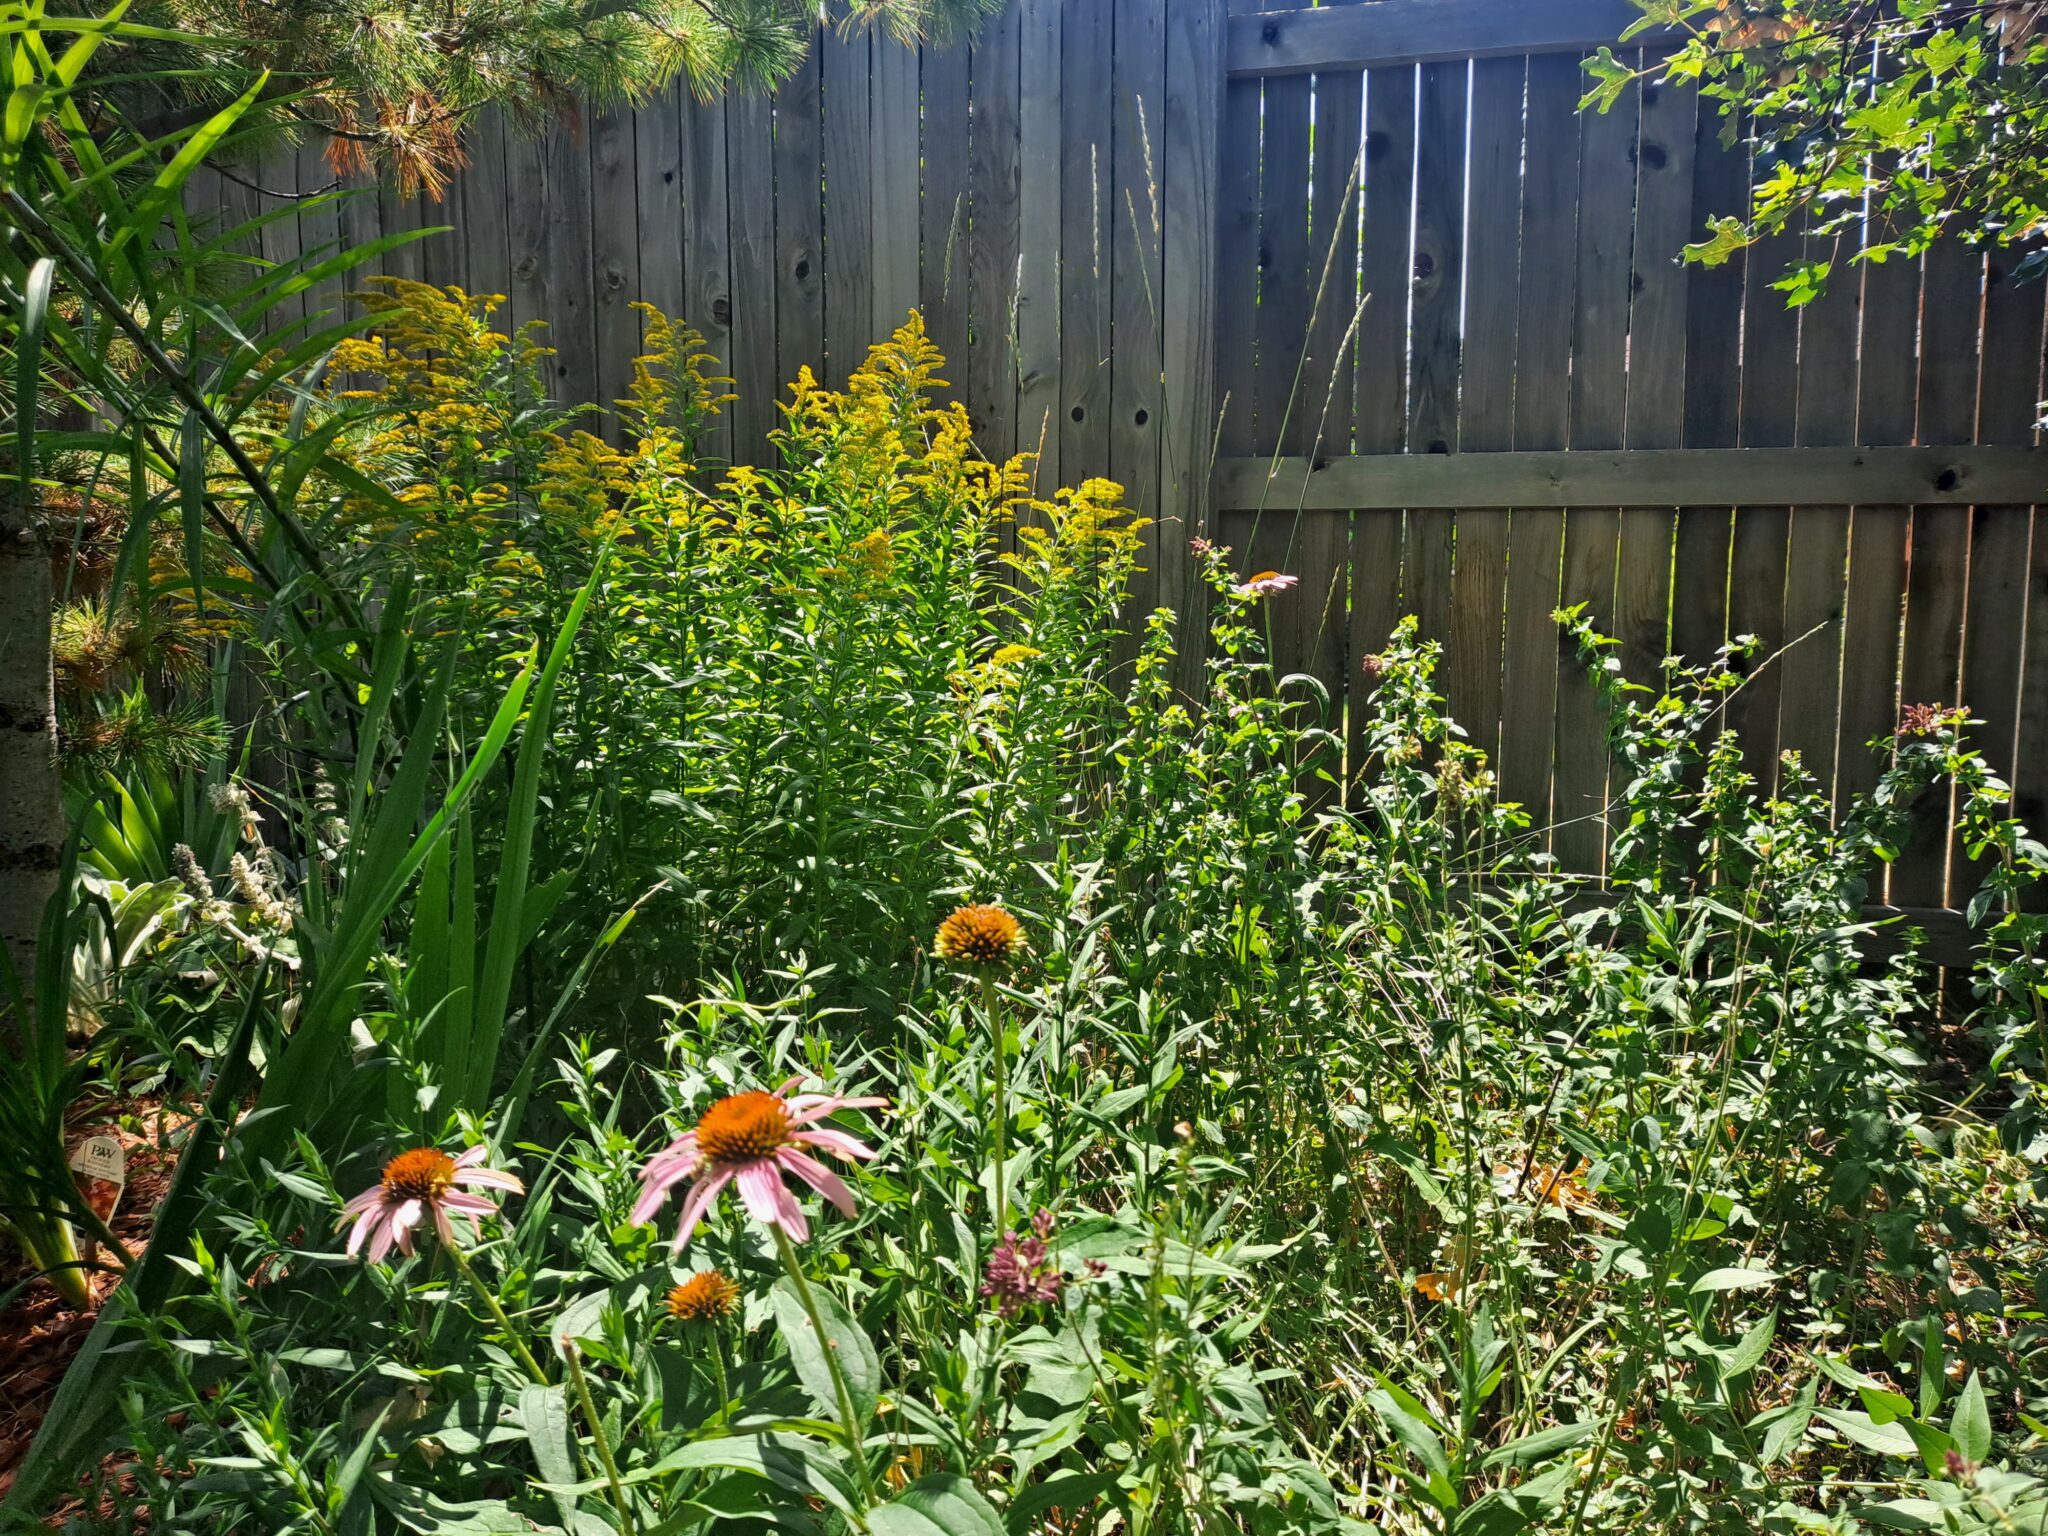
Purple coneflowers and ornamental oregano blooming in front of yellow goldenrod in the border next to the patio.
How fares the front yard?
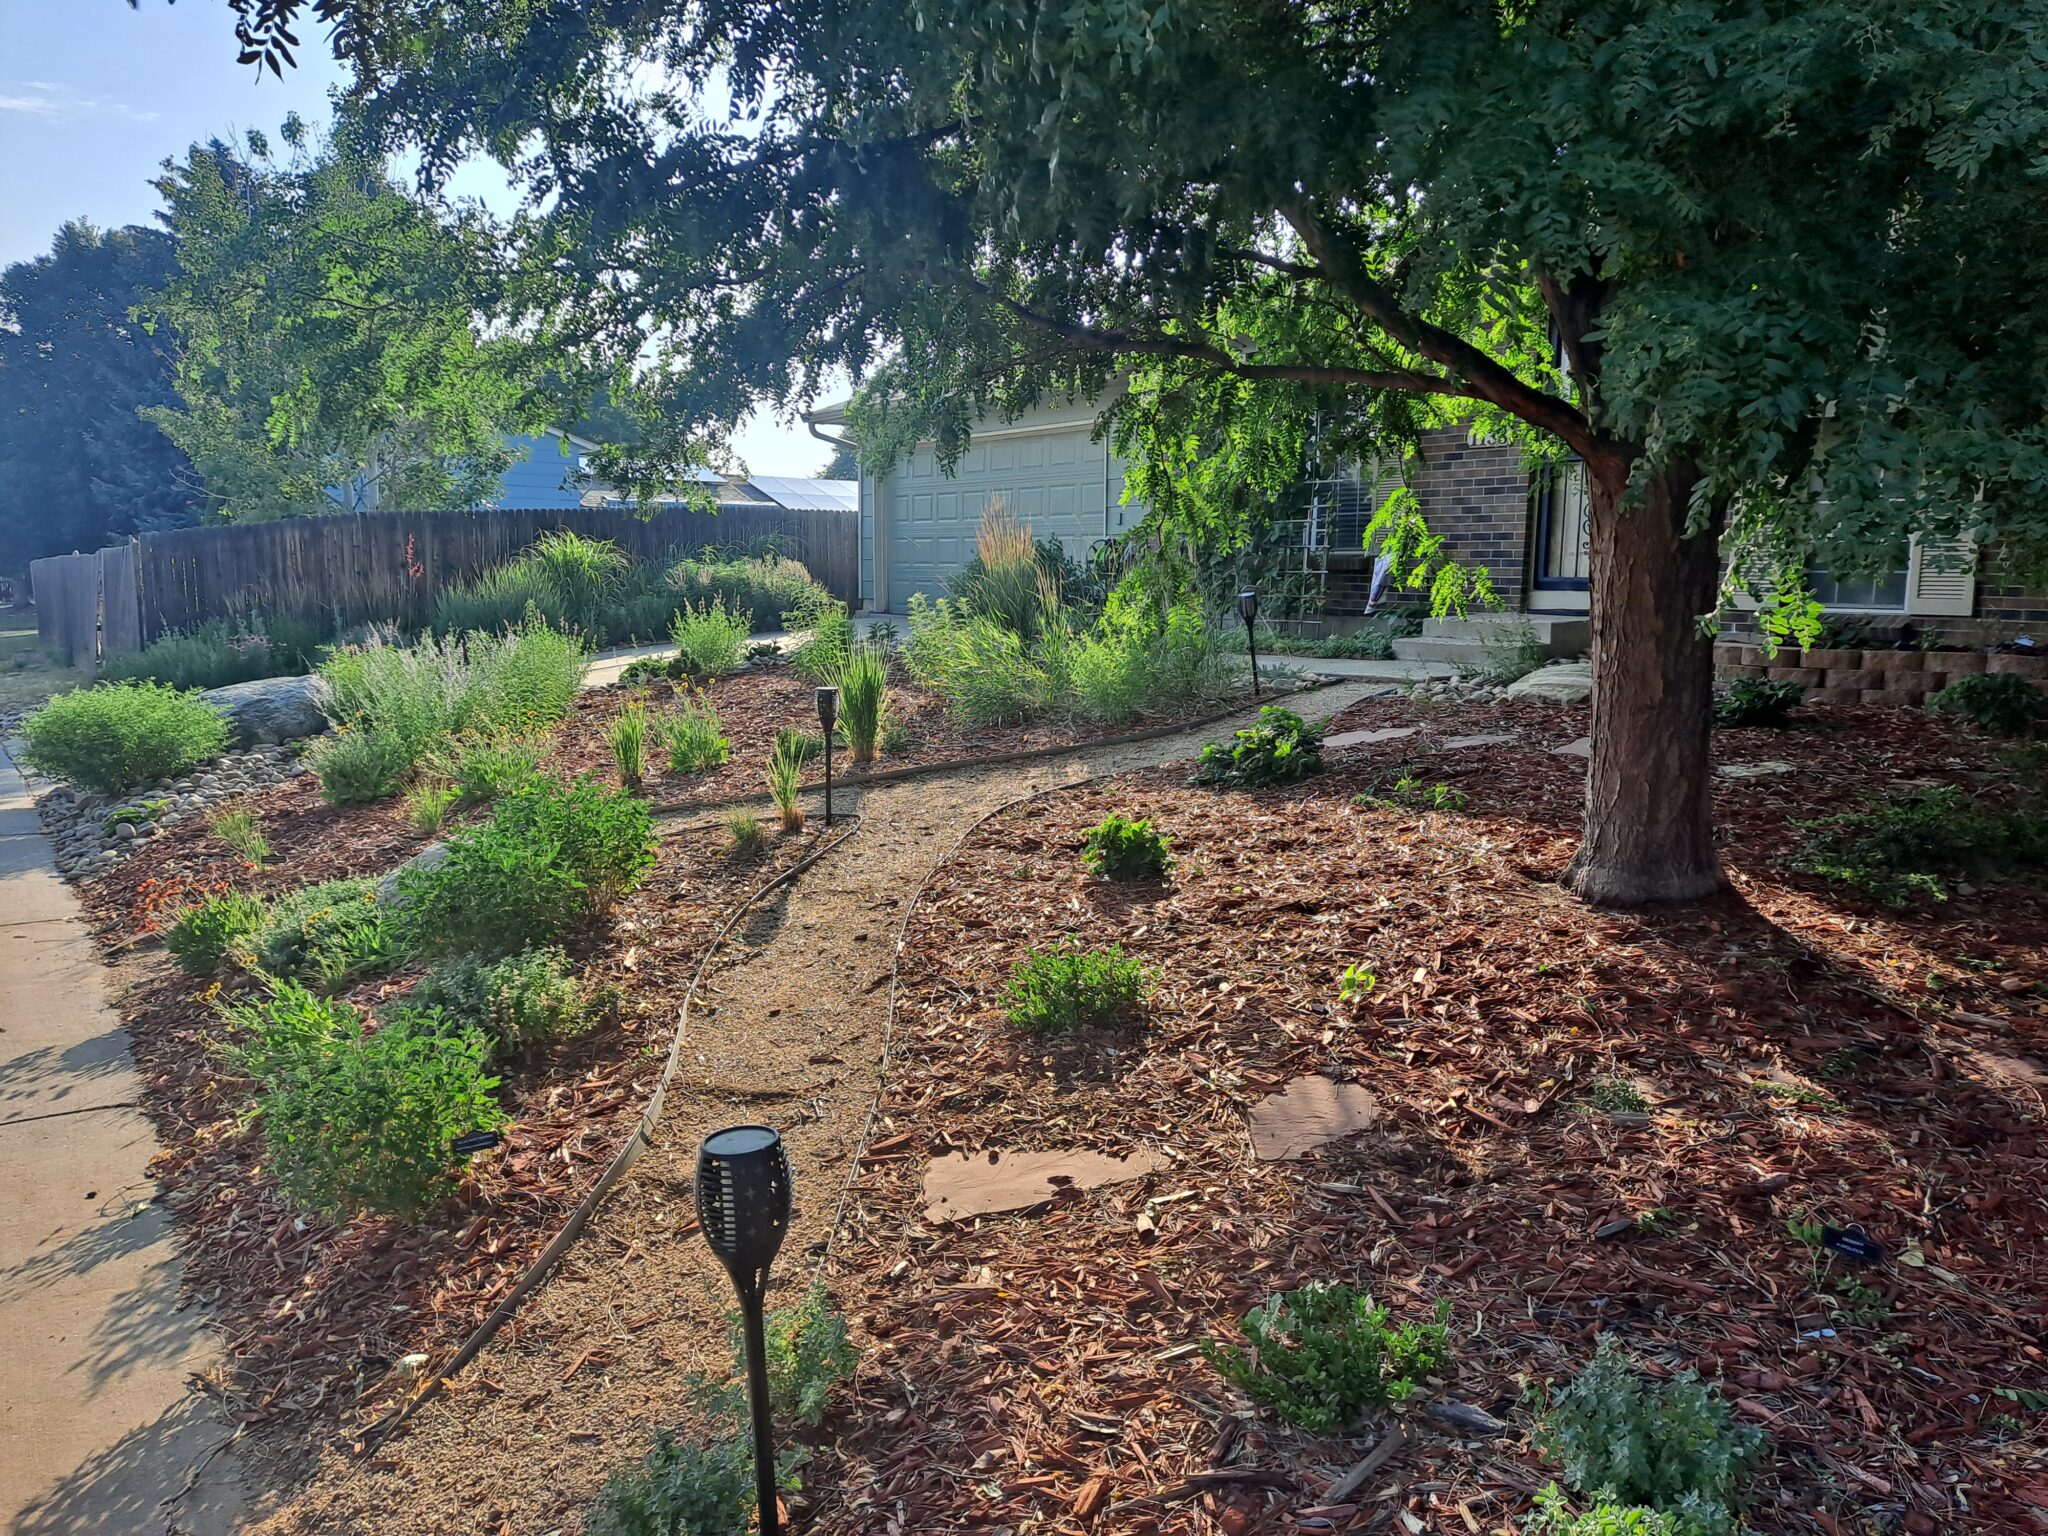
It’s been some time since I’ve done an update on the front yard renovation Mrs. Vintage and I completed in 2023. Well, I am happy to say that the plants are finally starting to fill in. The old adage about planting perennials is holding true out here in the front: first year sleep, second year creep, third year leap.
We’ve had some hiccups over the past two years, but nothing we couldn’t overcome. For instance, just this spring some sort of creature stole a whole ornamental grass! Do we have raccoons or bunnies updating their own landscapes? A mystery that will never be solved.
Morning sunlight streams through the plants of the prairie half off the front yard.
Most of the plants are maturing toward their ultimate size. I’m a bit disappointed that some of the grasses are taking so long to fill in. You would think that after gardening for so many years. I would have learned to be patient. I want gratification, and I want it now!
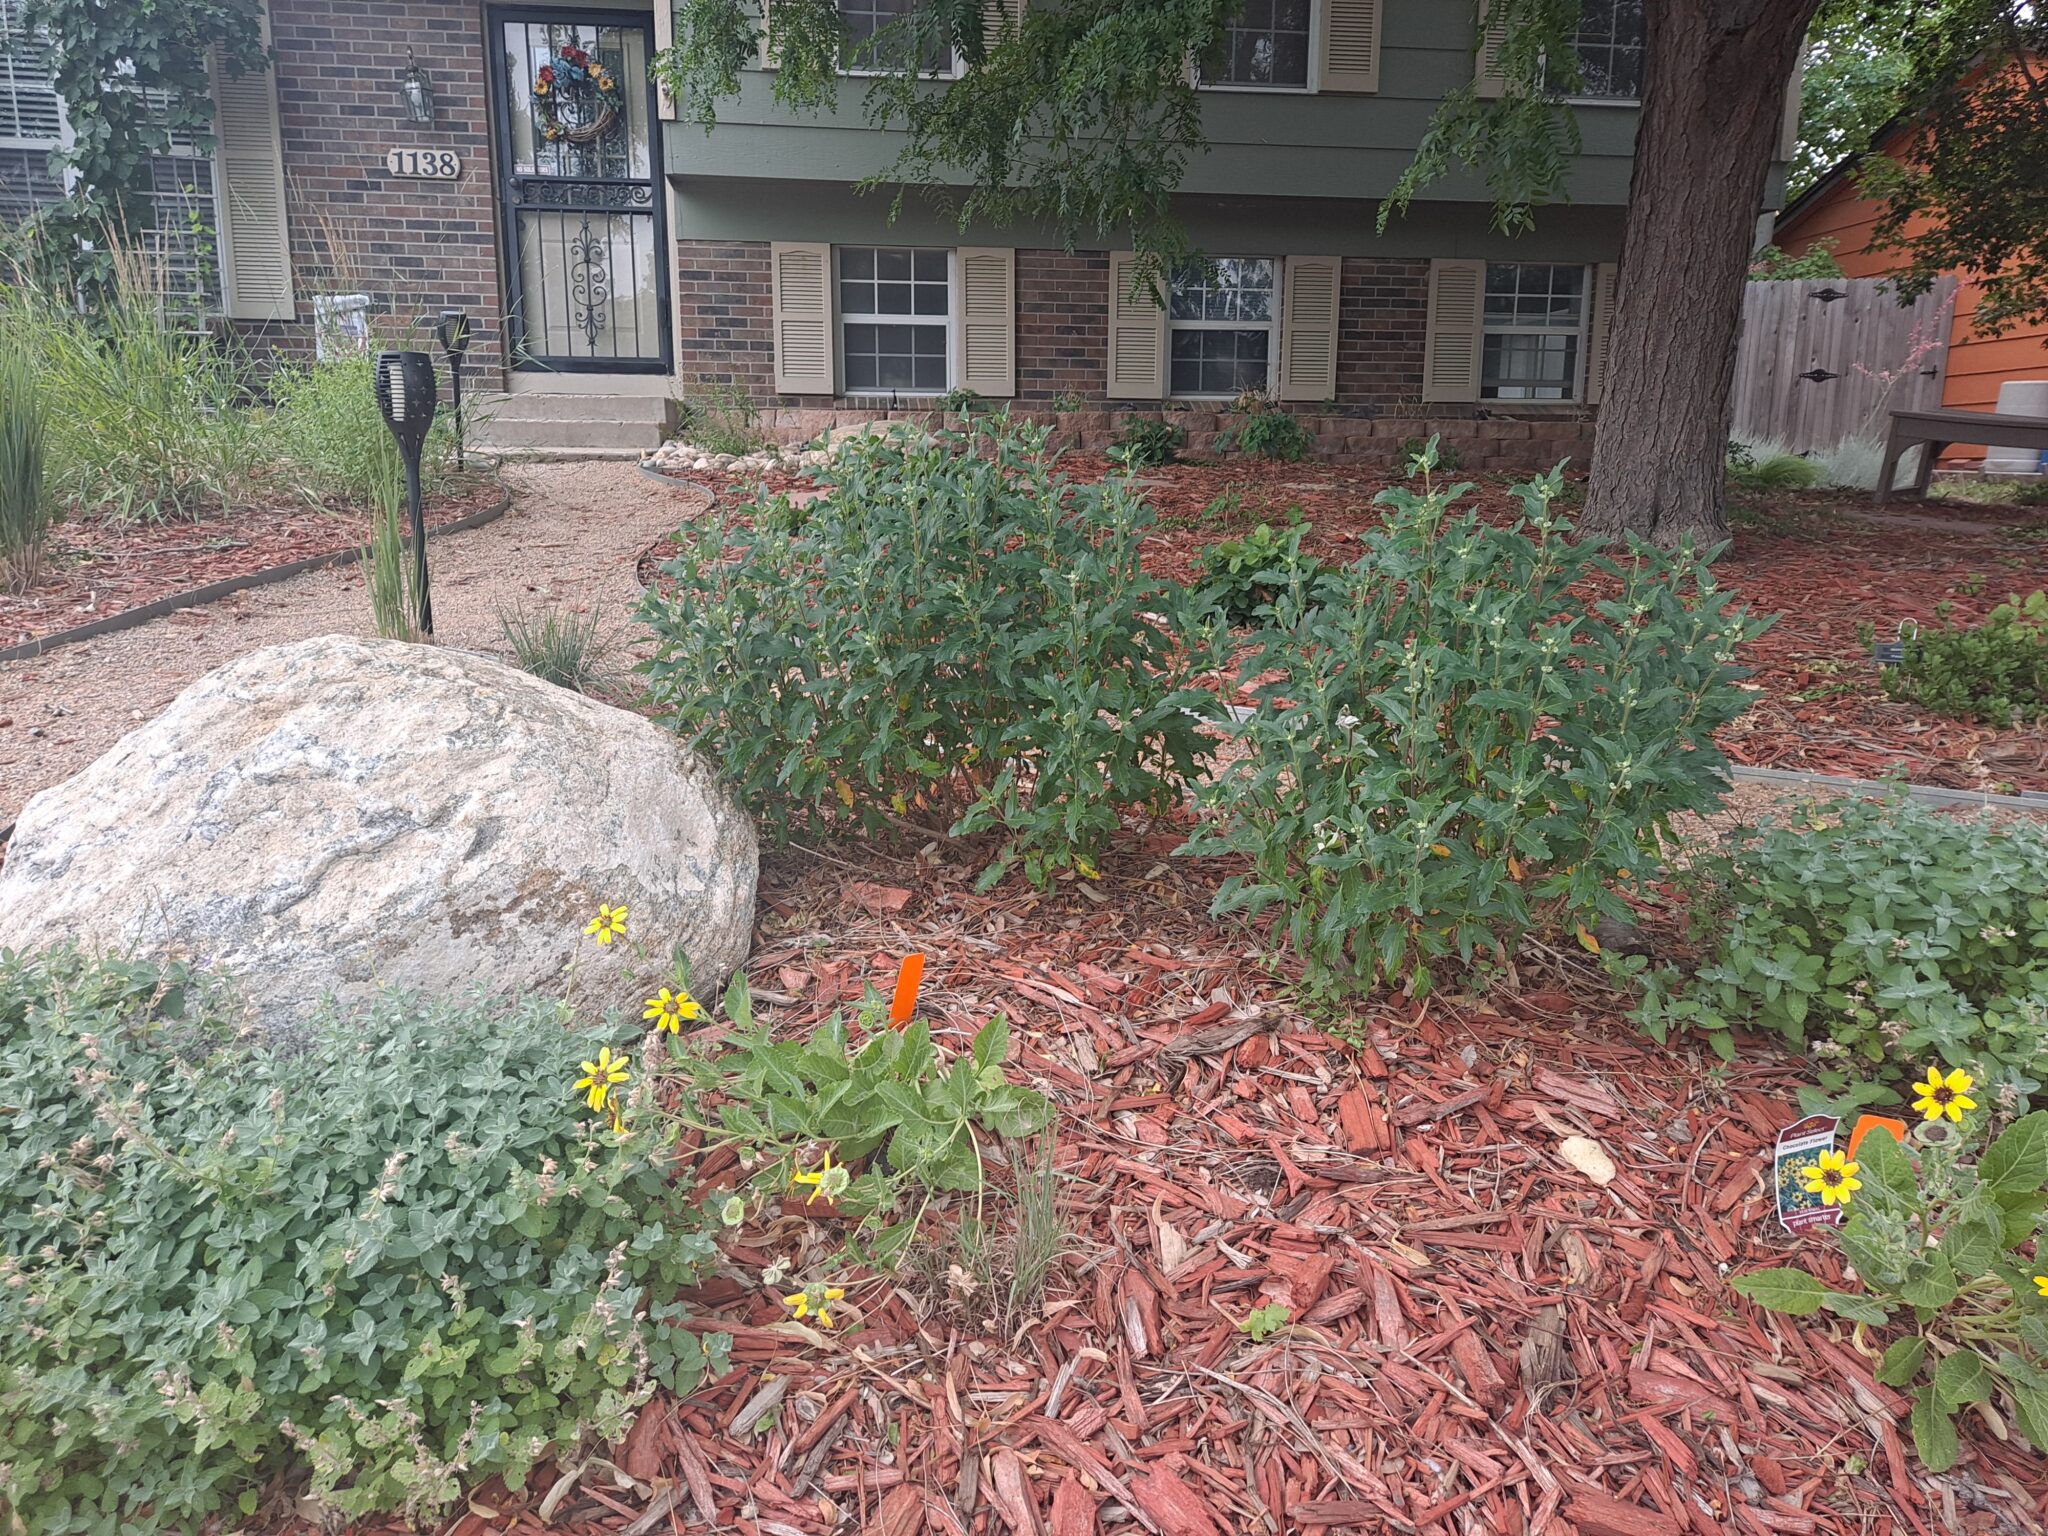
A view of the shade half of the front yard. These Blue Mist Spirea’s are maturing very nicely. Another year or two and they should reach their full potential.
Renovating a raised bed (again)
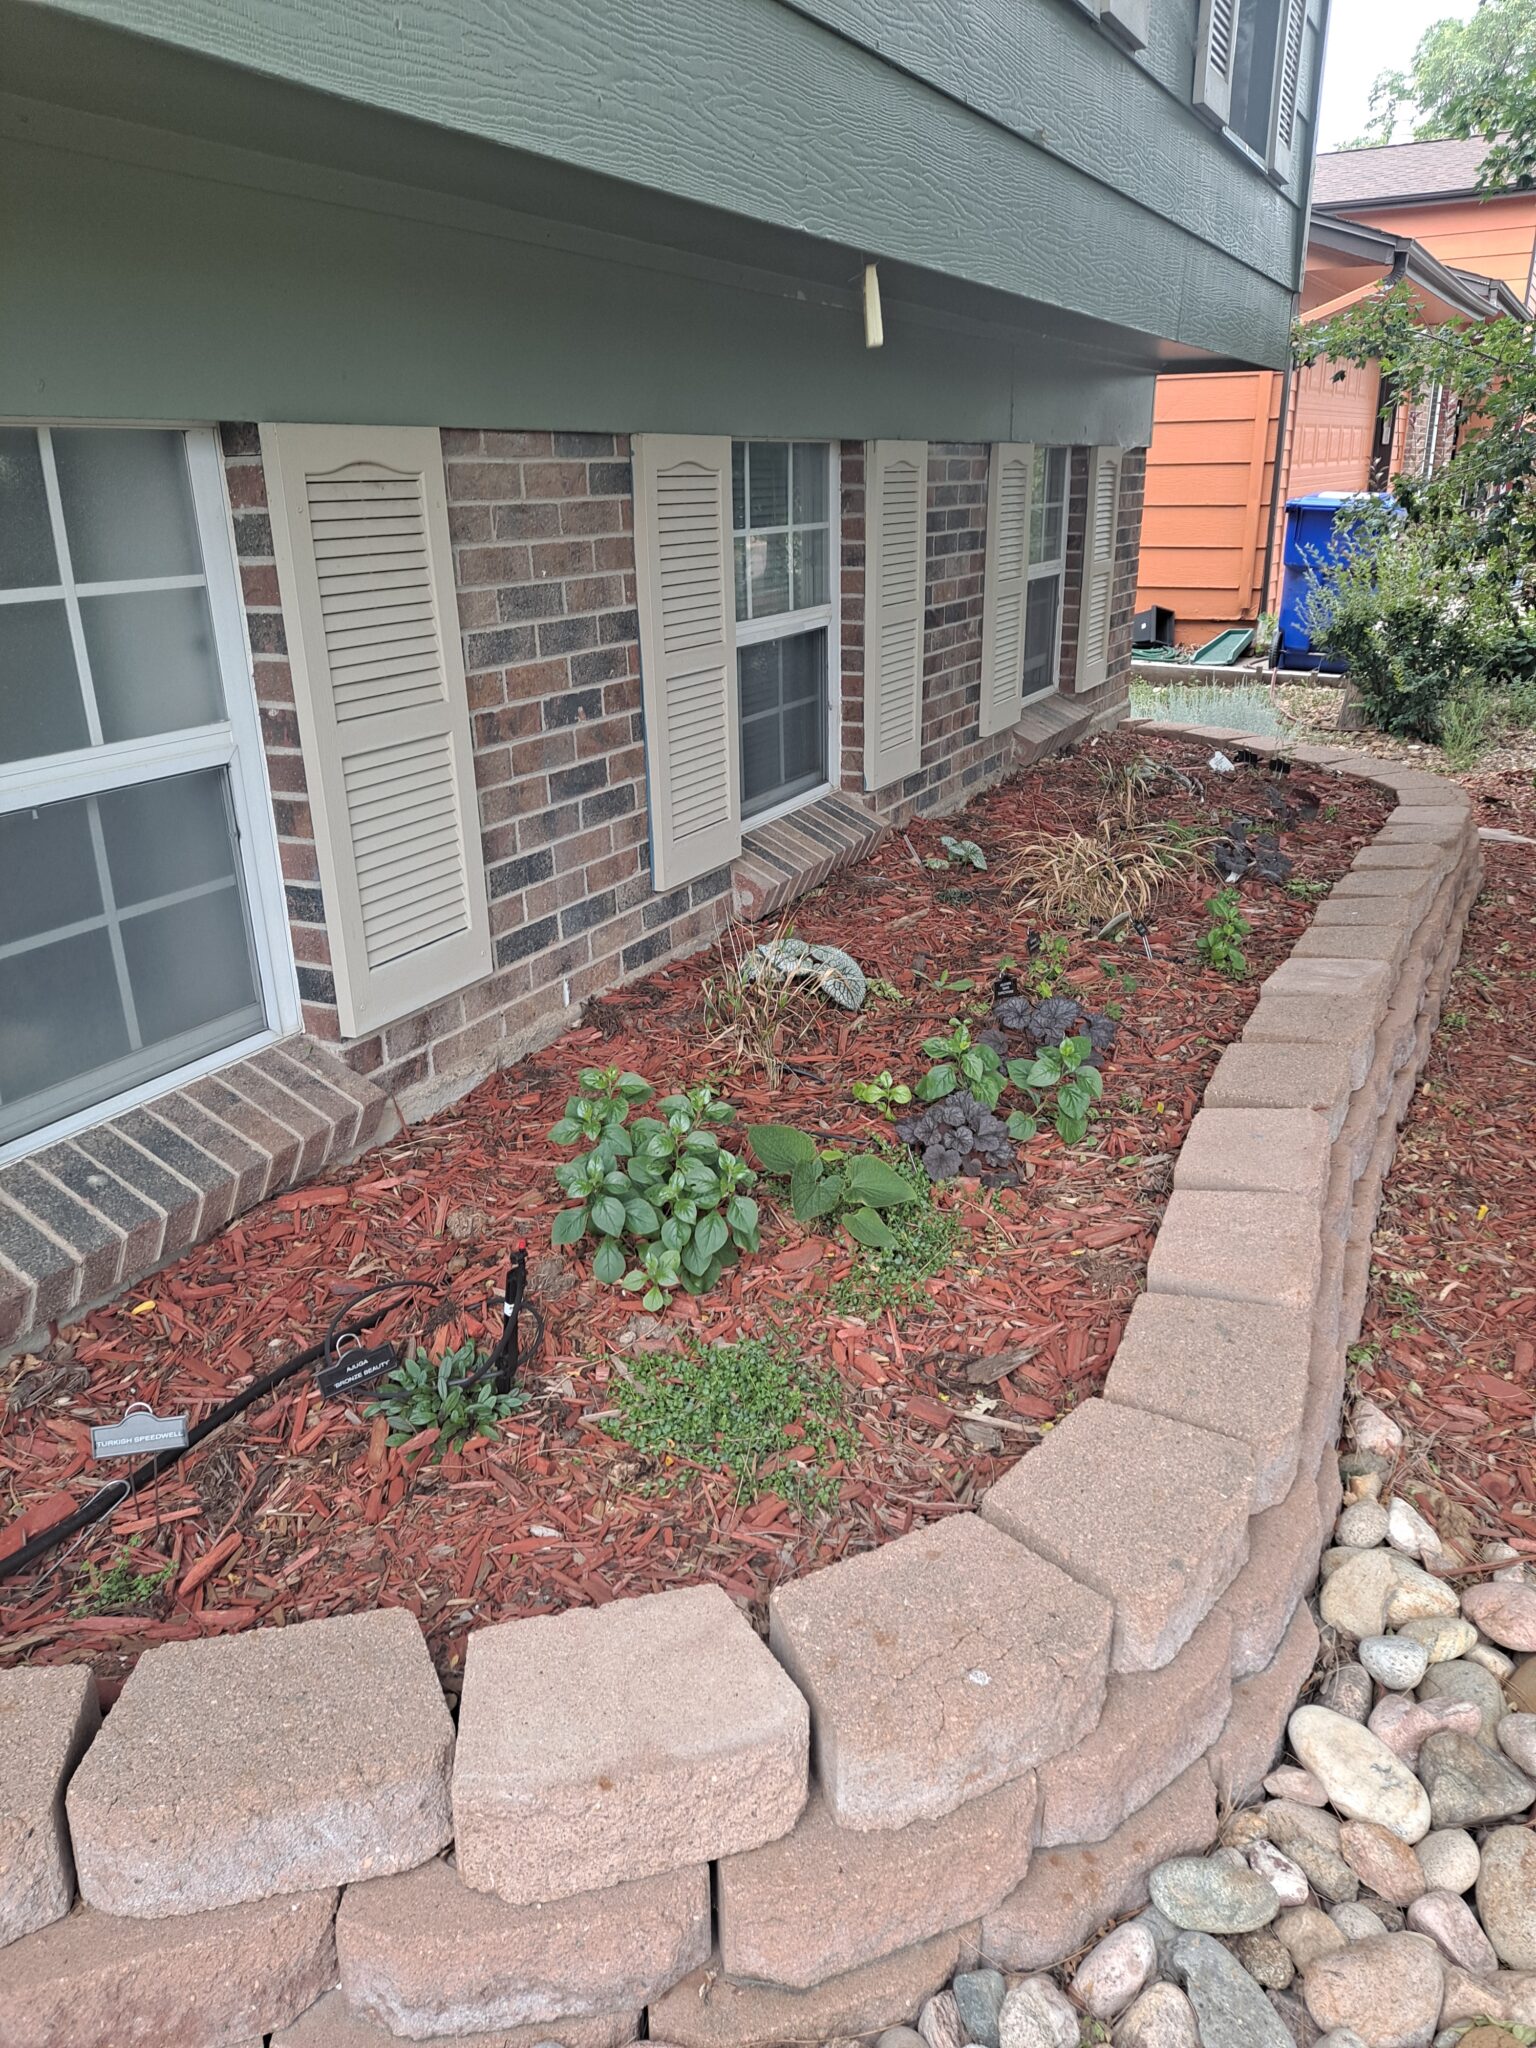
Speaking of the front yard, I am once again attempting to get plants into the half-moon raised bed next to the house that can survive very difficult growing conditions. This is like the 4th or 5th time I am doing this. The problem I have it that the bed is on the west side of the house, and under an overhang. Which means shade until about noon. there is a large honeylocust tree out in front of the house that also partially shades the area. What happens is that the bed gets a lot of shade until about 4:00 p.m. Then it gets blasted by the hottest sunlight of the day, which plants that thrive in shade hate.
I need to find shade loving plants that can tolerate late day heat. A very tall order since there are few, if any, plants that seem to fit the bill. Which is why I have had no success in this spot over the years.
But this year I have added a tool to my arsenal. I installed a drip irrigation system along this bed this past spring. With drip irrigation, I can deep water the individual plants instead of having to water the whole bed. This means the perennials I’ve planted get the moisture they need, but it denies any weeds in the bed from receiving life-giving water. A win-win.
The added bonus of a drip irrigation system is that it is very waterwise. A win-win-win.
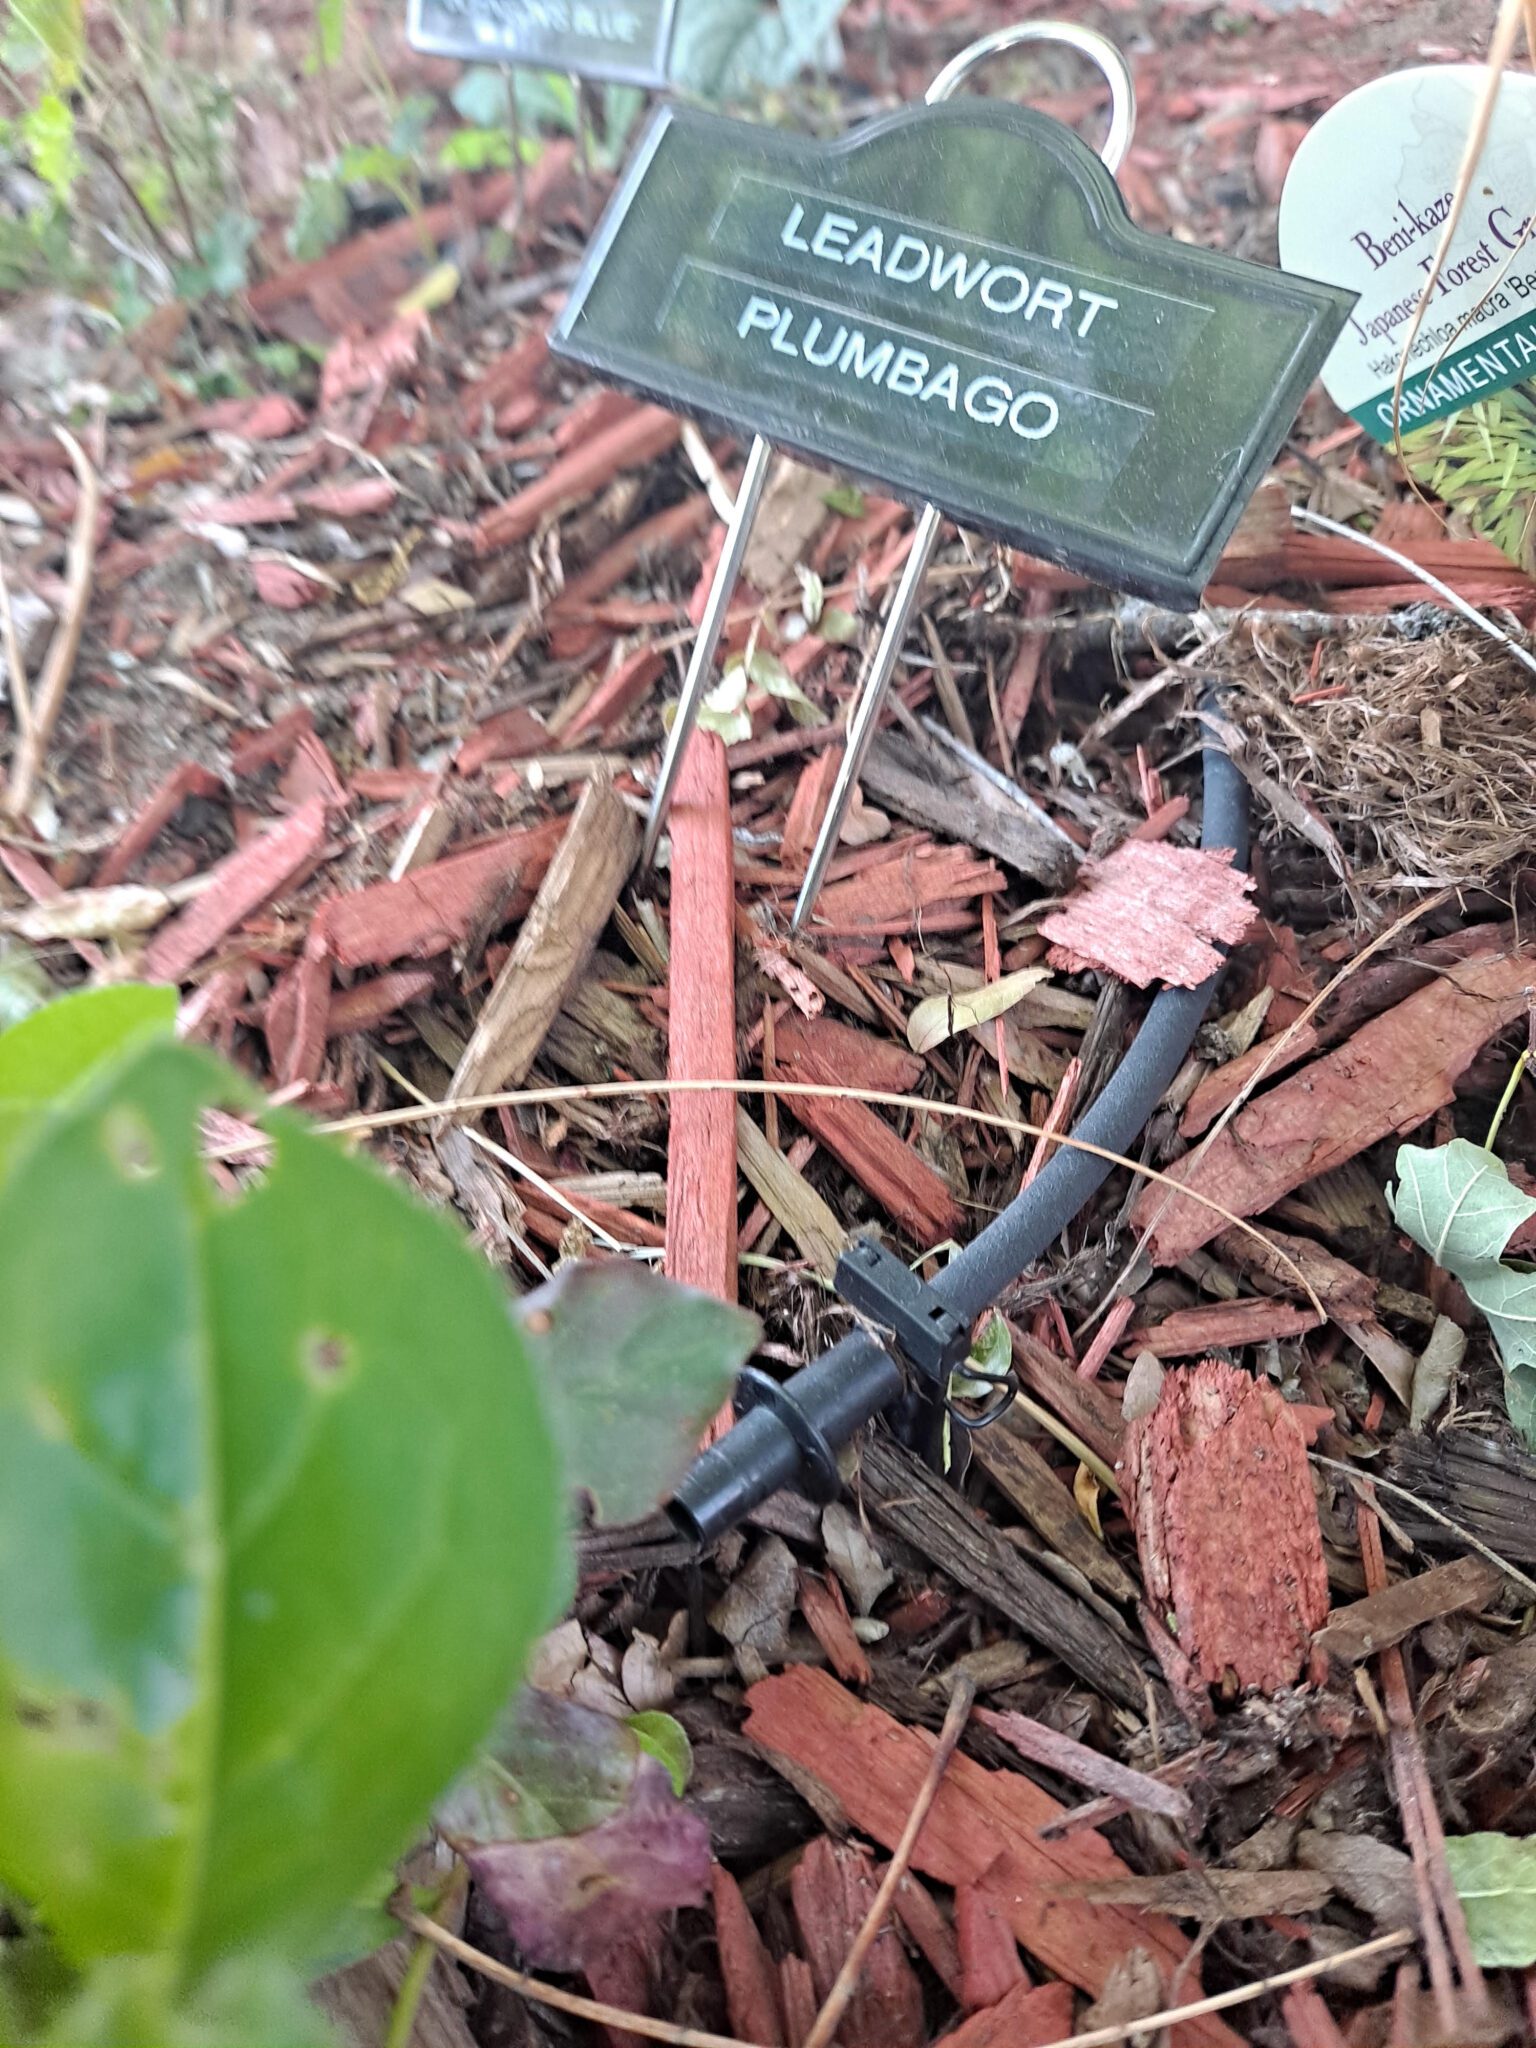
Here you can see one of the emitters of the drip irrigation system I installed this year.
This past spring I installed the following plants that I have my fingers crossed can thrive in the weird conditions: ‘Beni-Kaze’ Japanese forest grass, ‘Sea Heart’ brunnera, ‘Bronze Beauty’ ajuga, plumbago, Turkish veronica, and a purple Heuchera named “Grape Expectations”.
I really hope I get to show you a thriving border in the autumn. Wish me luck!
Is this the year I finally get plants to survive this hellish location?
Hooray! I’m getting tomatoes!
Last year I got a decent harvest of tomatoes when I grew them in a large whiskey barrel. I was so happy with the results, that this year I decided to grow two tomato plants each in their own whiskey barrel. So far I am quite pleased with the results. In one of the barrels I am growing a beefsteak variety, name unknown. The plants is growing like a weed, and has set quite a lot of fruits. I have not yet been able to harvest them though, for reasons I will get to shortly.
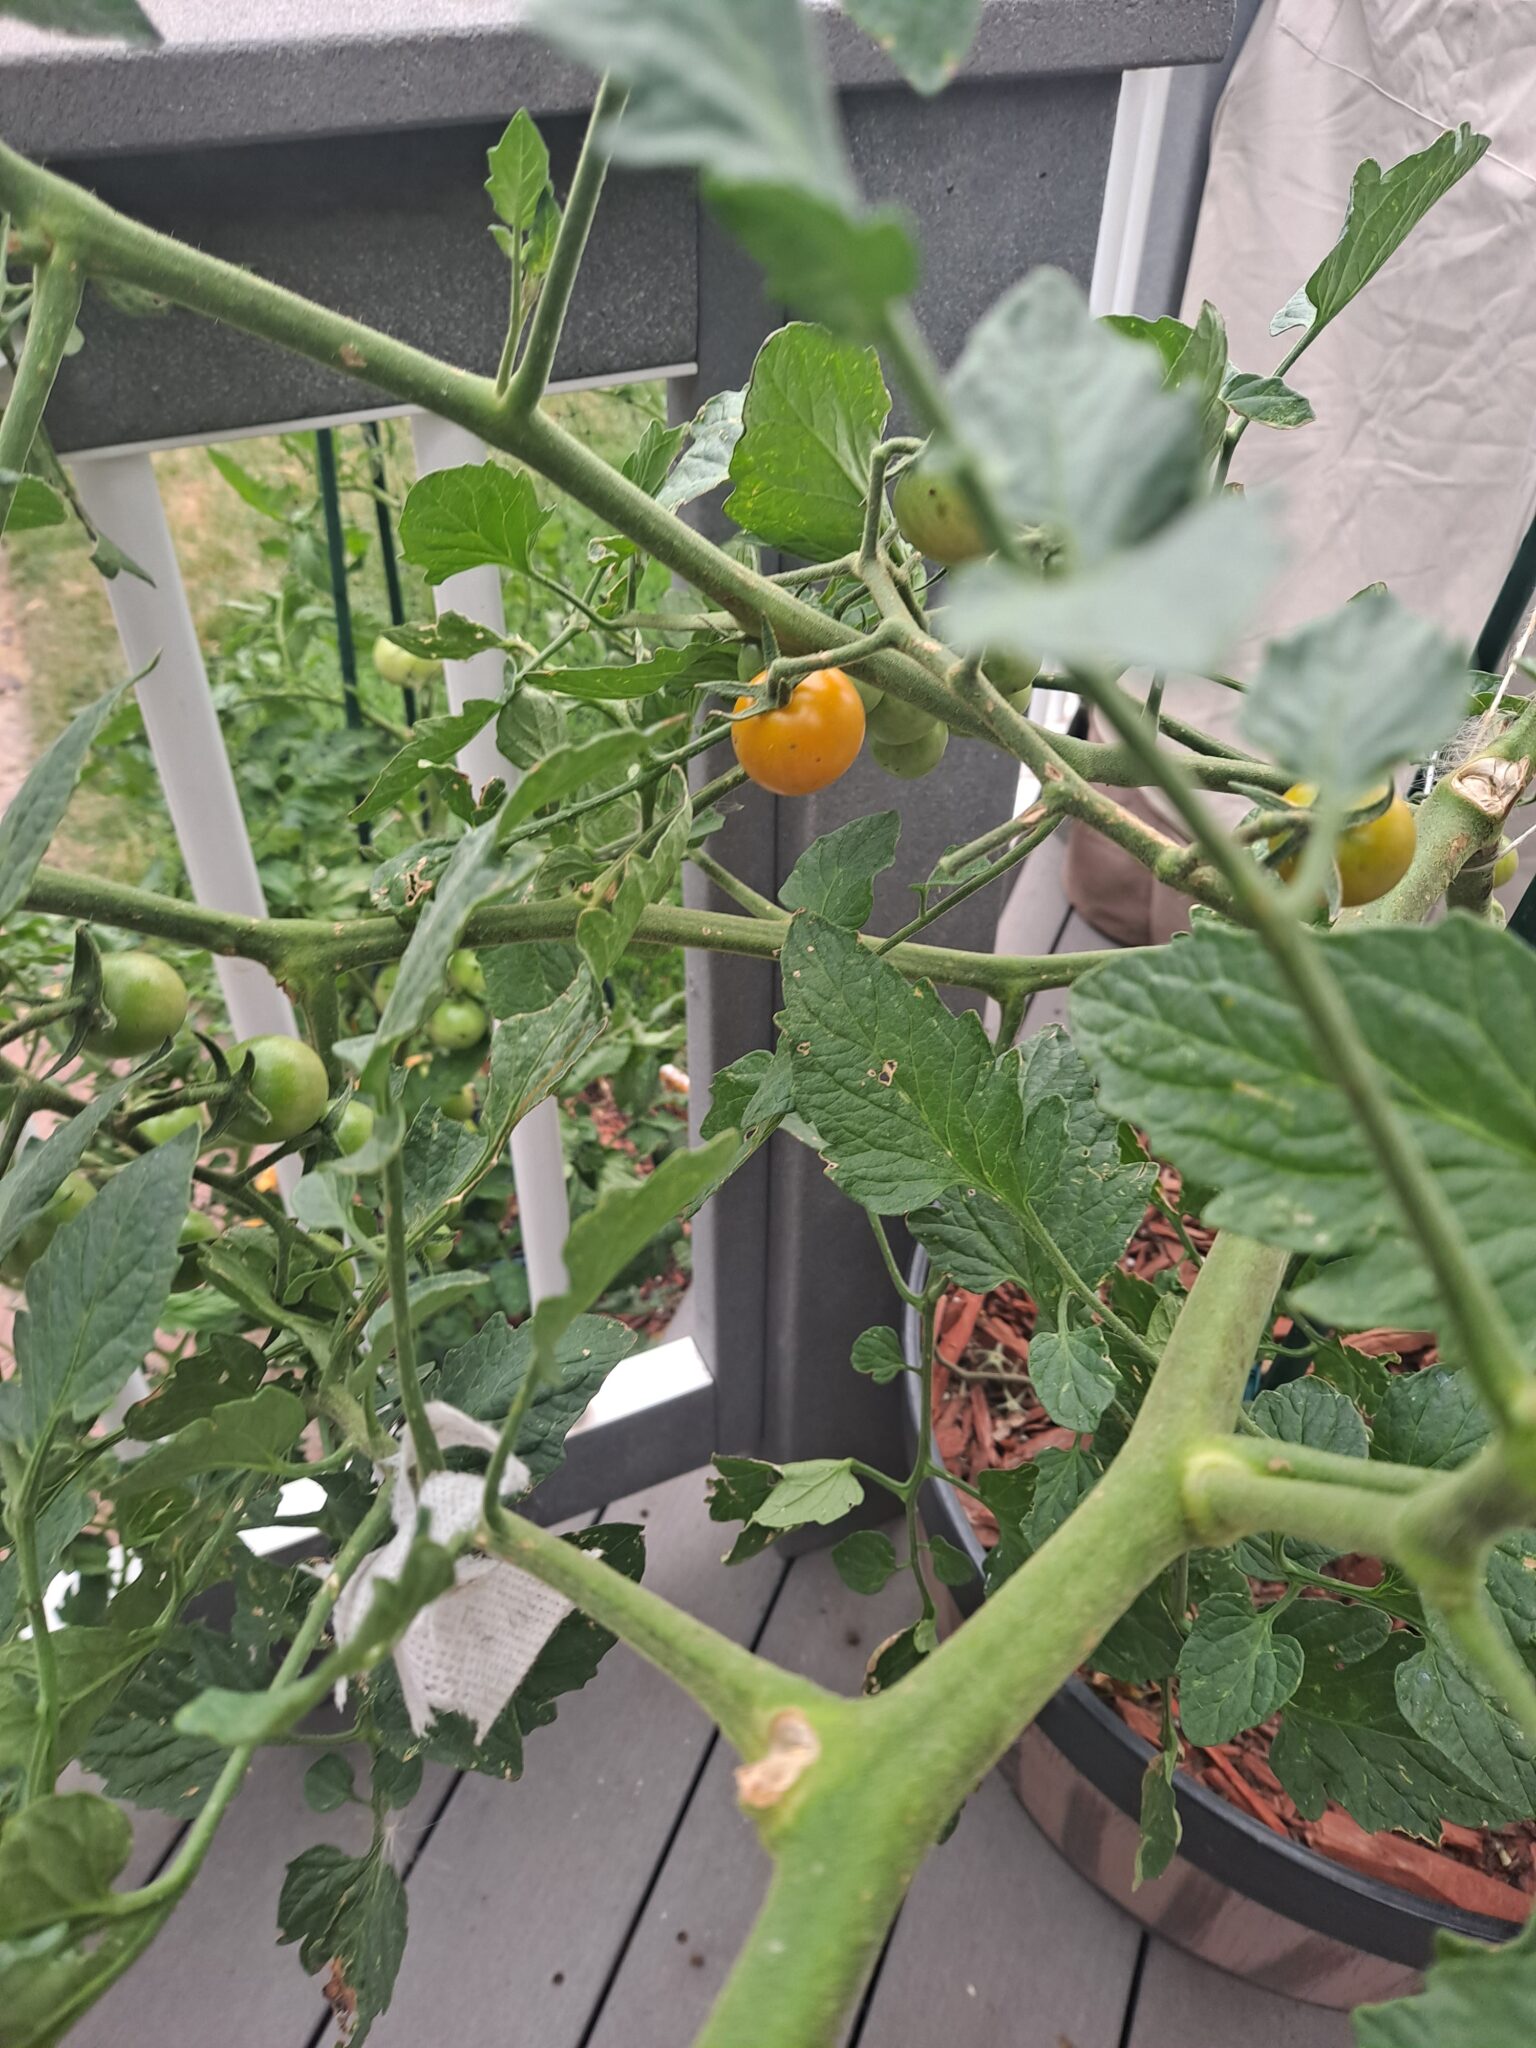
In the other barrel I planted a cherry tomato. Not just any cherry tomato though. I went with the ‘Sungold’ variety. I’ve heard from several reliable sources that Sungold is the best tasting cherry tomato out there. They turn an orange color when ripe. You can see a ripe one in the picture below.
The rumors are true: Sungold is the best tasting cherry tomato I’ve ever had.
I had pondered in years past of growing this variety, but I held off. Partly because tomatoes are supposed to be red, dammit! But also because I am a cynic, and not prone to believing the hype. I am very glad I opened my mind, because this really is the best tasting cherry tomato I have ever eaten. Sweet, with just enough acidity to balance the sweetness out.
Last year, I was forced to water my tomato plant I every day during the hottest months. Truly, this task became a bit of a bother. When I was planning on growing two tomatoes this year, I looked into ways to make watering easier. I stumbled across a ancient solution you see in the photo below.
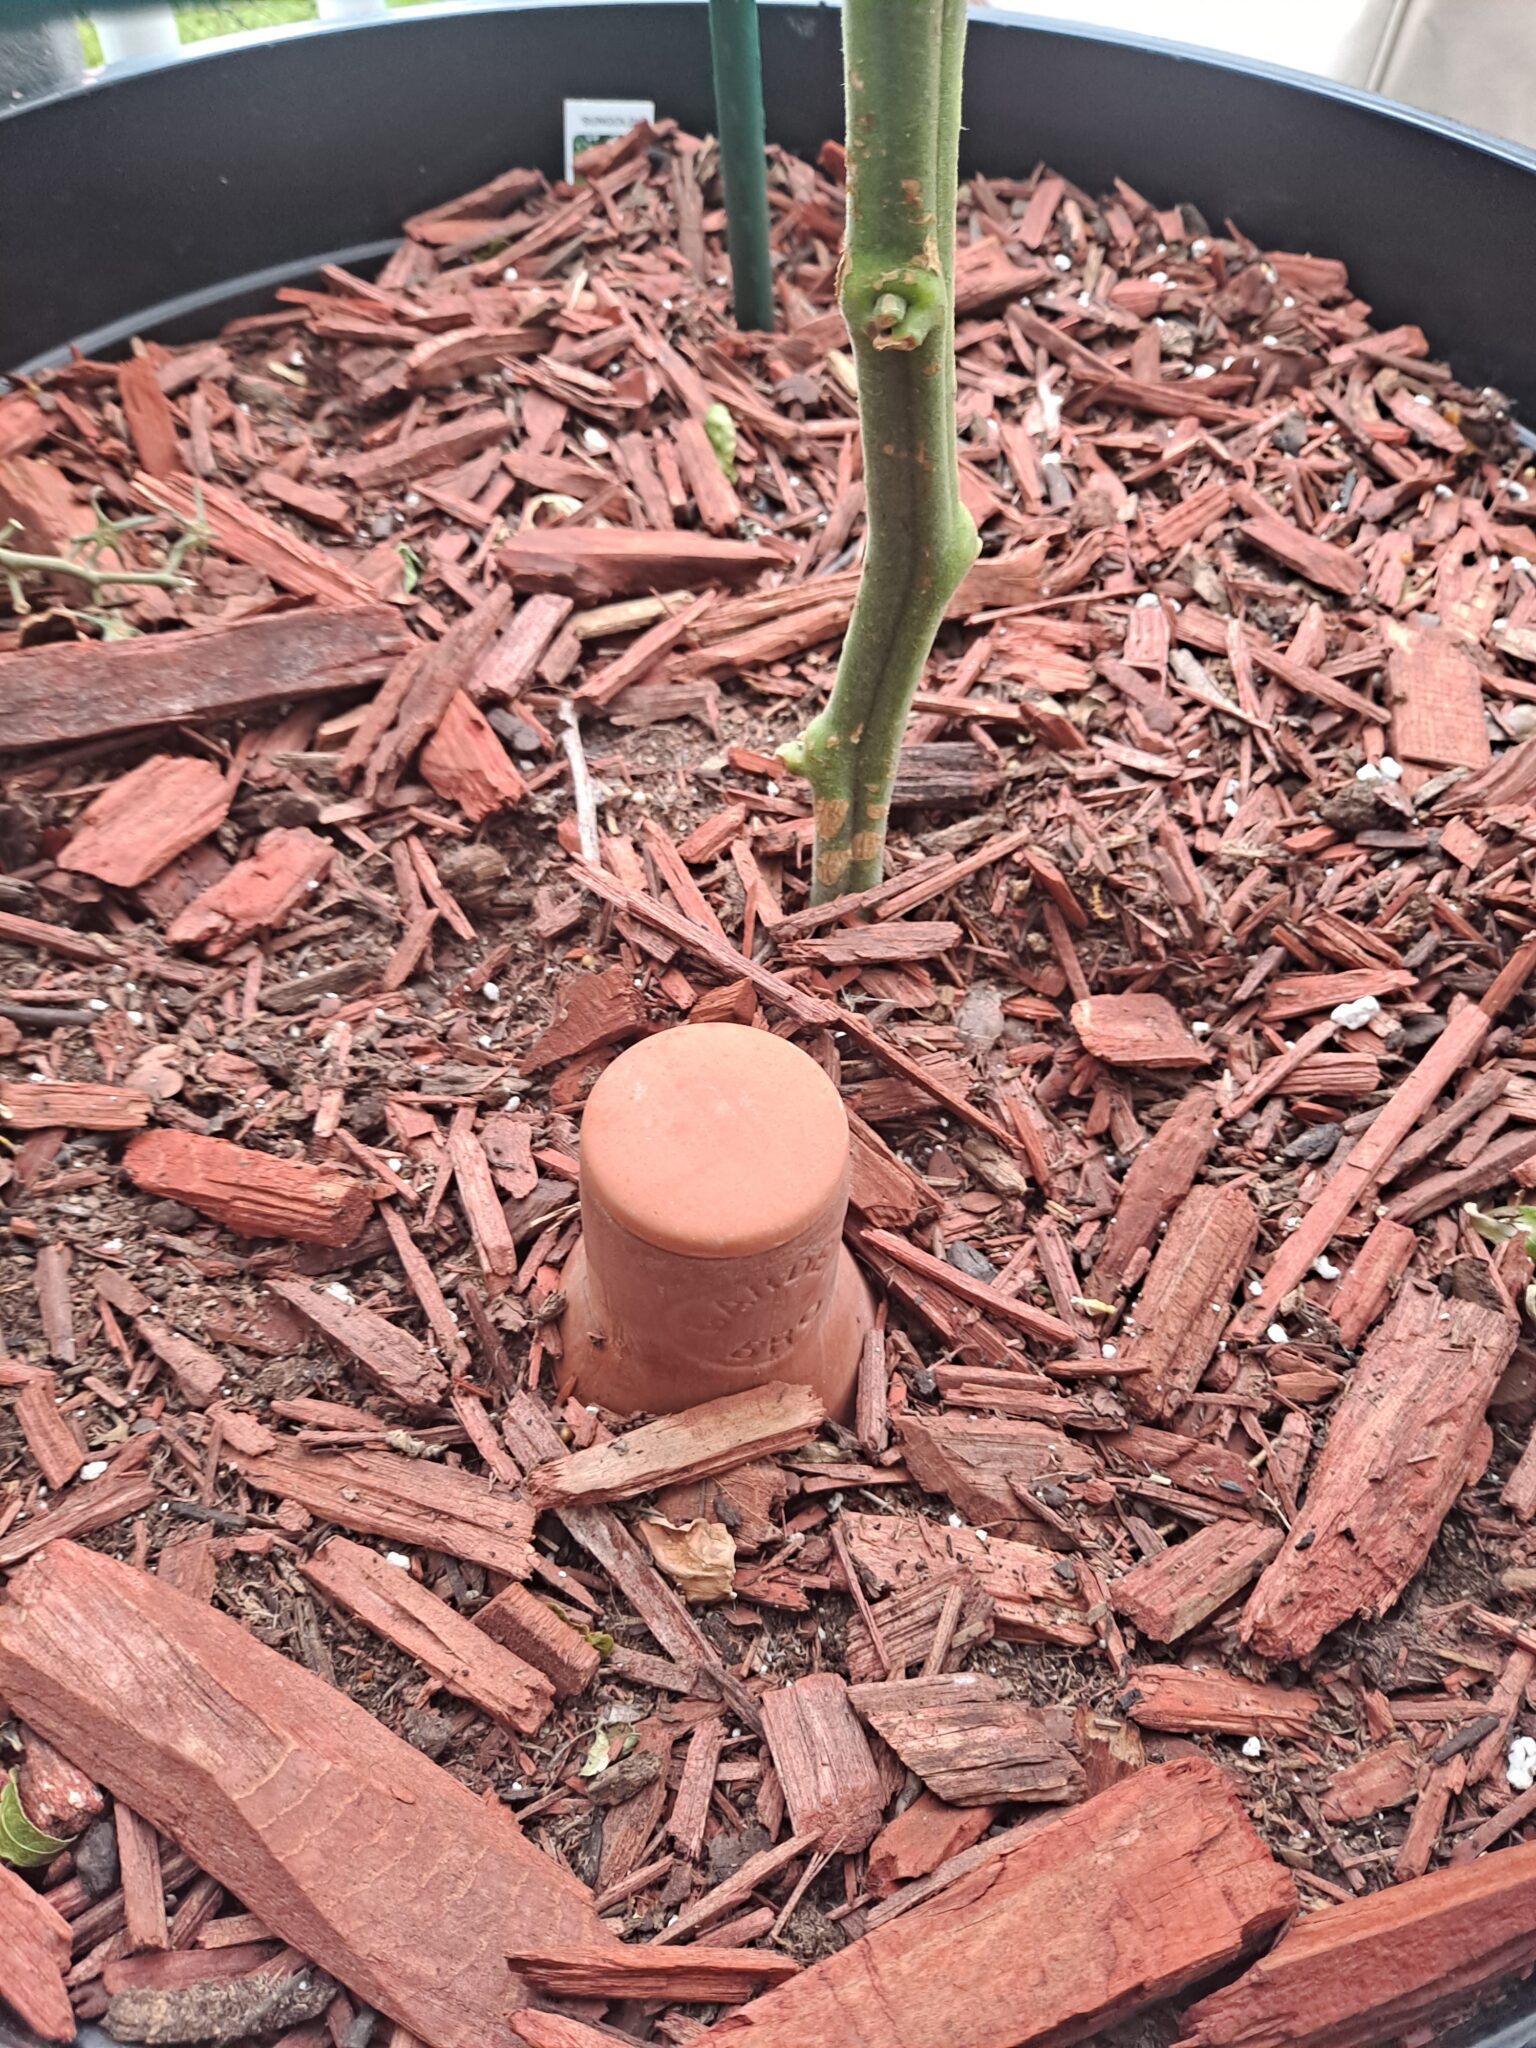
The little terracotta jar with a lid that you see in front of the tomato stem is called an olla (pronounced “oya”). You plant an olla up to its neck, and then fill it with water. Farmers have been using this technique for millennia. Of course, they use much bigger pots than what I am using. Mine only holds around 10 ounces of water. Over time, the water leeches out of the pot, and into the soil. This technique help level out the moisture level in the soil. Helps prevent is from drying out, but also prevents overwatering.
I still have to water the barrels, but I find I can get by with watering around every third day; maybe every two days when it gets really hot.
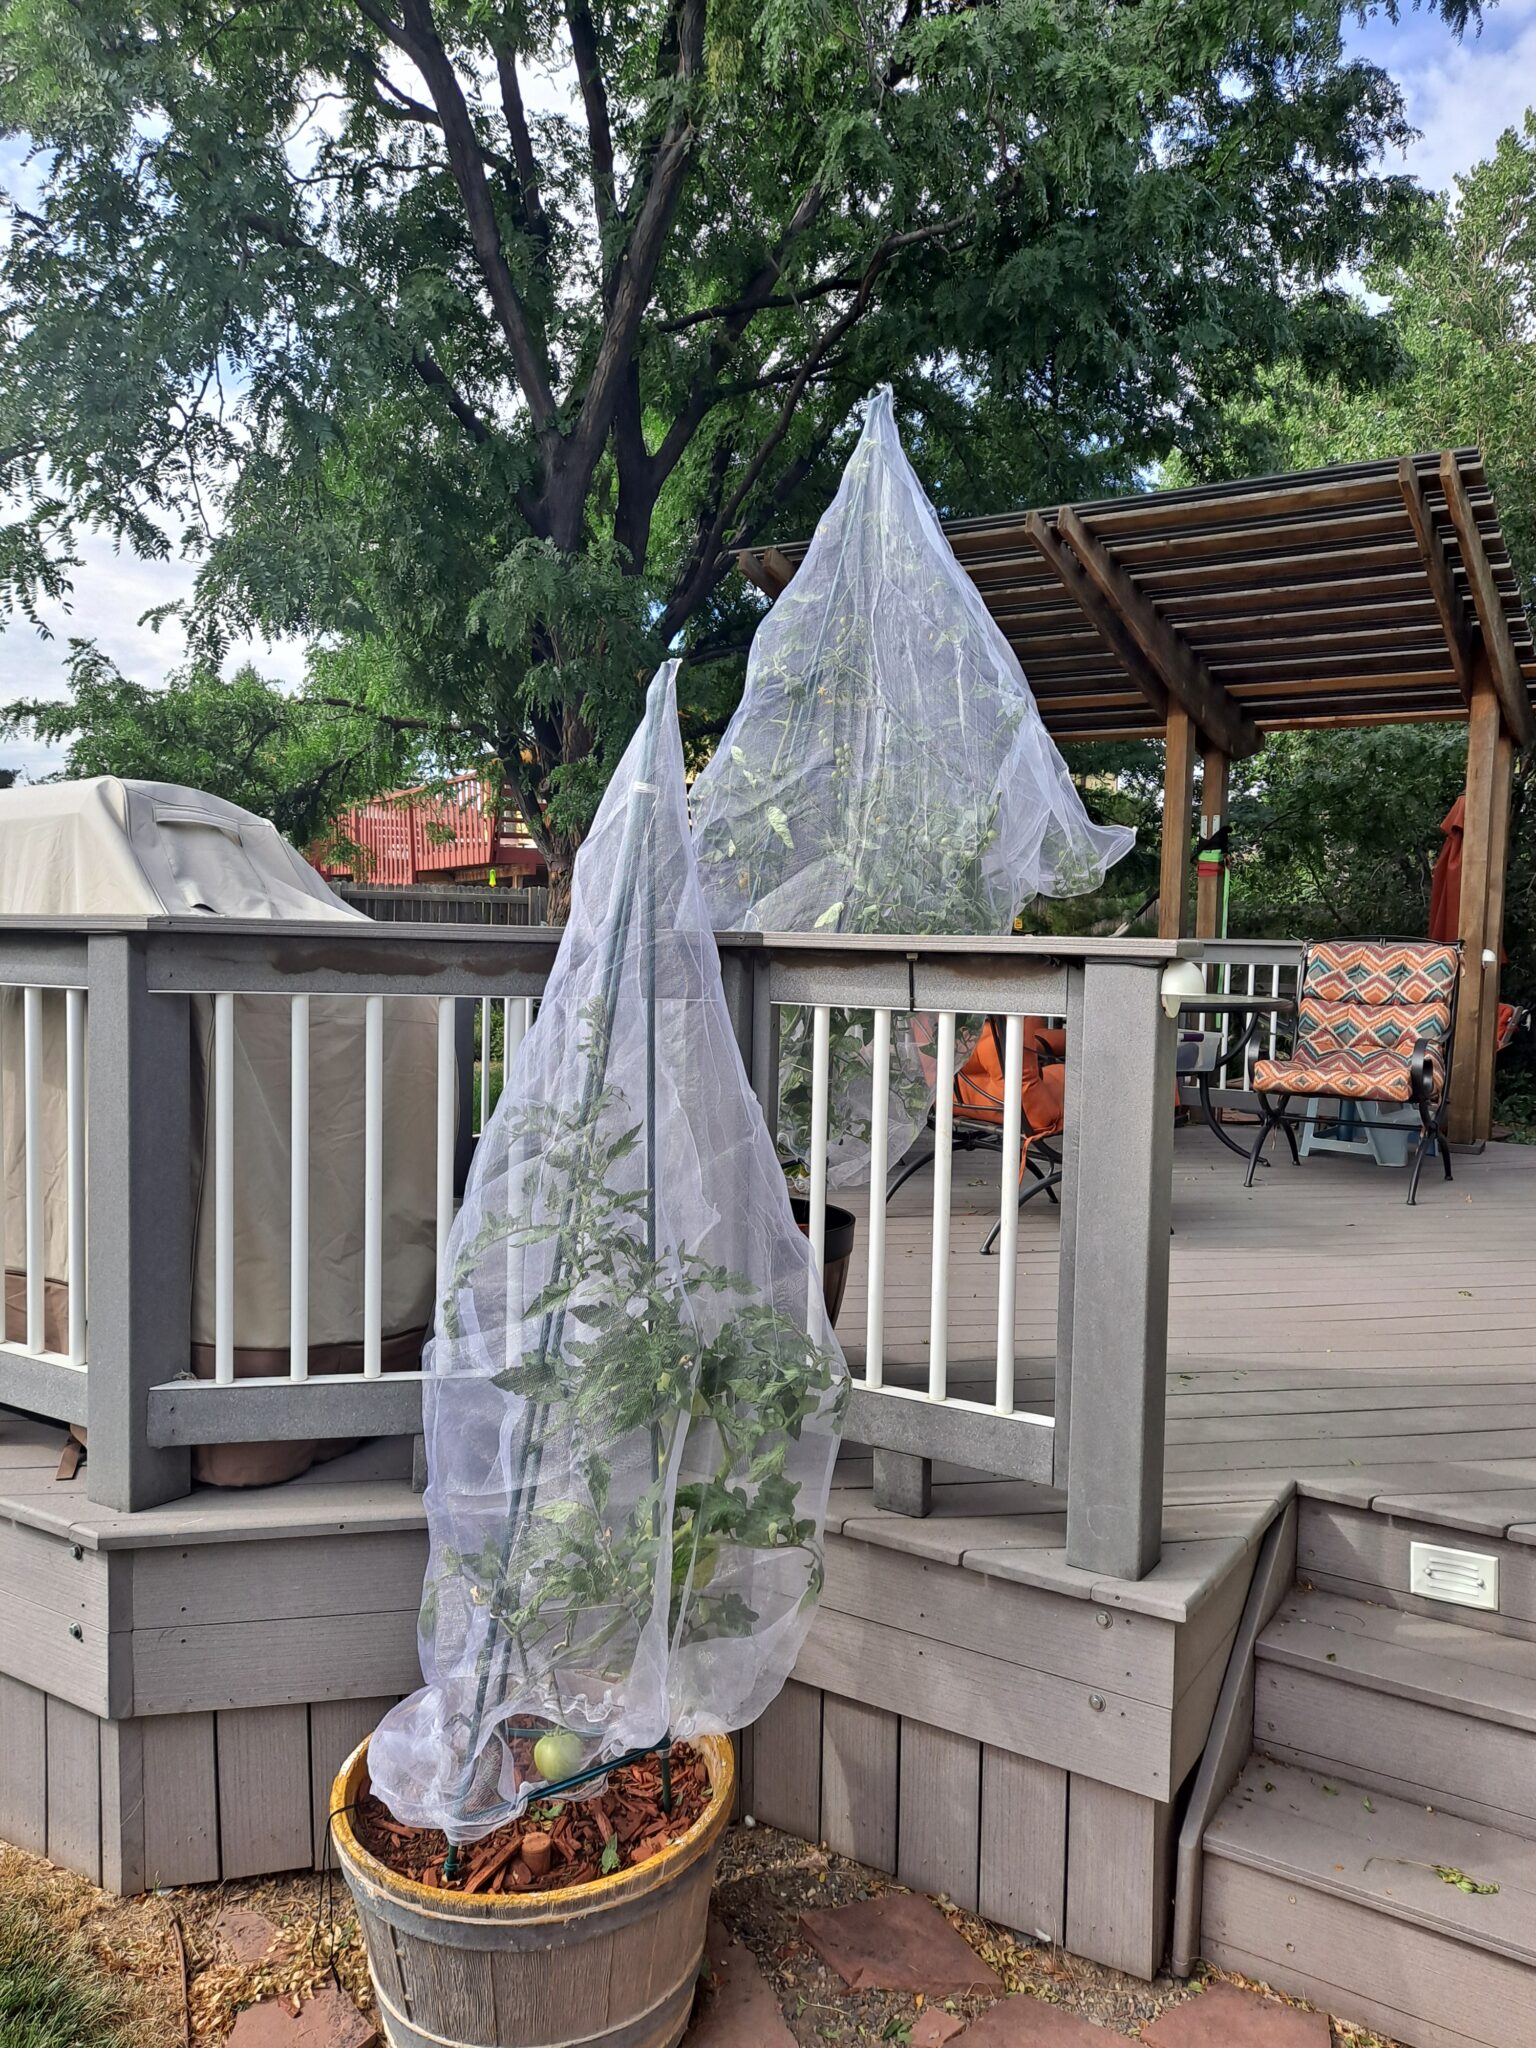
These cloth protectors make it look like our deck is haunted.
Ok, time to talk about the fly in the ointment regarding this year’s tomatoes. Things were going great, until about the middle of July. That’s when the squirrels discovered the plants. Or maybe it is just one squirrel doing the damage. I’m not sure, since I don’t know them by name. Either way, it/they went to town on the slowly ripening fruit.
I tried several deterrents. I had some bird netting that I threw over the plants. They were useless, because the squirrel(s) in question just reached through the gaps in the netting. I tried chemical deterrents such as coyote urine and peppermint sprays. The squirrel(s) just laughed at me. Finally, in desperation, I found some fine mesh covers specifically to protect plants such as tomatoes on Amazon. They seem to be working, because I am no longer finding half eaten tomatoes on the railing of the deck. Plus, these deterrents will prevent hawkmoths from laying their eggs on the plants. Eggs which eventually hatch into the dreaded tomato hornworms.
Now, the bad news…
That’s the upsides of these covers. There are two downsides. One, it’s a hassle to harvest the tomatoes and prune branches that are getting out of control. That’s just a minor annoyance for me. The other problem, and it’s a big one, is that it’s not just hawkmoths that are kept out. All the various pollinators that spread pollen, thus making more tomatoes, are denied access as well. No pollination, no tomatoes.
Fortunately, tomato plants are also self-pollinating, which means they can be pollinated by other factors, such as the wind. To help pollinate the plants, every time I water them I give them a vigorous 10 second shake. Hopefully, this technique will prove effective.
Darwin in the garden
As I grow older, and theoretically wiser, I find I have less tolerance for plants that underperform. In years past I would devote extra attention and resources trying to rescue plants that were struggling. After all, the things are damned expensive, and even more so these past couple of years. Also, I had obviously bought them for a reason, so it would make sense to want to see them succeed.
However, I have come to realize that my success rate at saving weak plants has been abysmal. The plants are struggling for a reason, and my efforts at coddling them has so far not made a difference.
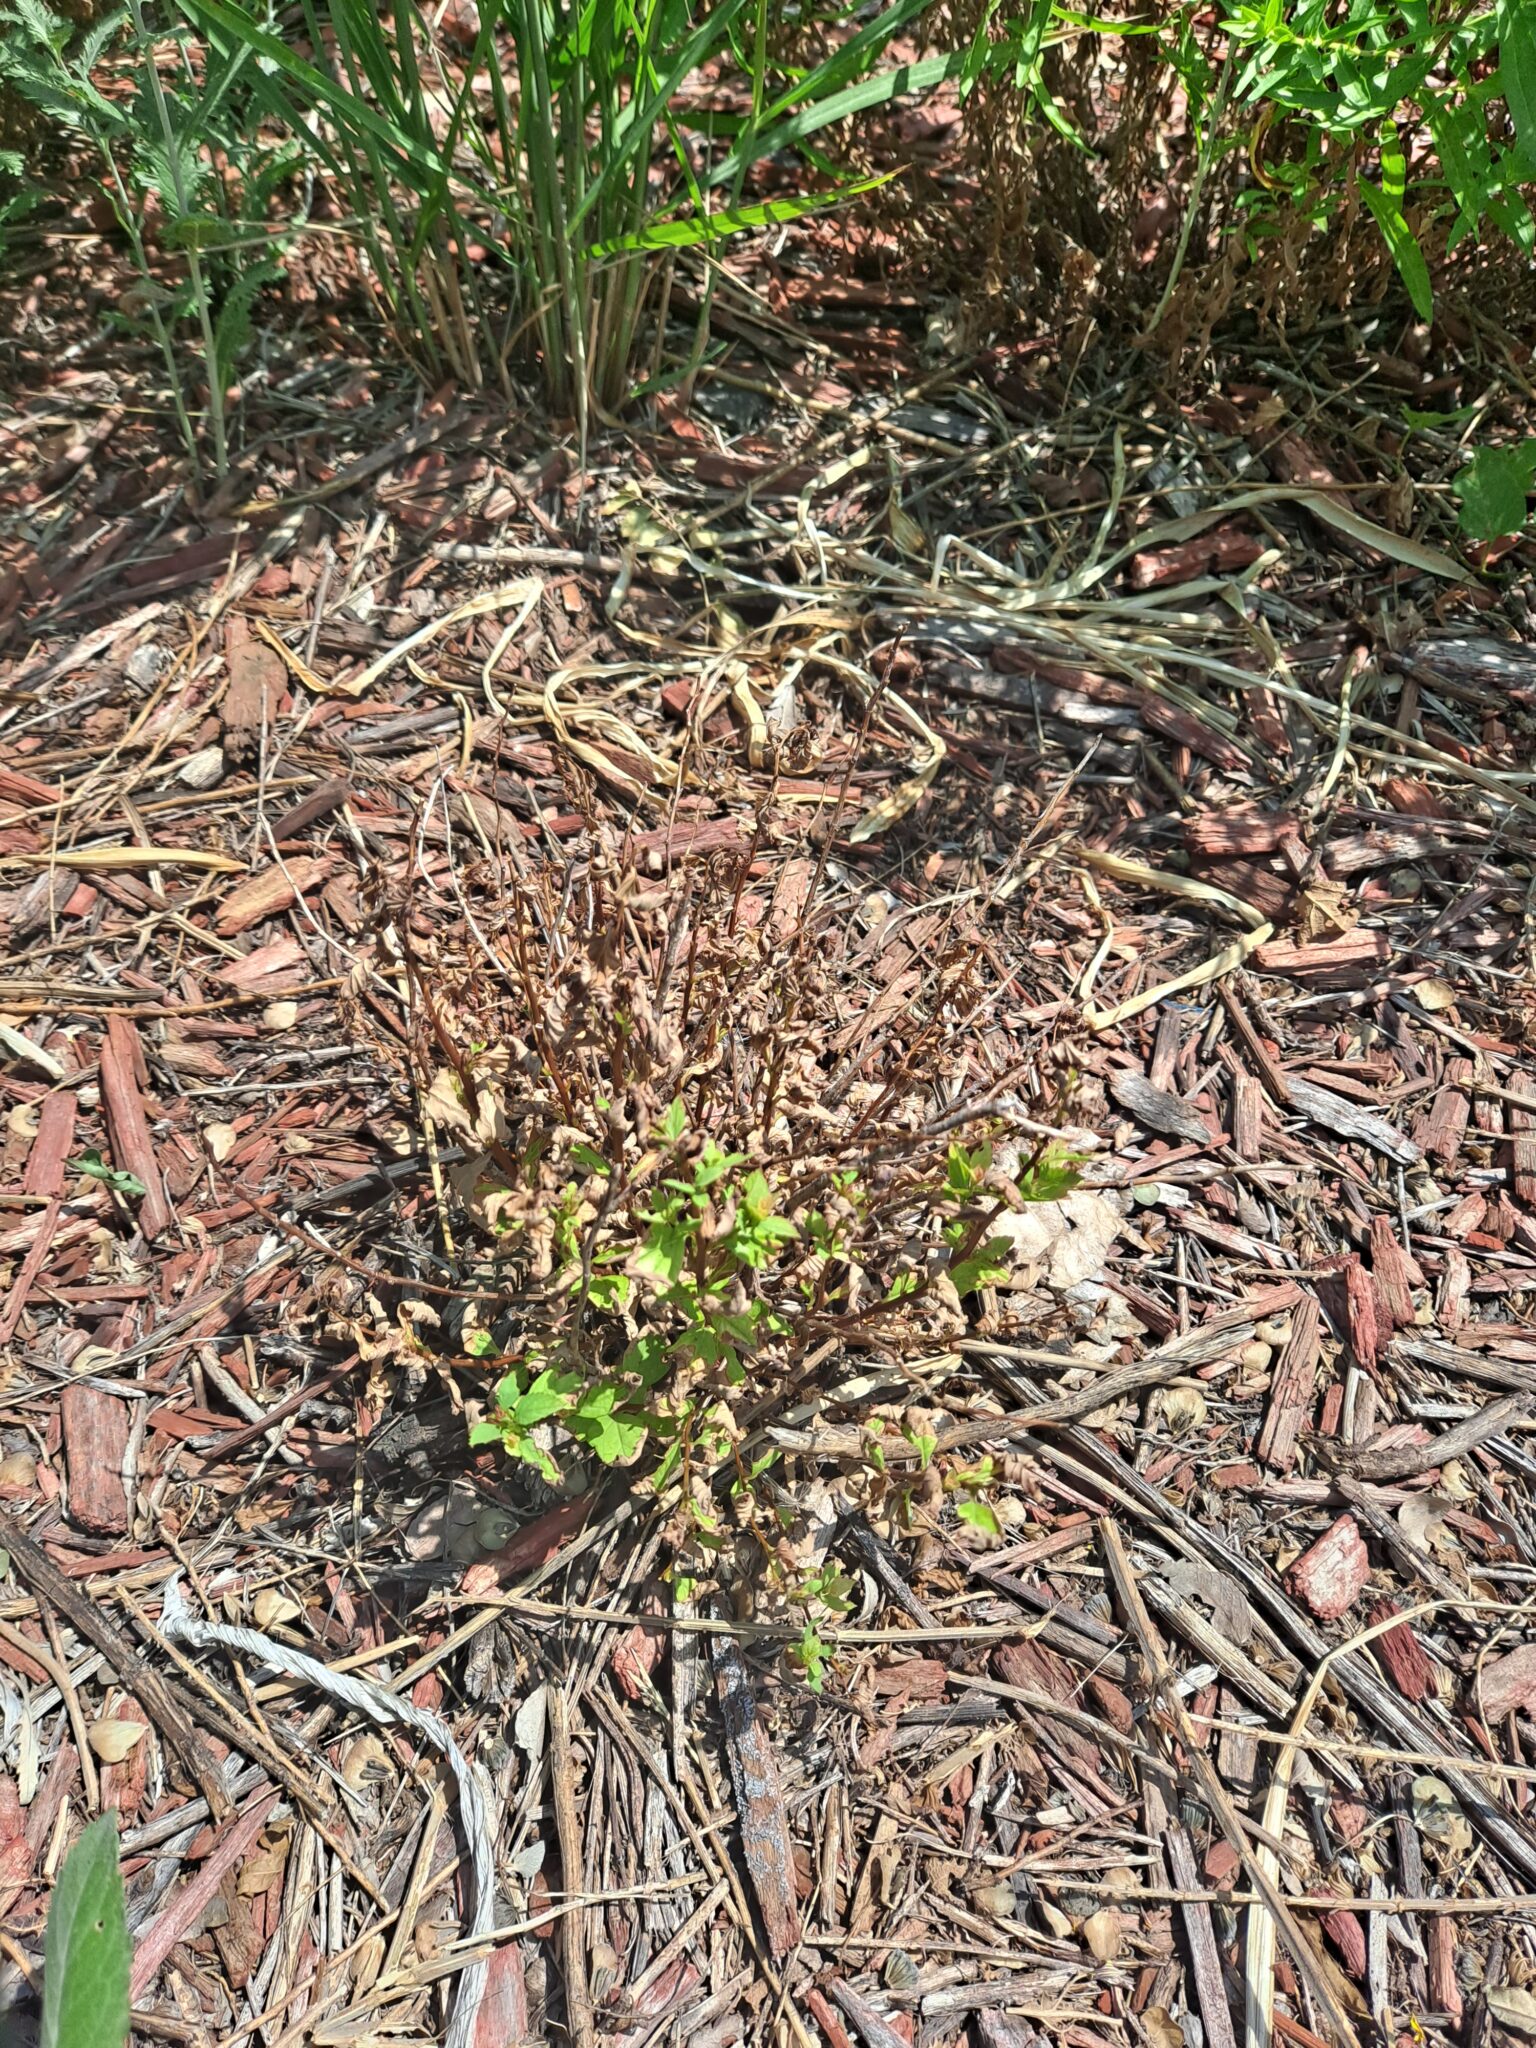
For example, take a look at this ‘Glo-girl’ spirea shrub in the photo below. It has been in the Vintage garden for years. Originally, I planted it in the border in front of the deck. In my memory, I seem to recall it did ok for a few years. But over time it slowly began to fade. I deduced that it wasn’t getting enough sunlight because our honeylocust shade tree had matured. So, I moved the shrub to another border, one where it would get more sun.
And the rabbits promptly ate it to the ground.
Ok, that’s not the plants fault. I wrapped hardware cloth around it to keep critters at bay, and left it on for a full year. And in the subsequent growing season, I gave this little shrub a little extra fertilizer or compost. And during hot spells, it got more water than its neighbors. And still, after years of nursing it along, it was no bigger than when I transplanted it.
Mid-July, and this spirea already looks half dead.
This spring, I decided it was sink-or-swim time for this plant. I’ve coddled it for over 5 years, more than enough time for it to get established. And yet, it already looks like crap, and we’re only in mid-summer. Sadly, sometimes you have to be ruthless as a gardener. Come autumn, I’m yanking this sucker out. I’ll figure out what I want to replace it with during the cold months of winter.
Using Excel to track the garden through the seasons
One of these days, I really should create a database to help me track all the plants in the Vintage garden. There are times when I have no idea where I put a plant, and if it even came back. I actually created a Excel spreadsheet for this purpose last year, and I used it to track such things as plant names and varieties, locations, water requirements, light requirements, and bloom times. I was quickly reminded that data entry is a slow and tedious process. After filling in about 20 cells, I decided to quit for a while and start up again on another day. The spreadsheet has not been opened since.
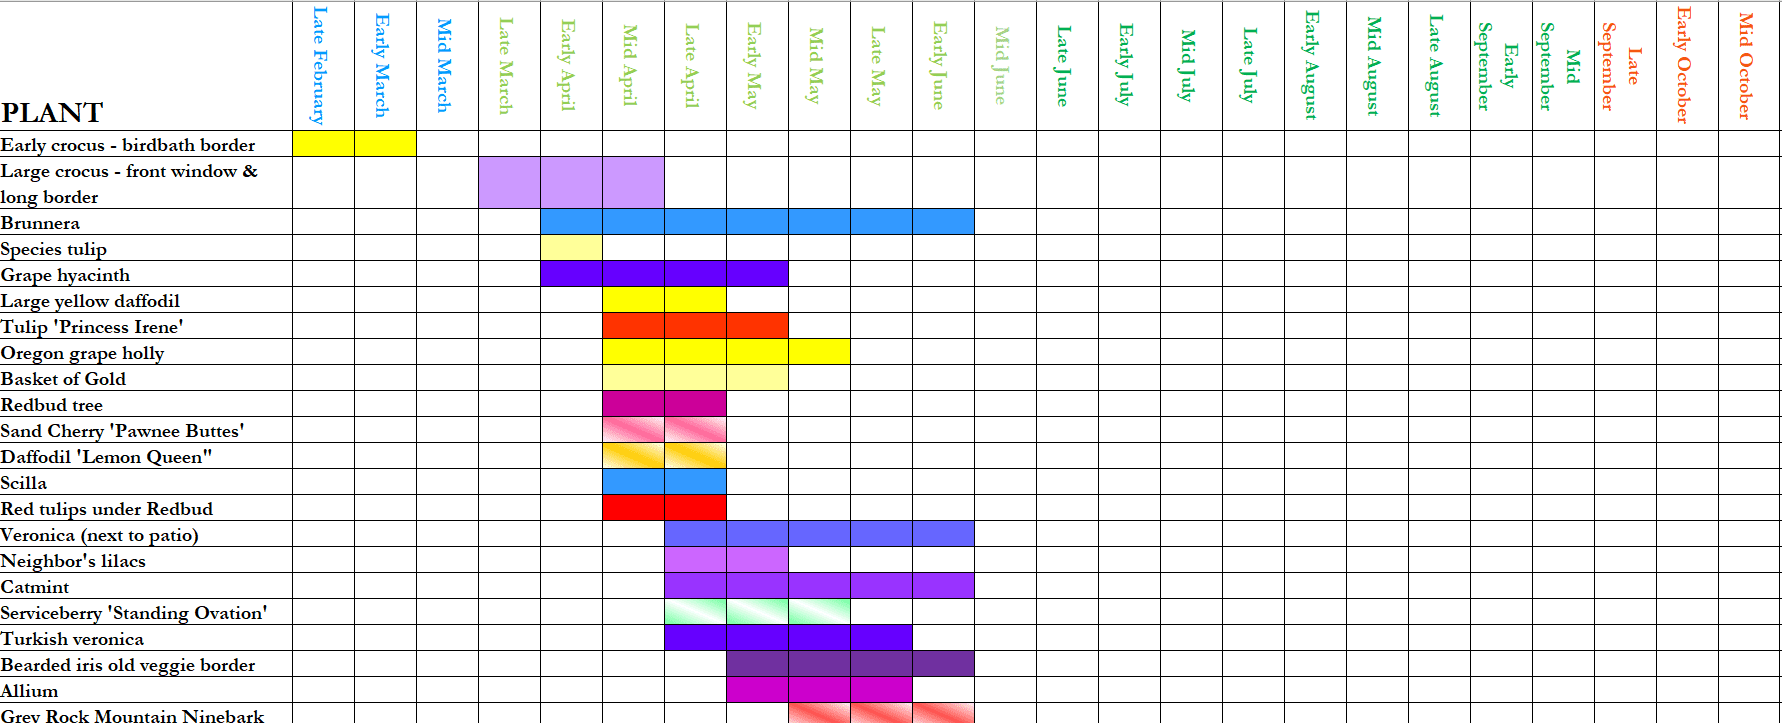
This past winter, while scrolling through a garden blog called “The Garden Rant”, I started reading an article by an author who created a “Bloom Calendar”. I wish I could link to it, but I cannot find the article. Anyway, I was inspired and immediately created my own bloom calendar. And here is what it looks like:
While it’s not as informative as the spreadsheet I gave up on, it does give me general idea of what plants that are in the Vintage garden. More importantly, it lets me know whether there are any dull periods during the growing year. I’ve always thought that from early July to early August was a dormant period, where little flowered. To my surprise, this turned out not to be the case. There is a great deal in bloom during the hottest and doggiest-days of summer.
True, the garden during these months are not nearly as exuberant and floriferous as it is from mid-spring to early summer. But to be fair, at no other time of the growing season it is. Oh, very late summer and early autumn can compete in terms vibrant colors, what with the blowtorch foliage display put on by the trees and shrubs. And there are plenty of fall flowers; asters, mums, sedums, and ornamental grasses. But autumn has a different “vibe” to it. In spring, the garden is waking up from its winter nap and is in a hurry to get growing. When autumn rolls around, the landscape is going out with a blaze of glory, as it prepares itself to hibernate through the cold months ahead.
Back to the bloom calendar: if anybody in interested in creating a bloom calendar for their own garden, I would be happy to send you a copy of the spreadsheet (minus my plants of course). Just email me at Mrvintageman2@gmail.com and I will wing one your way.
Cooling off
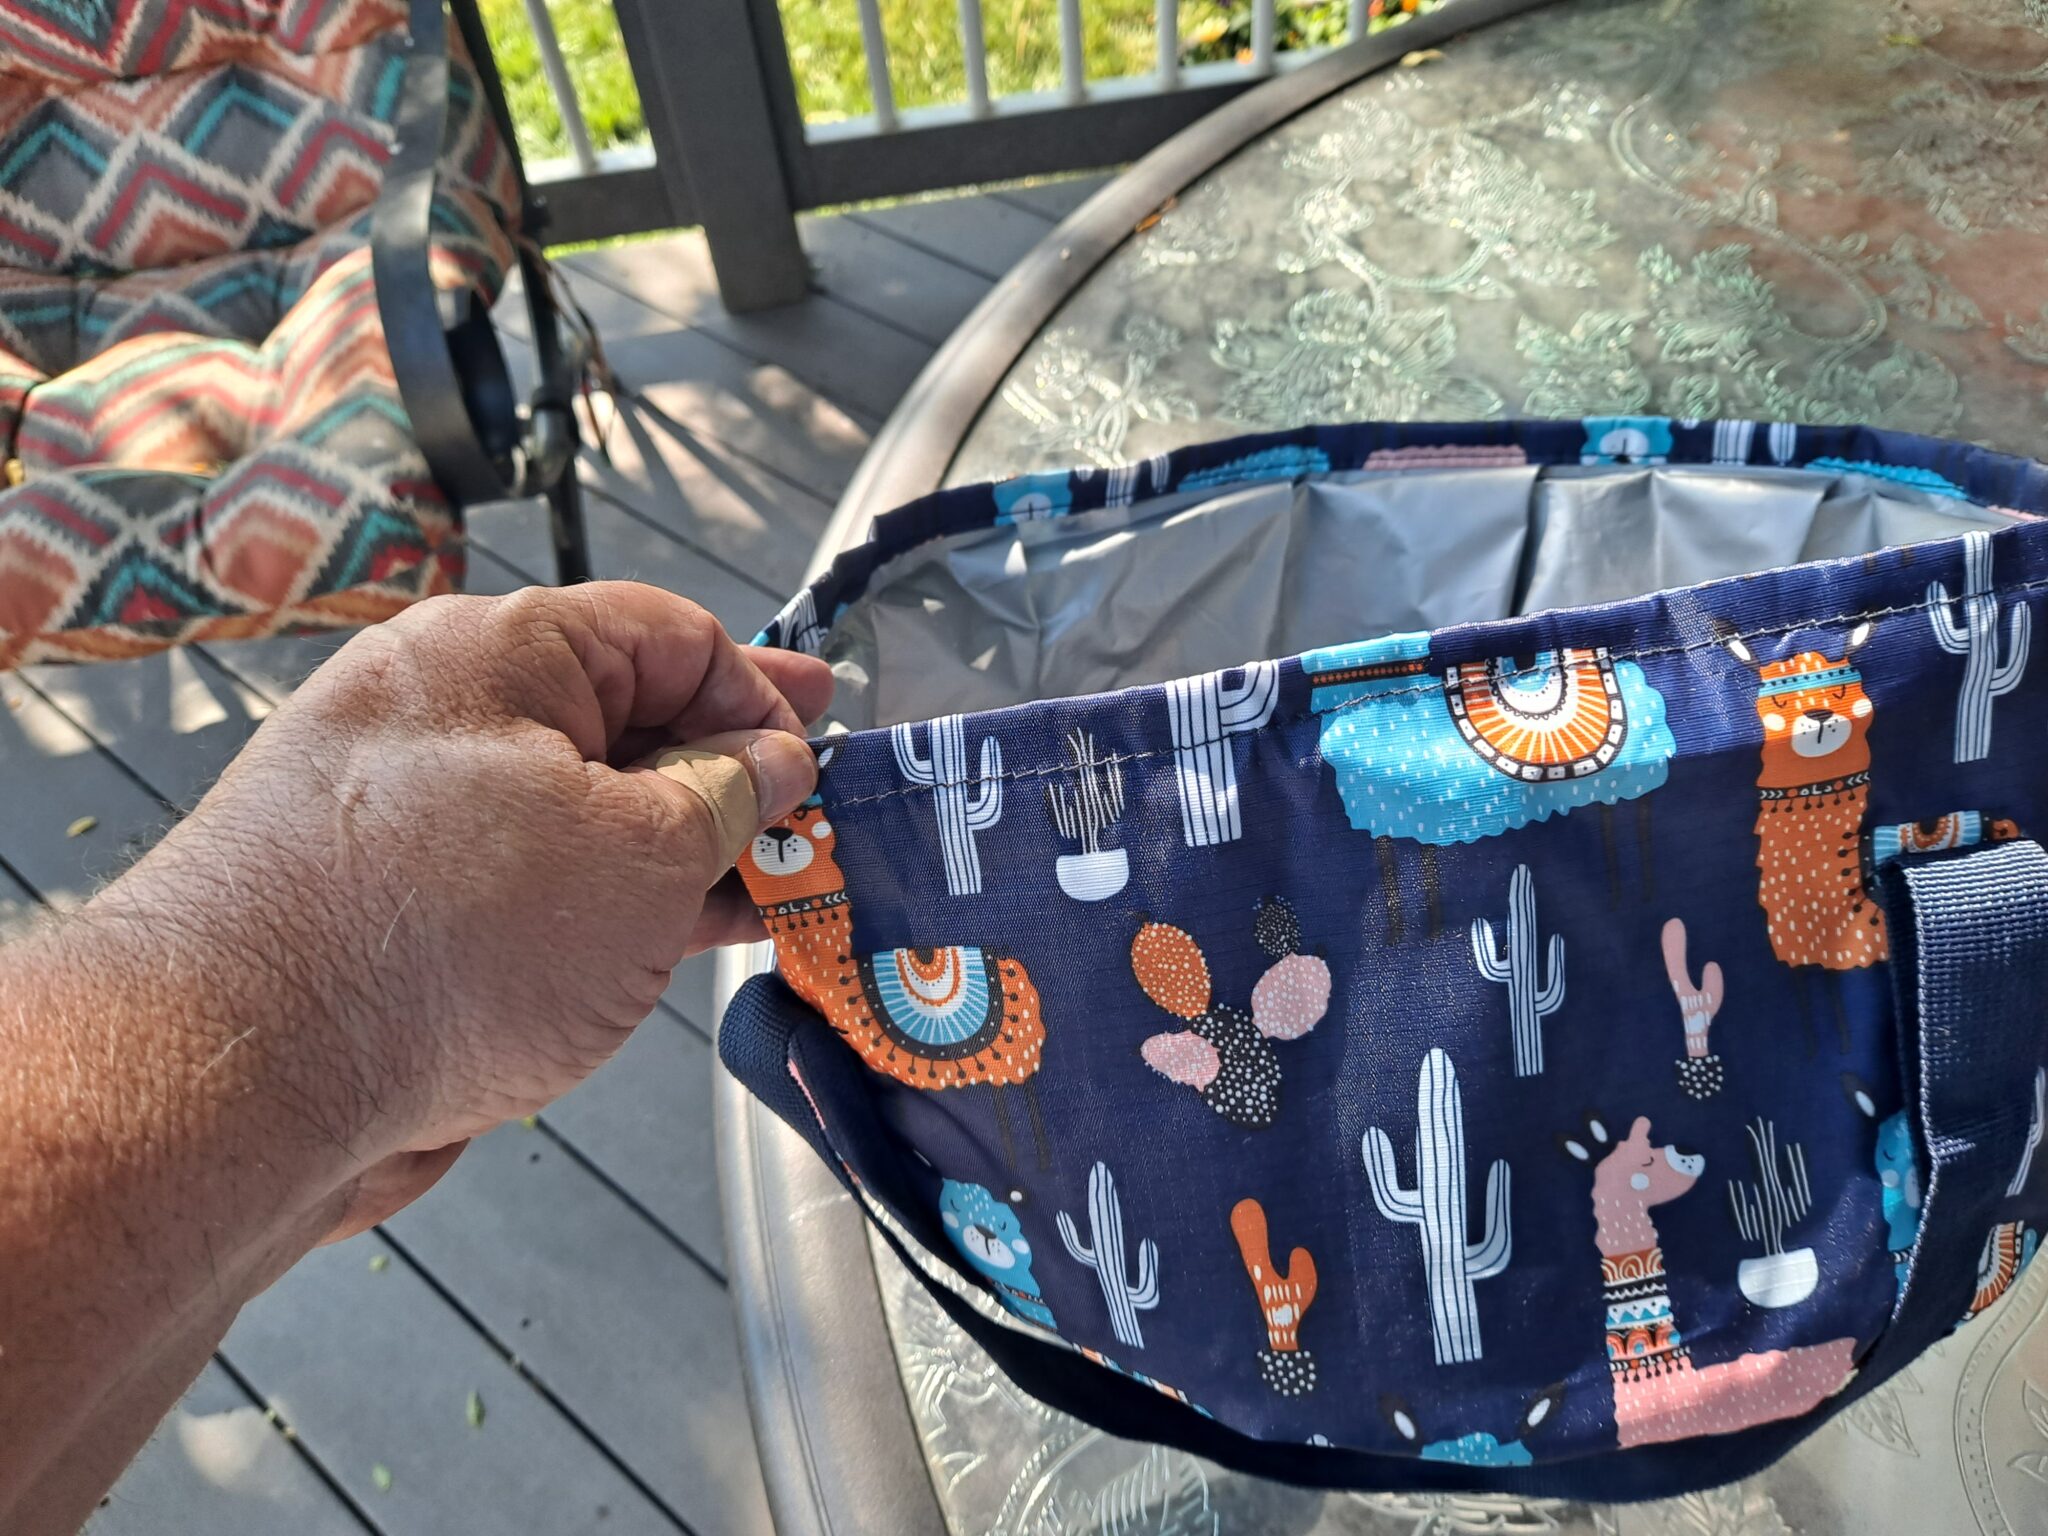
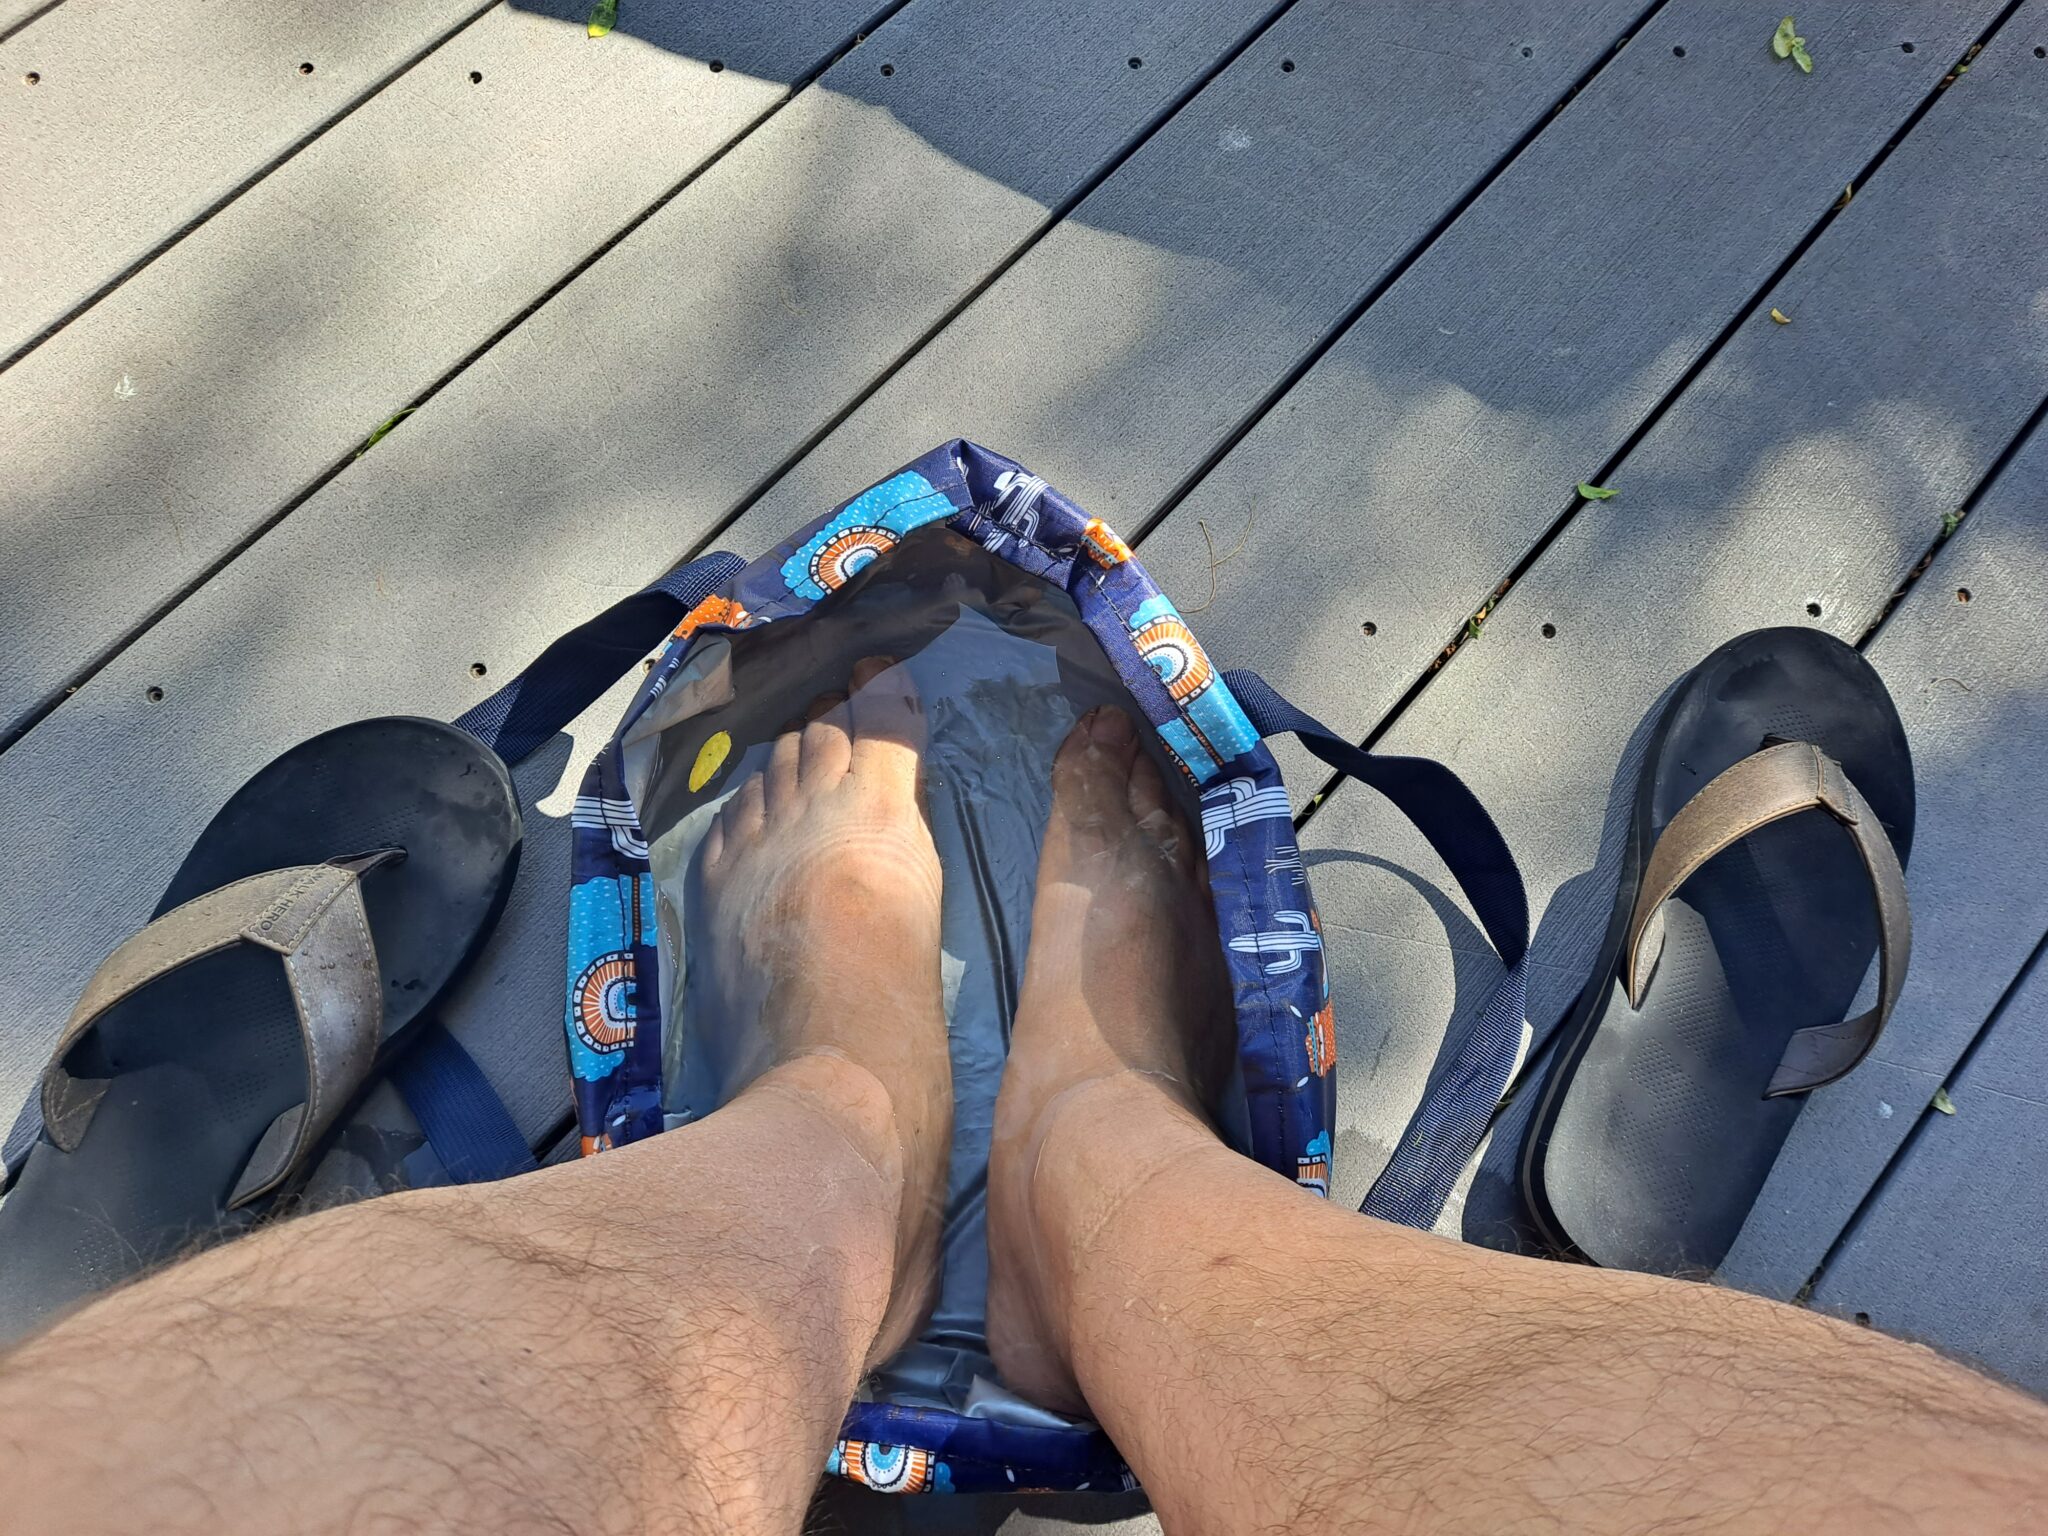
I am always on the lookout for ideas and tools to help me stay cool during the lazy, hazy days of summer. I can’t believe it took me this long to utilize the following item. It’s a multi-purpose waterproof bag with handles. I bought it off Amazon. The description says if for soaking feet, or using as a camping sink, or even as mini-cooler to keep drinks cool. Nice.
Mine comes with llamas (alpacas?) which are from South America, mingling with saguaro cactus which are only found in the Sonoran desert of northern Mexico and southern Arizona. Whatever.
Weird design, but it works!
Anybody who has gone hiking or camping on a hot day knows the quickest way to cool down is to stick one’s feet in a cold stream. That’s because the skin on top of the feet is very thin, and a LOT of blood flows through those feet. Cool the blood down, and viola, you feel refreshed in no time at all.
Aaaaahhhh!
After I’m done working in the garden or riding my bicycle, I fill this baby up with water from the outdoor faucet and plunk my feet in. Immediate relief. I stop sweating with in two minutes, and within 5 minutes my core body temperature is back to normal. No need to add ice, the water from the tap is cold enough.
I give the idea two hearty thumbs up, 5 out of 5 stars, and a “highly recommend”. Try it, you’ll love it.
Finis
Sorry, I know that this was a very long post. But a lot has been going on in the Vintage garden that I wanted to share. I hope you enjoyed it.