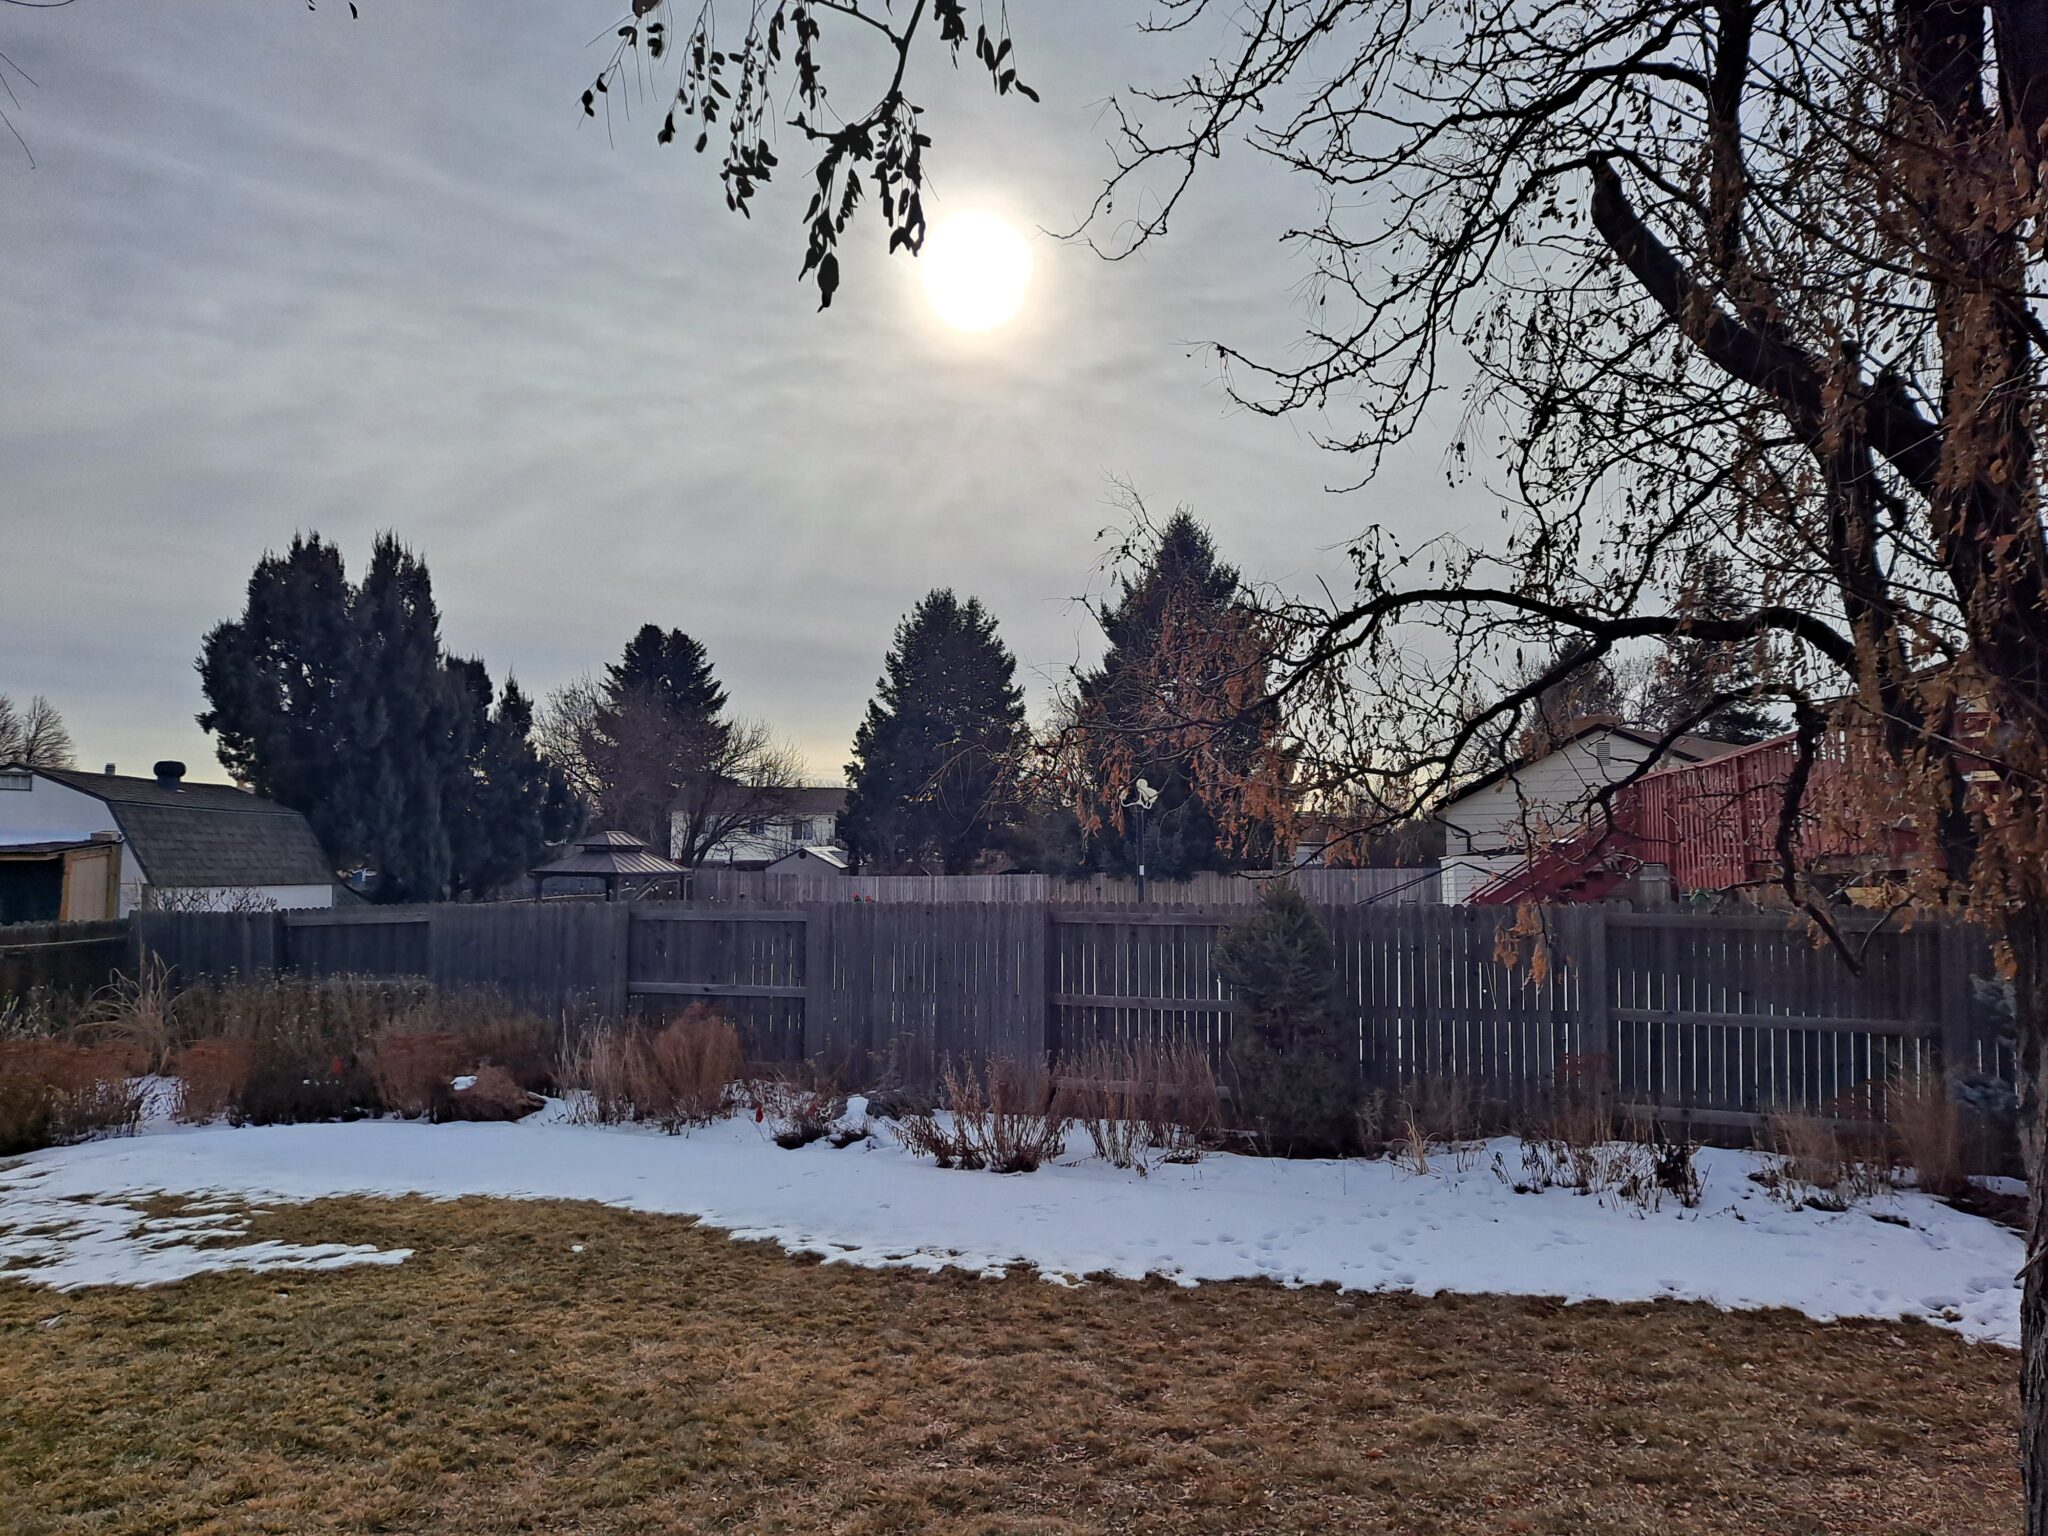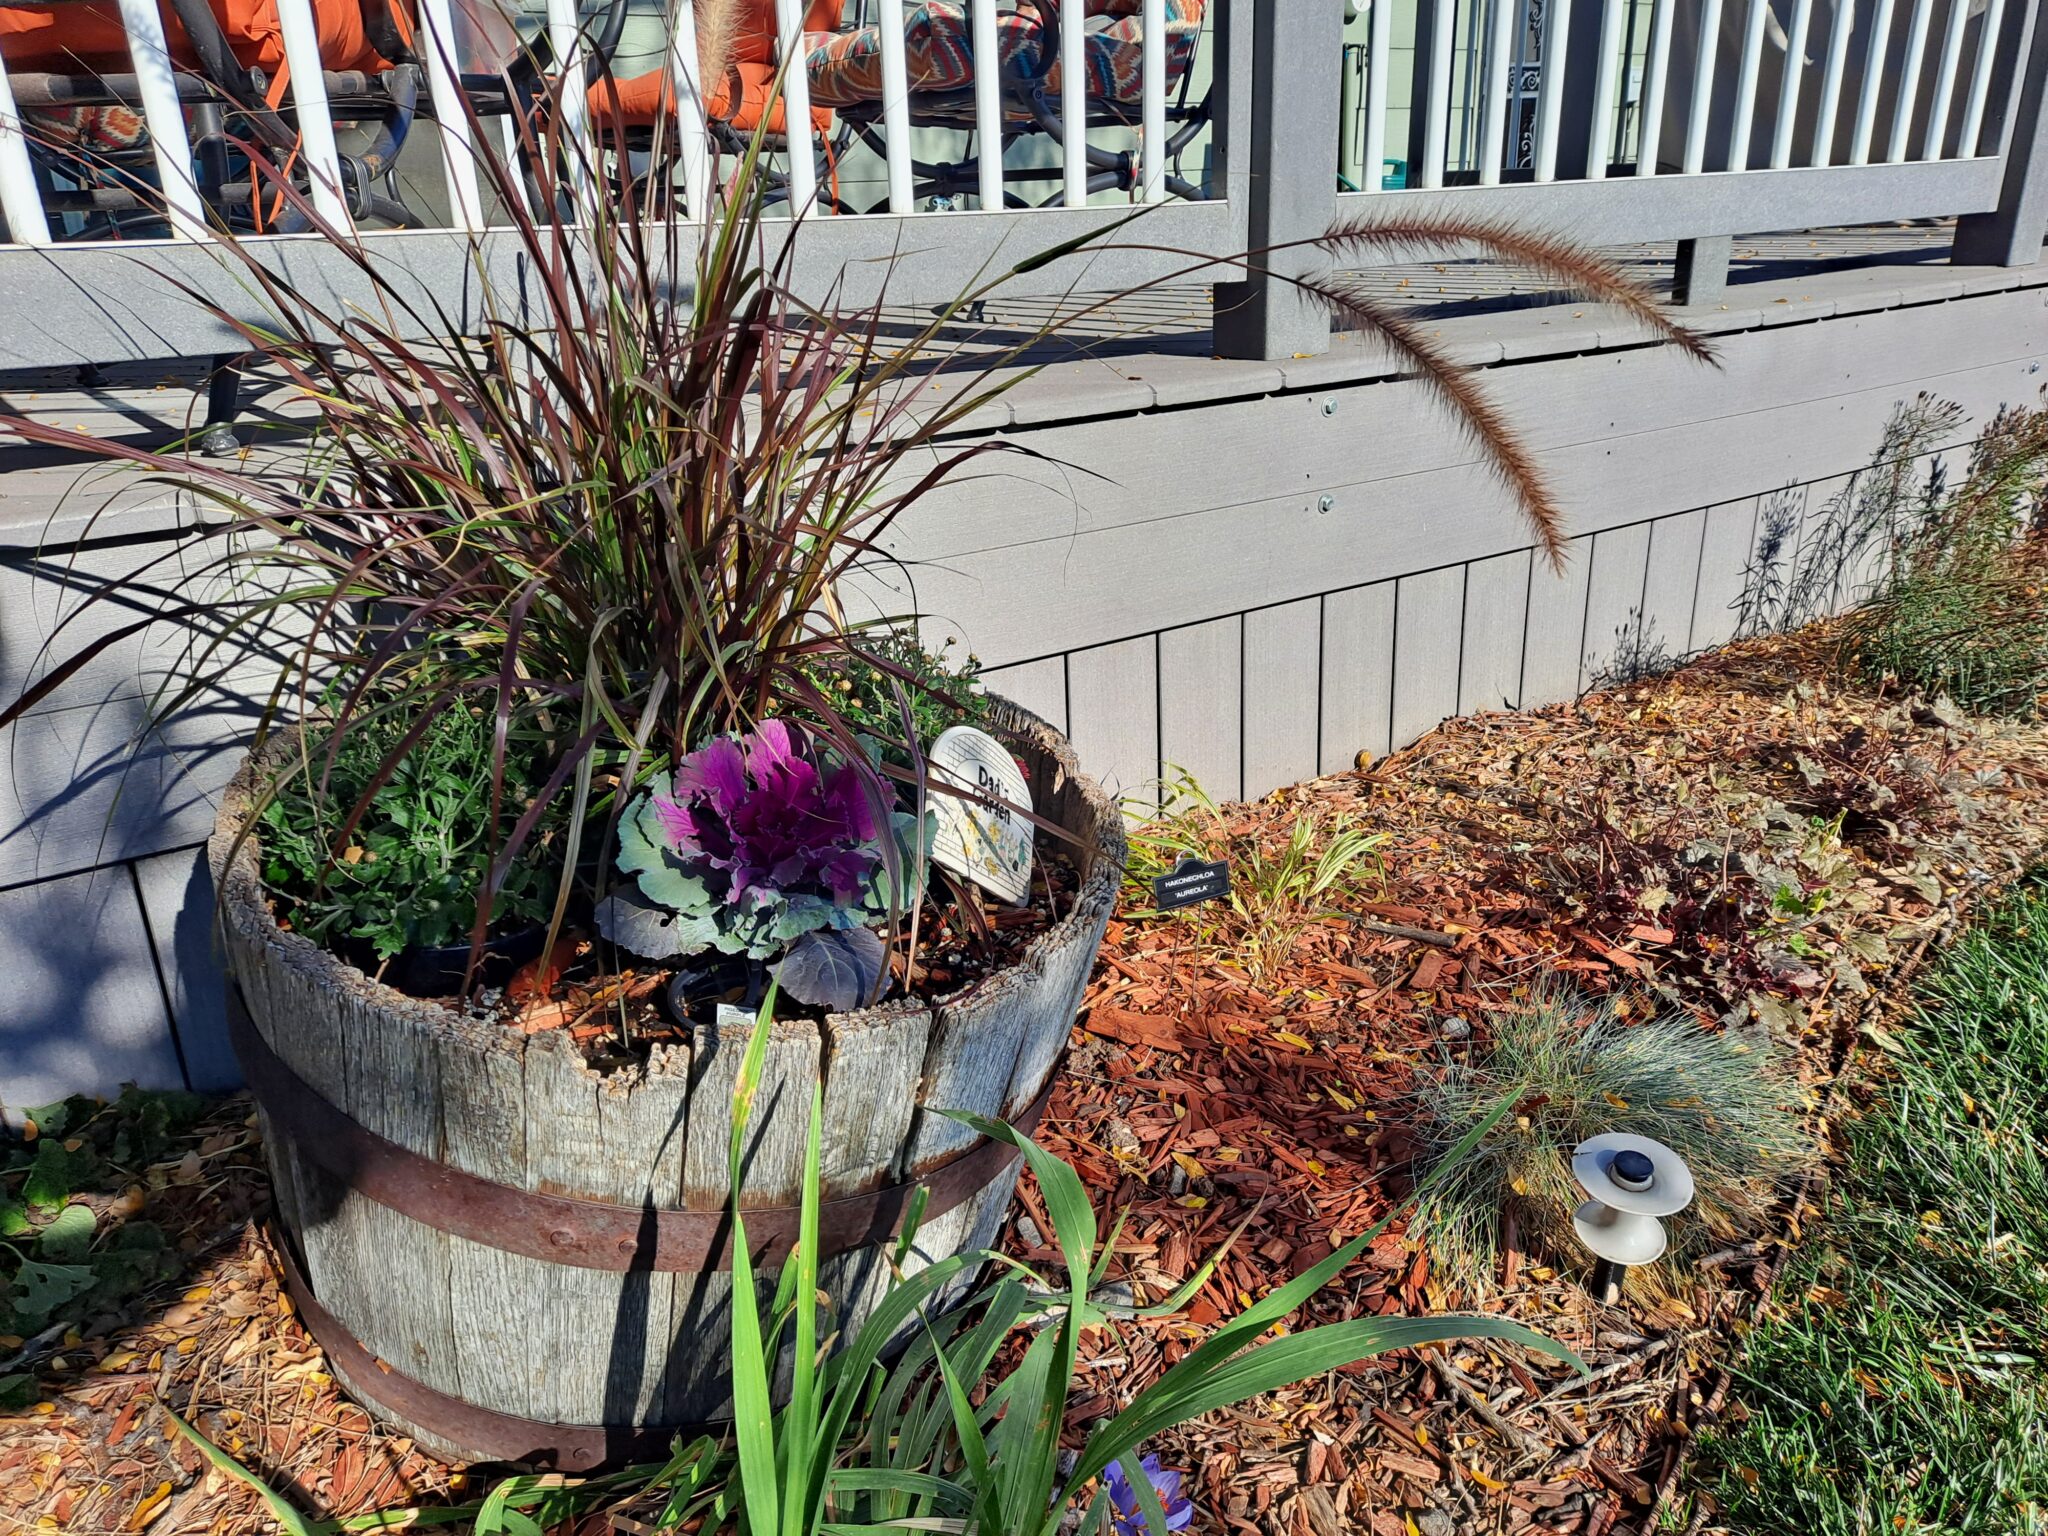
There is an old adage that the gardening year starts on January 1st. I would make the argument that mid-to-late autumn is the actual start date for next year’s garden. Doing some late season yard and garden maintenance now, can pay huge dividends come springtime.
I’ve stated numerous times that I am no garden expert. I’m not a Master Gardener. I have no college degree in horticulture or landscape design. What I do have is over 30 years in making mistakes in the Vintage Garden. Many, many mistakes. However, I have learned much from those mistakes. And that is the important thing when one messes up. Don’t make the same mistakes again.
So here a few things I have learned to do in my own lawn and garden to prepare it for the long winter ahead.
1. Feed your lawn with a winter fertilizer
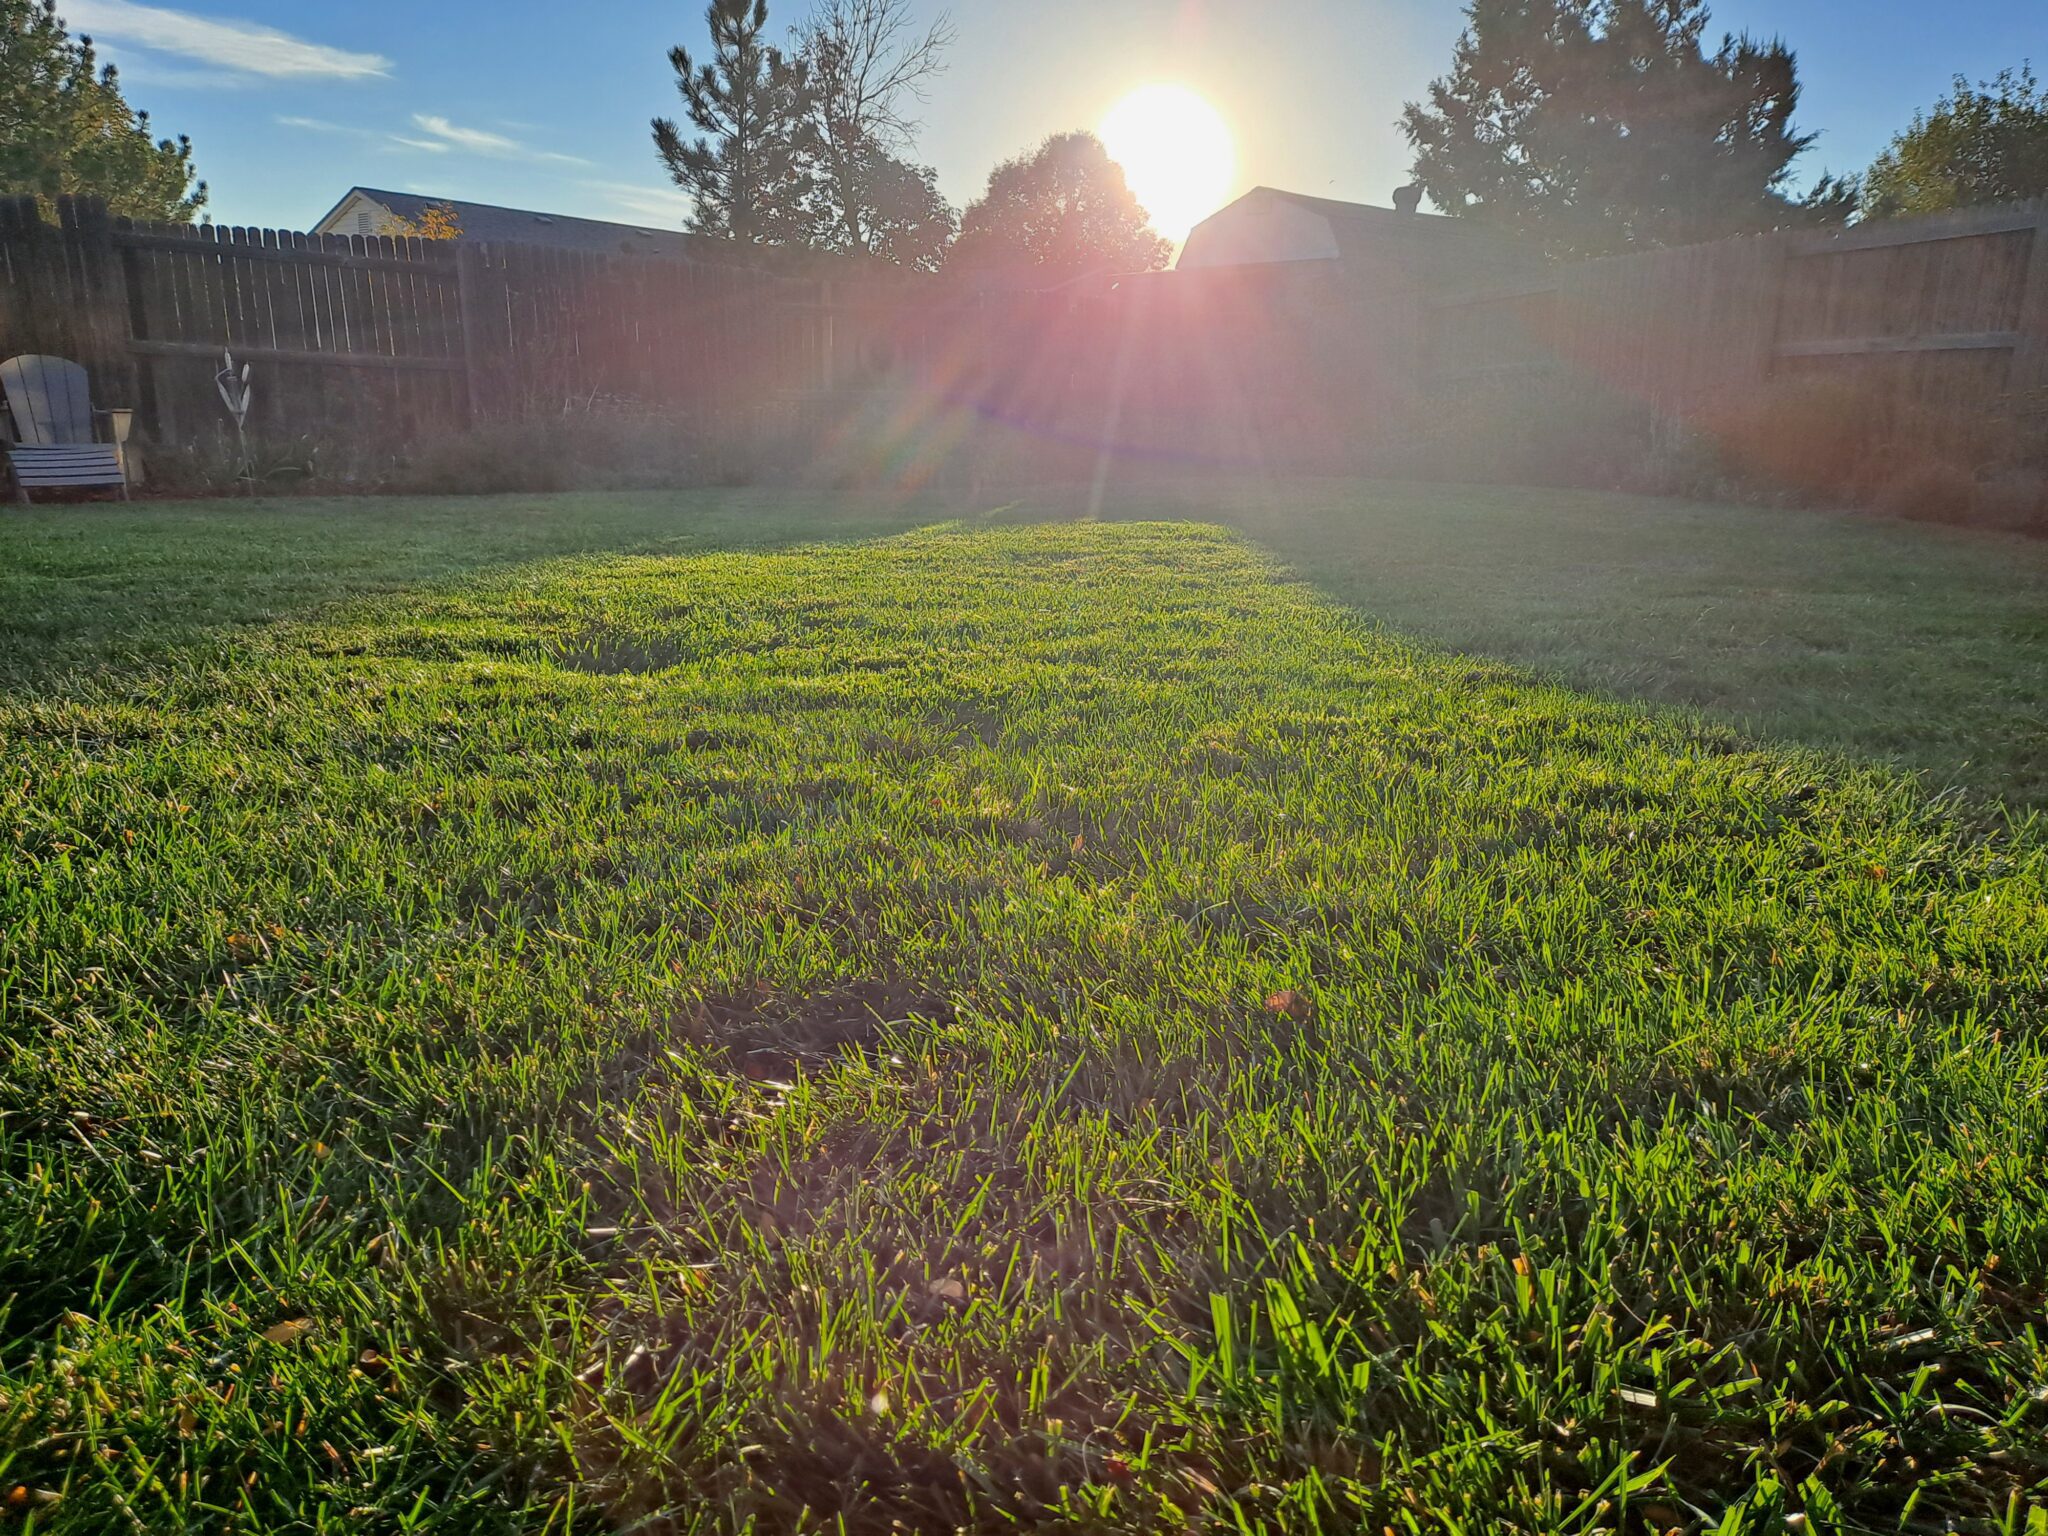
Autumn is in my mind without doubt the best time to fertilize your lawn. I tell you why in a moment, but first, a little background. When you purchase a fertilizer, you will see three numbers on the packaging. For example: 6-2-3. These number are referred to as N-P-K, and indicate the percentage of certain nutrients that the fertilize supplies. The first number (N) is how much Nitrogen will be available to the plant (assuming one applies the correct amount according to directions). Nitrogen helps with plant growth, as well as supplying the nutrients necessary for the plant to produce chlorophyll. The second number (P) stands for phosphorous, which plants need to create a healthy root system. Finally, the third number (K) stands for Potassium, which is important for overall plant health and productivity. Of course, there are usually micronutrient included as well, but lets stick to the big 3.
I like to use an organic fertilizers on my lawn, specifically ones that use dried out chicken poop, or DPW (dehydrated poultry waste). Organic fertilizers are usually slow release, which means their nutrients are available over a longer period of time. And they don’t just feed the plants. They also feed all the little critters microbes so important for healthy soil.
The fall fertilizer I like to use (and I want to make clear I am not being paid to recommend them) is Richlawn Winterizer (https://therichlawncompany.com/) . Richlawn is a Colorado company, and their fertilizers are formulated specifically to work in our alkaline soils The winterizer has an N-P-K of 12–2–6, along with the addition of iron & Sulphur. These extra amendments are very important for gardeners in the West. Iron in alkaline soils is very hard for plants to extract. Sulphur helps acidify soil. By adding Sulphur, the soil is temporarily less alkaline. The iron supplement is in ferrous form, which the grasses can more readily access.
I should note that you want to get your fall fertilizer down while the grass is still green. Here along Colorado’s Front Range, it is often suggested putting it down sometime around Columbus Day.
An application of fertilizer in autumn will help the lawn endure the harsh winter months ahead.
2. Lower the height of your lawnmower deck
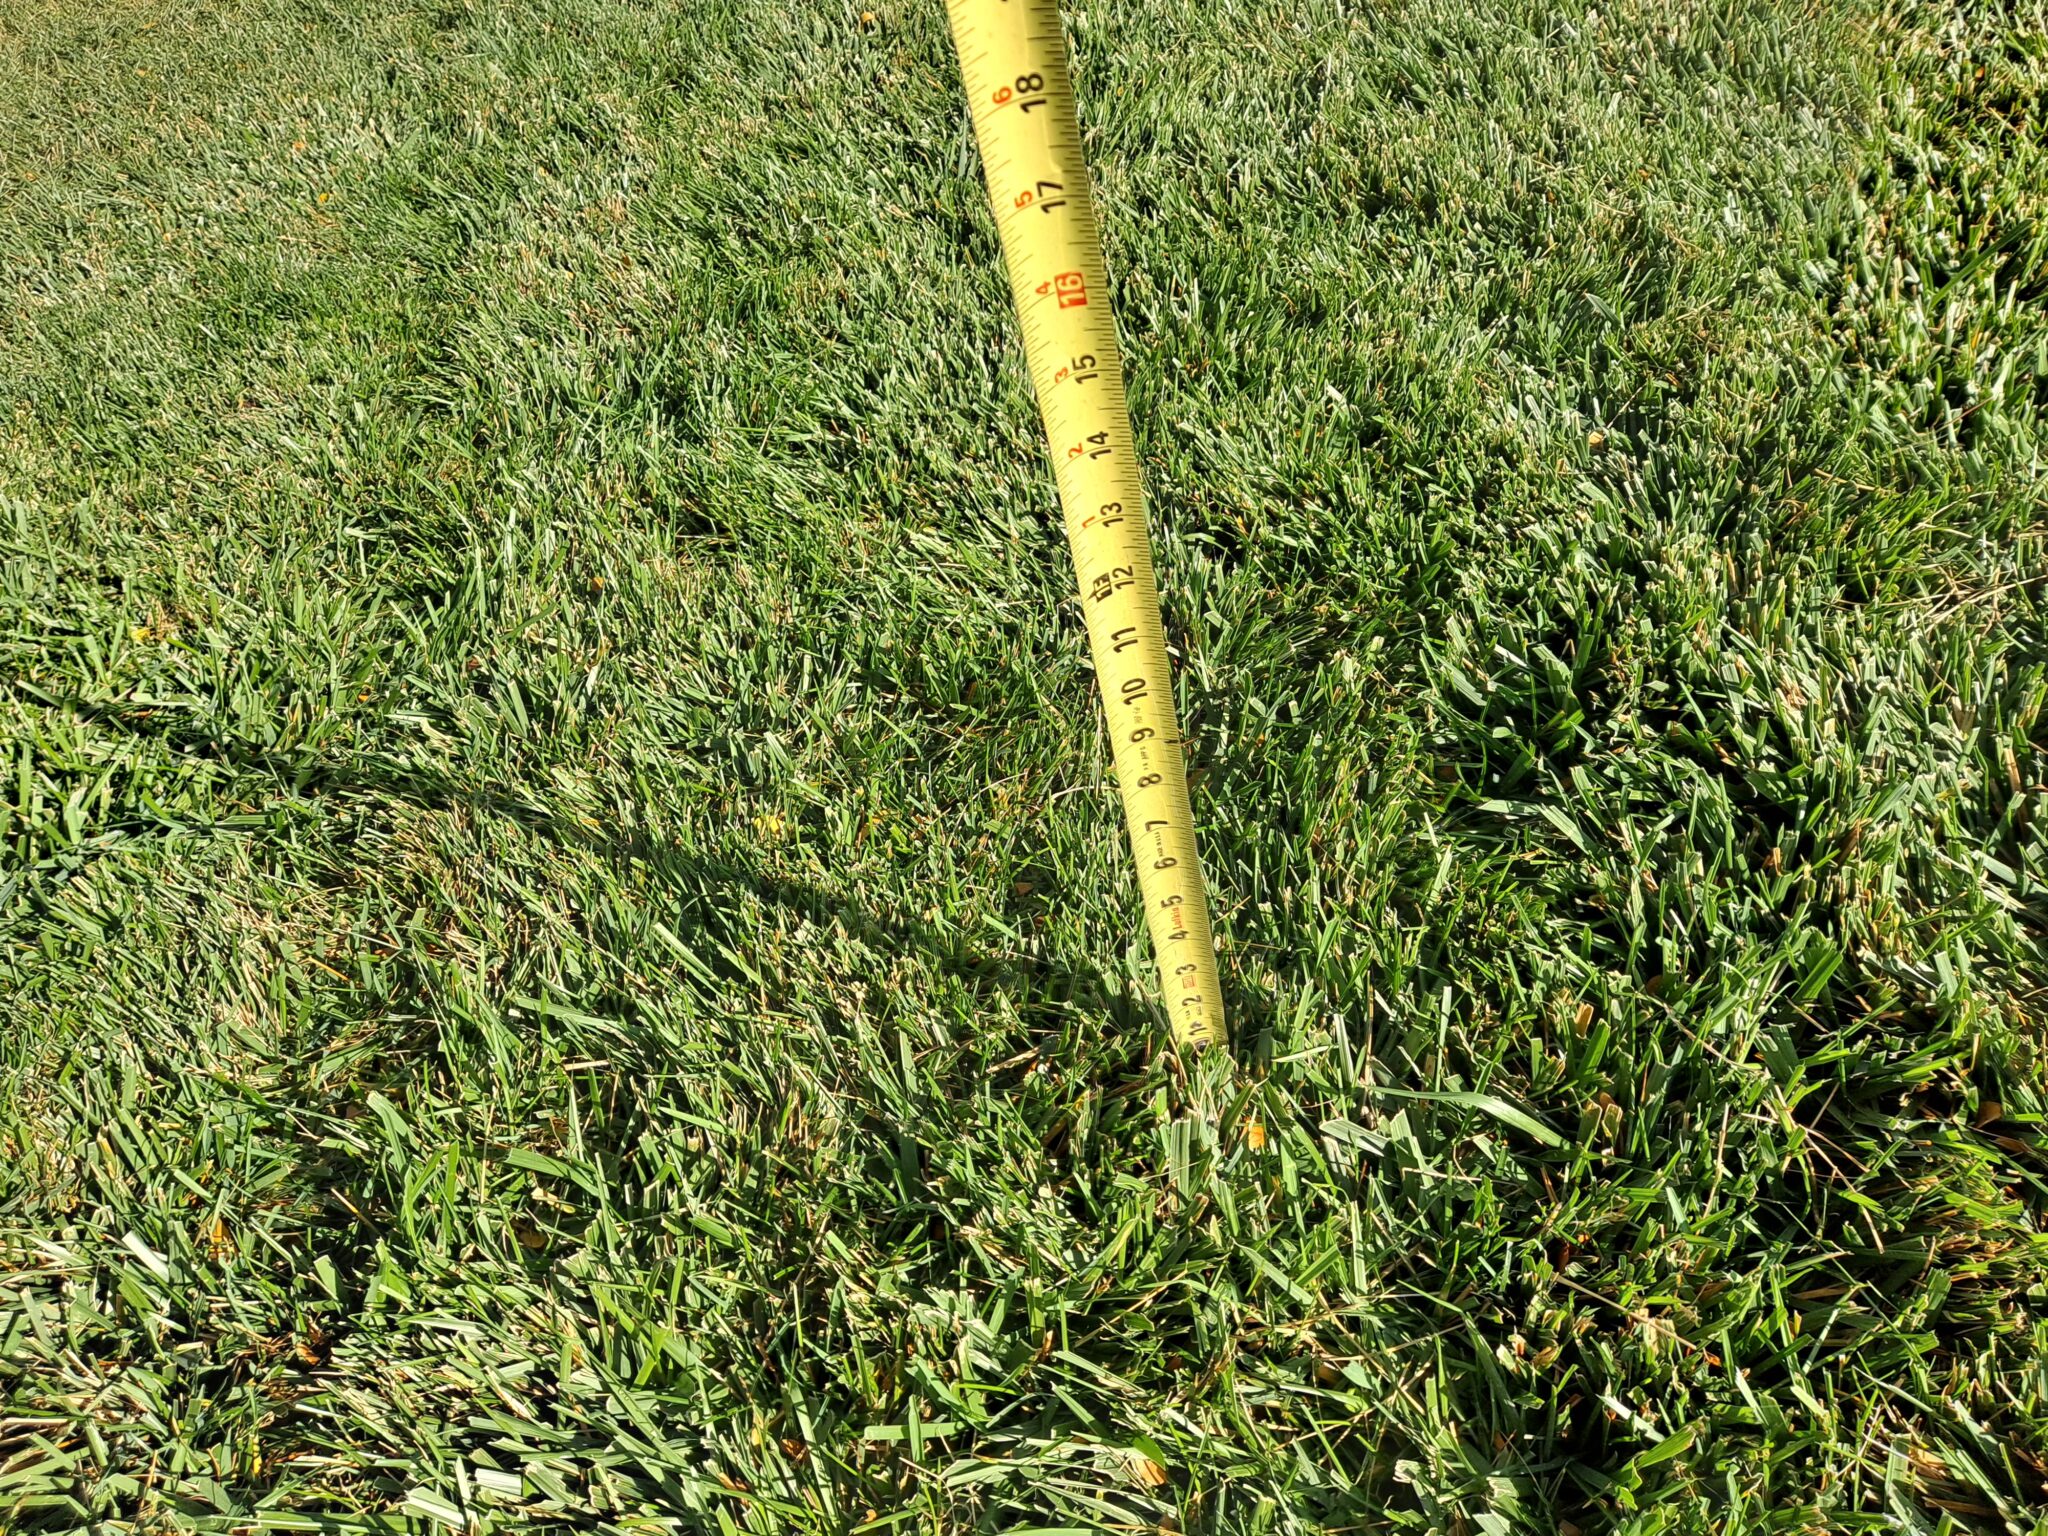
During the months of July and August, and even into early September, I like to raise the height of the deck of my lawnmower to its highest setting. If you aren’t doing so yourself, you really should. The taller the grass means there is more surface area exposed to the sun. More sunlight means more photosynthesizing, which means stronger plants. Taller grass blades also means the plant can support longer and stronger roots.
The tall grass blades also shade the soil, which means less water loss. Win/win all around.
But come fall, I gradually lower my mower deck height for a couple of reasons. Come winter, if the grass is too tall the snow will mash the blades down, forming a dense mat. This mat can trap moisture underneath, and that can lead to a host of fungal problems. When the warm weather of spring arrives, brown rings known as “fairy rings” will become obvious. And dealing with fungal diseases in the lawn is a pain in the ass. Believe me, I know what I am talking about.
Another problem is the potential for turf die-off. Believe it or not, many turf grasses, such as Kentucky bluegrass, do not go completely dormant over the winter. If you were do go out in the middle of winter to closely inspect your lawn, you would notice little streaks of green blades mixed in with the dormant brown turf. The grass is still photosynthesizing throughout the winter months, albeit not as actively as it does in summer. That mat of smushed grass can become a form of mulch, and actually kill the turf underneath.
Let me be clear, I don’t scalp my lawn in the winter. That too can stress the lawn. My mower has 6 height settings. I only lower mine down two settings, which reduces the grass length just enough to prevent flopping, without stressing the turf too much.
3. Remove fallen leaves from the lawn
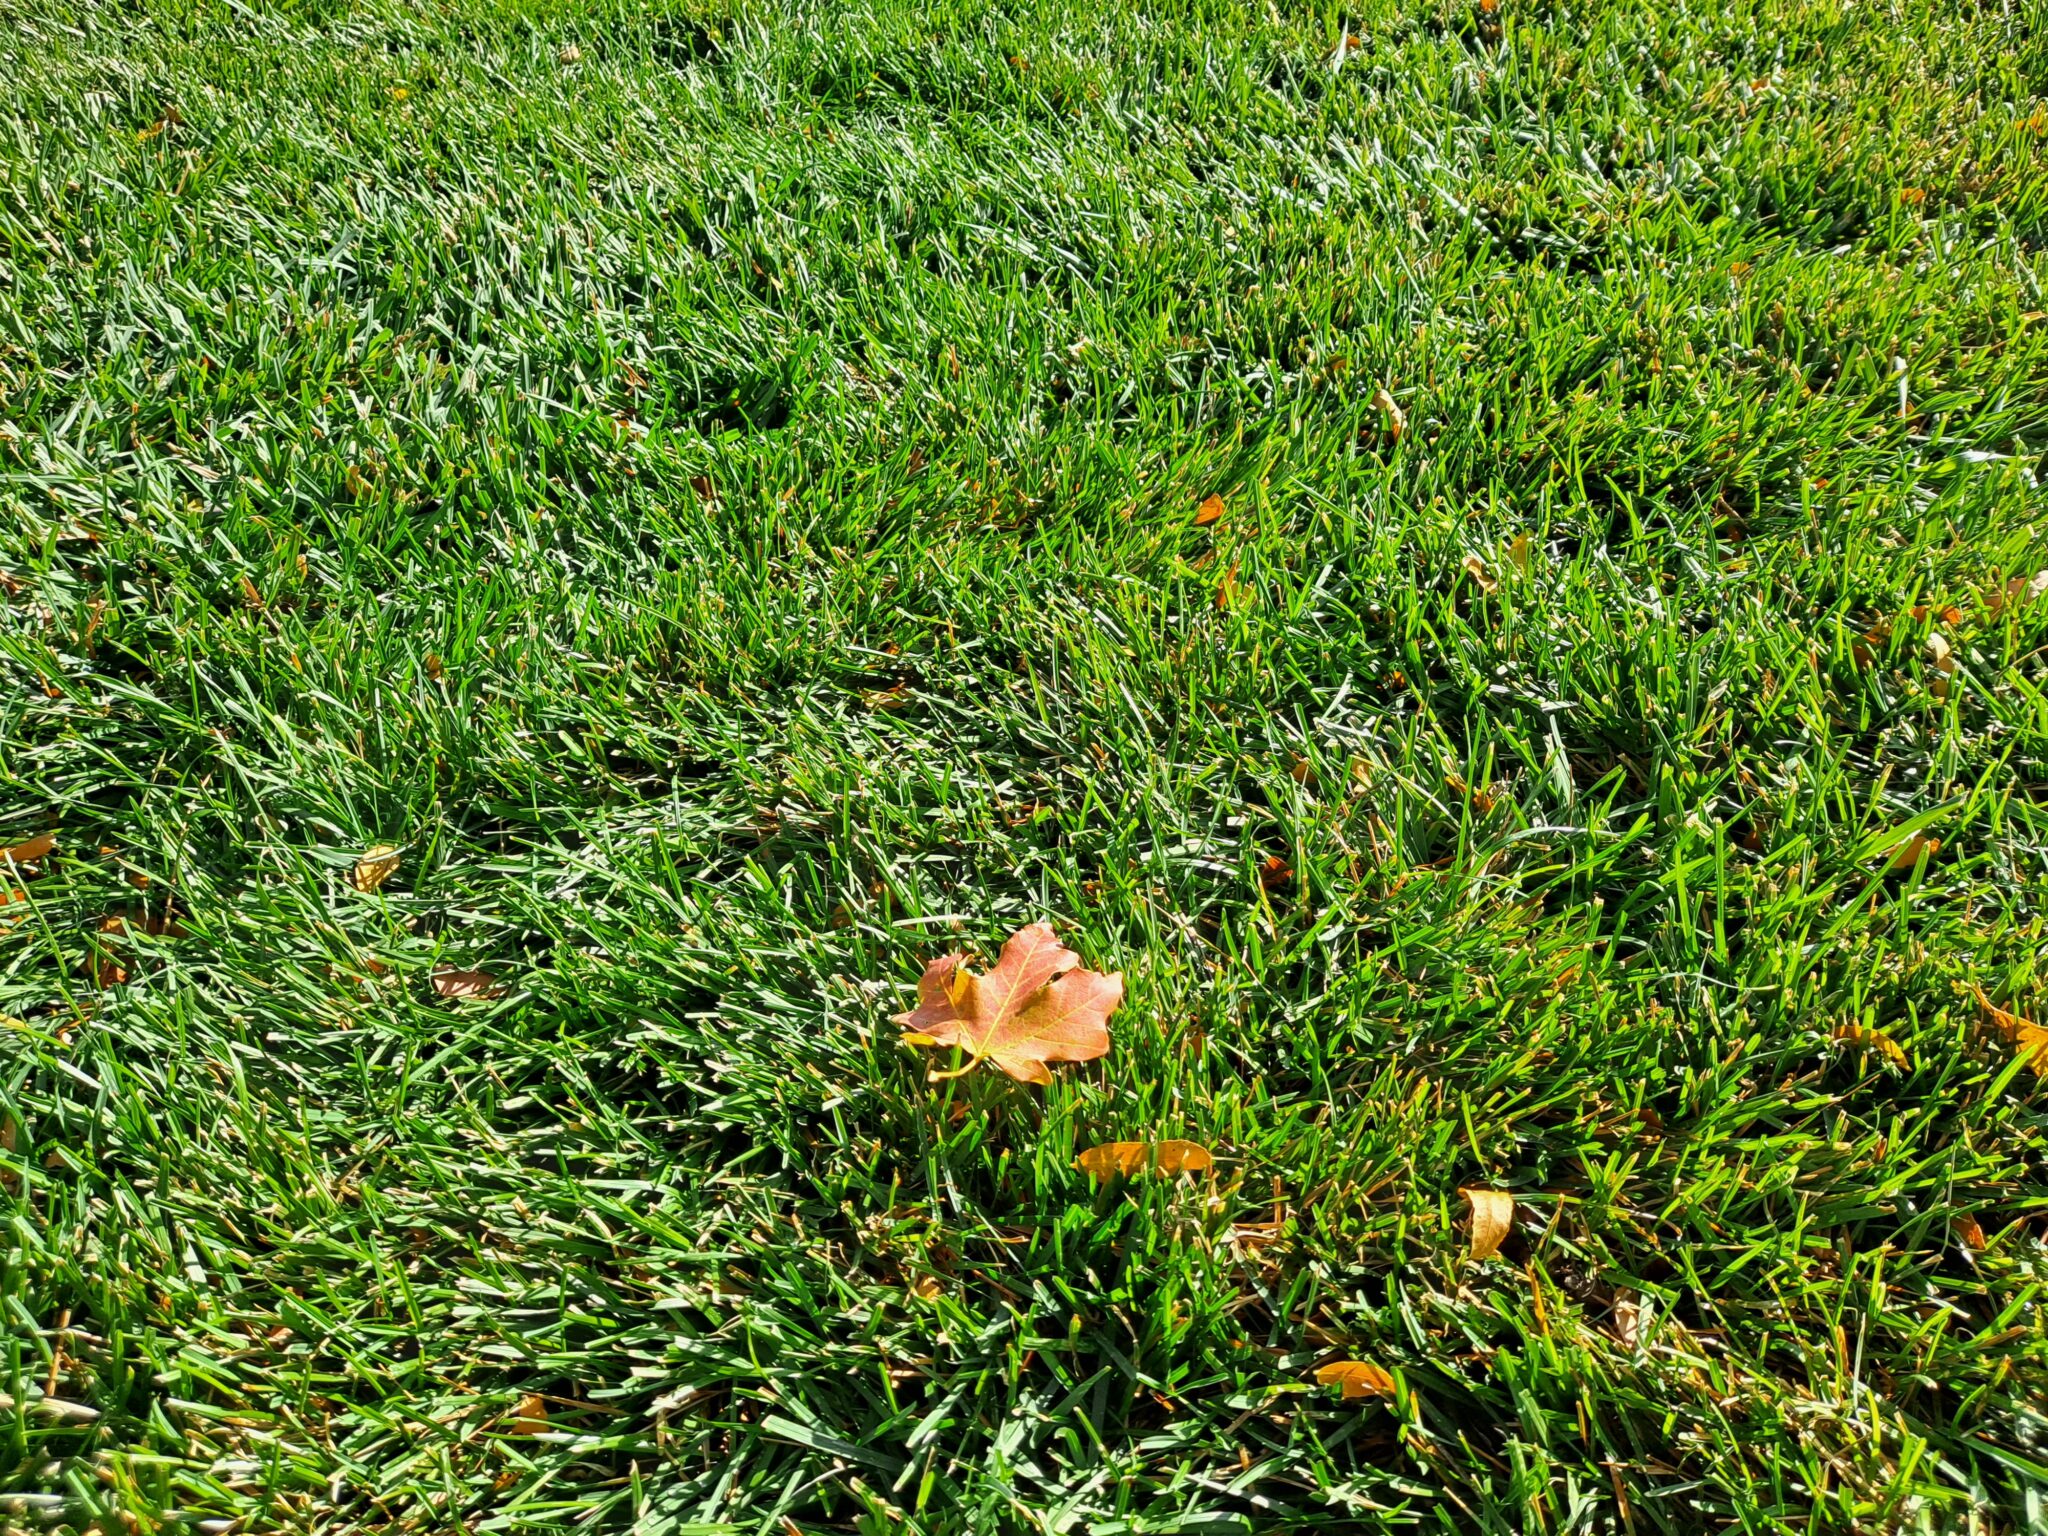
Along those lines, I always try to get as many leaves that have fallen the from trees and shrubs off the lawn as I can before the winter sets in. Leaves can also mat down and kill the sod underneath. I don’t bother raking them however. That’s too much work. I just drag out the mower and mulch them suckers. Provides extra nutrients for the lawn.
As far as the leaves that fall in the garden borders, I just leave them. They act like mulch, adding another layer to the mulch that is already there. This helps to protect the perennials and shrubs from the bitter cold. Come springtime, I rake some of them leaves onto the lawn, and mulch them with the mower. Some I leave in the beds. As they breakdown over time they create a form of leaf mold, which is very beneficial for the garden.
4. Clean and maintain your lawnmower before putting it to bed for the winter
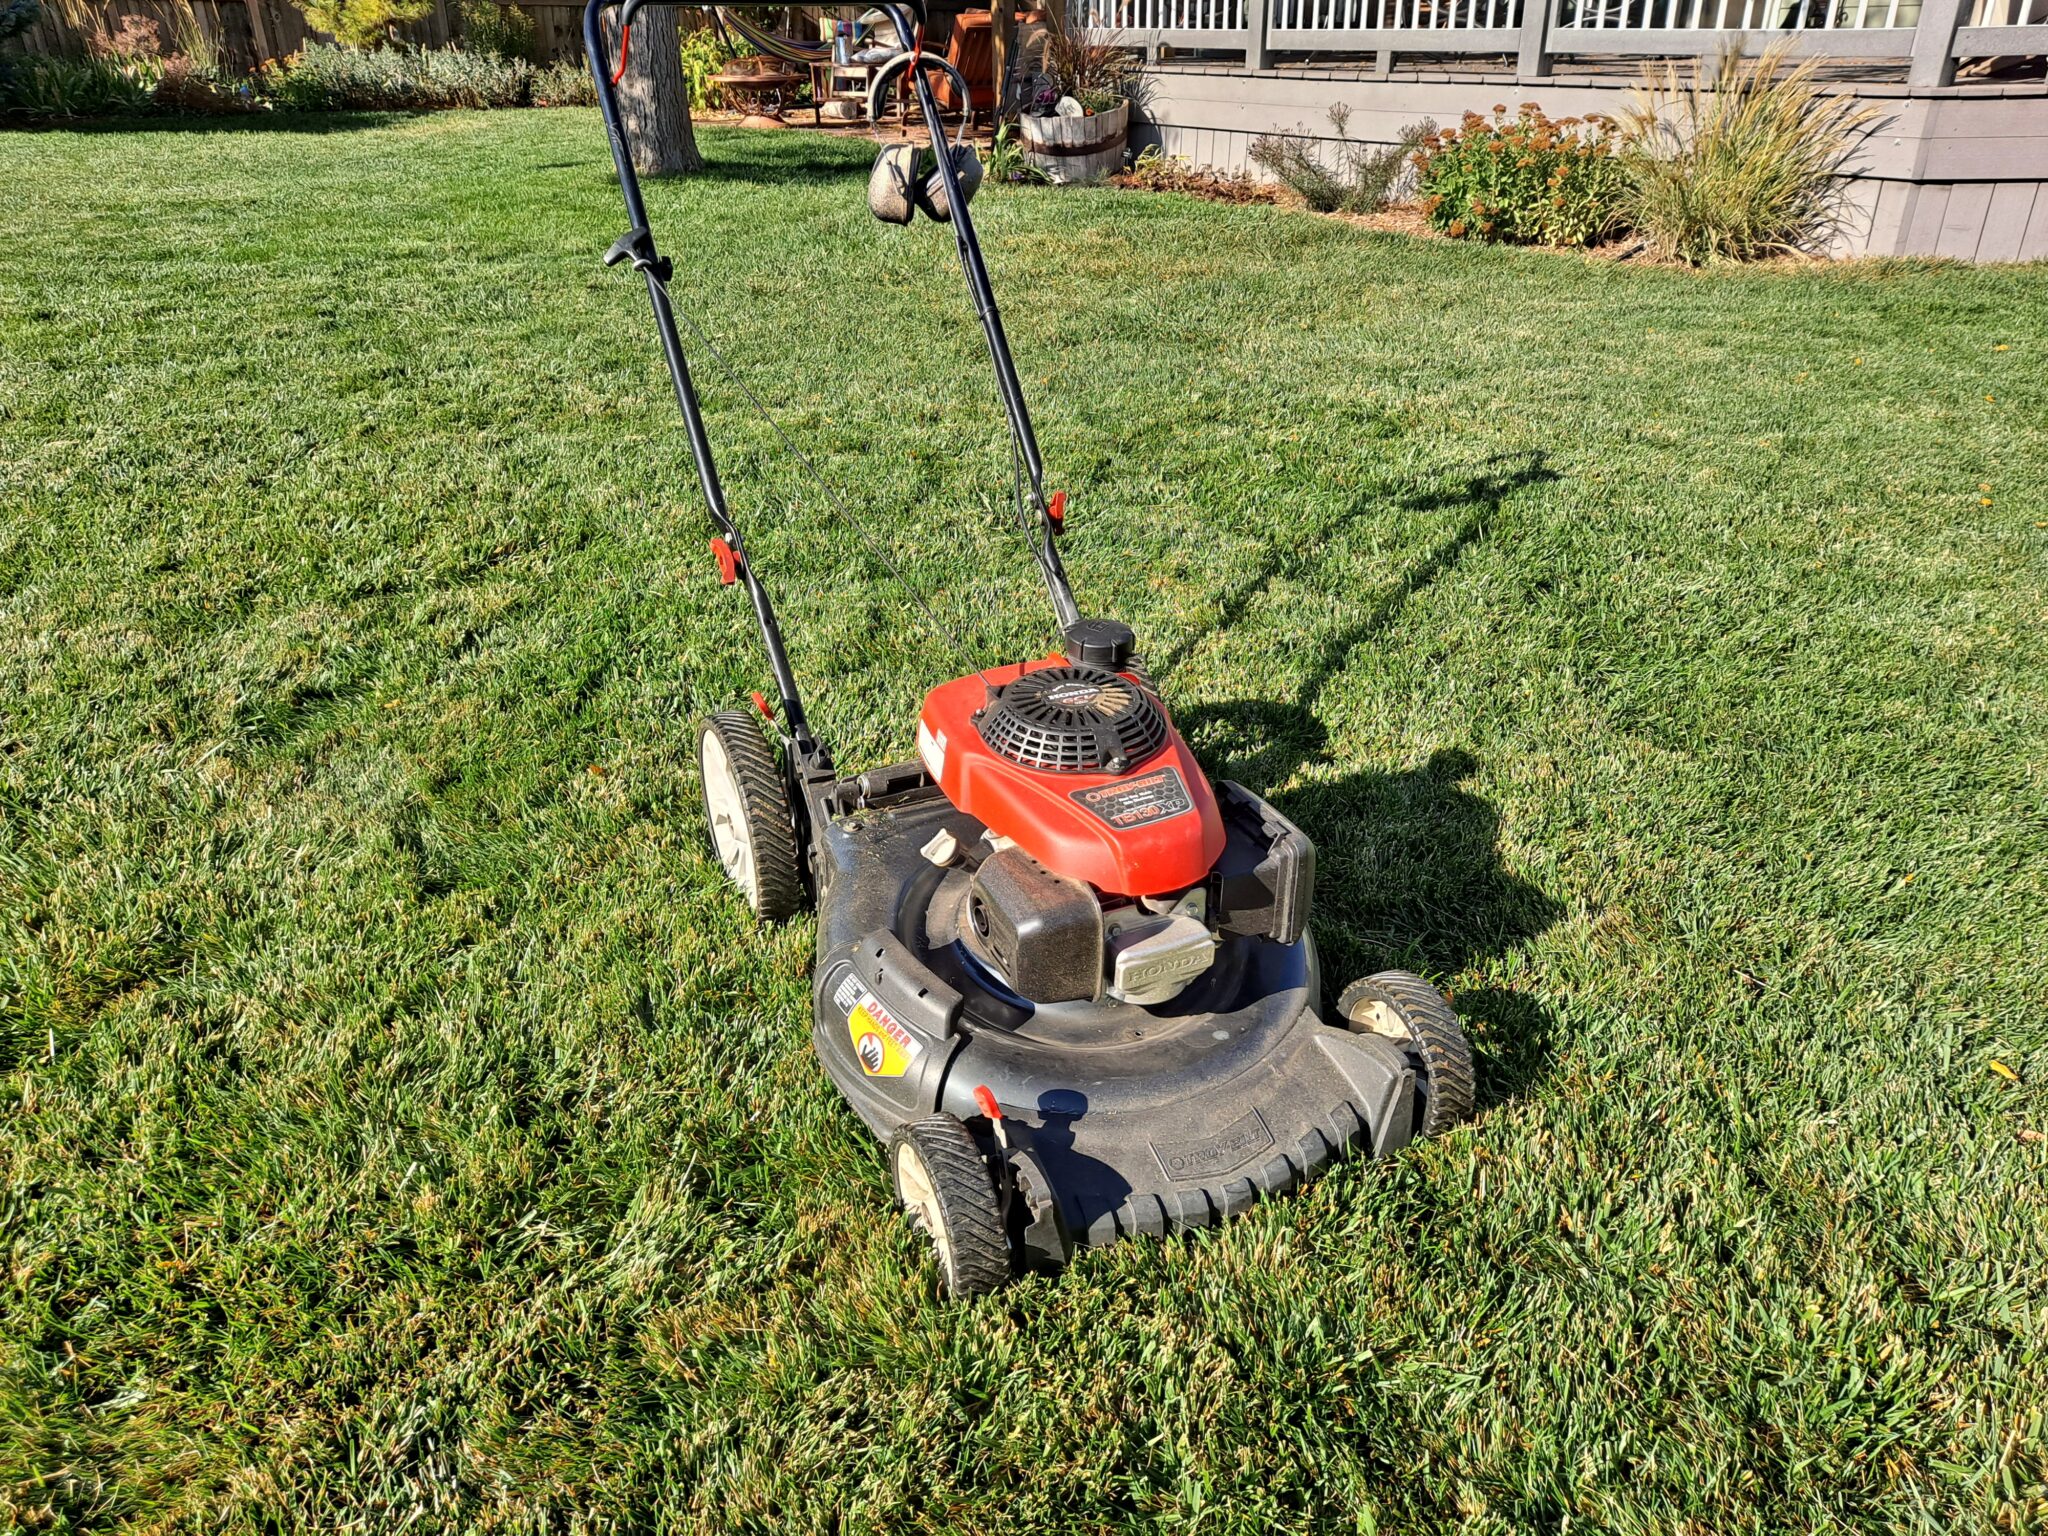
Speaking the the lawnmower, once all the turf and mulching tasks are completed, I give ol’ Bessie a little TLC. The first thing I do is to try and run the mower out of gas before finishing up for the season. I do this so I can turn the mower on its side without have gas pour out of the engine. Plus, leaving gas in the tank can lead to gummed up fuel lines. If there is too much gas leftover, I will usually purchase a fuel stabilizer. You can get this from an auto parts store, or even your local grocer. I rarely have to do this as I am pretty good at gauging just how much gas to fill it with I need to get me through the autumn chores.
First, I give the mower a thorough cleaning, starting with scraping the compacted grass blades off the underside of the deck. Then a wash the topside and bottom side with a strong blast of water. I let it dry off, and the store it in the shed until called upon in the spring.
If it’s been a few years since the oil has been changed, I’ll do it before I clean it. It’s a pain in the butt, but fresh oil will make the machine last longer.
Autumn would be a good time to take the lawnmower blade off and take it somewhere to be sharpened. But I rarely do so. There’s no compelling reason why I don’t. I just don’t want to. That is problem for future me to deal with.
5. Store fragile containers somewhere safe
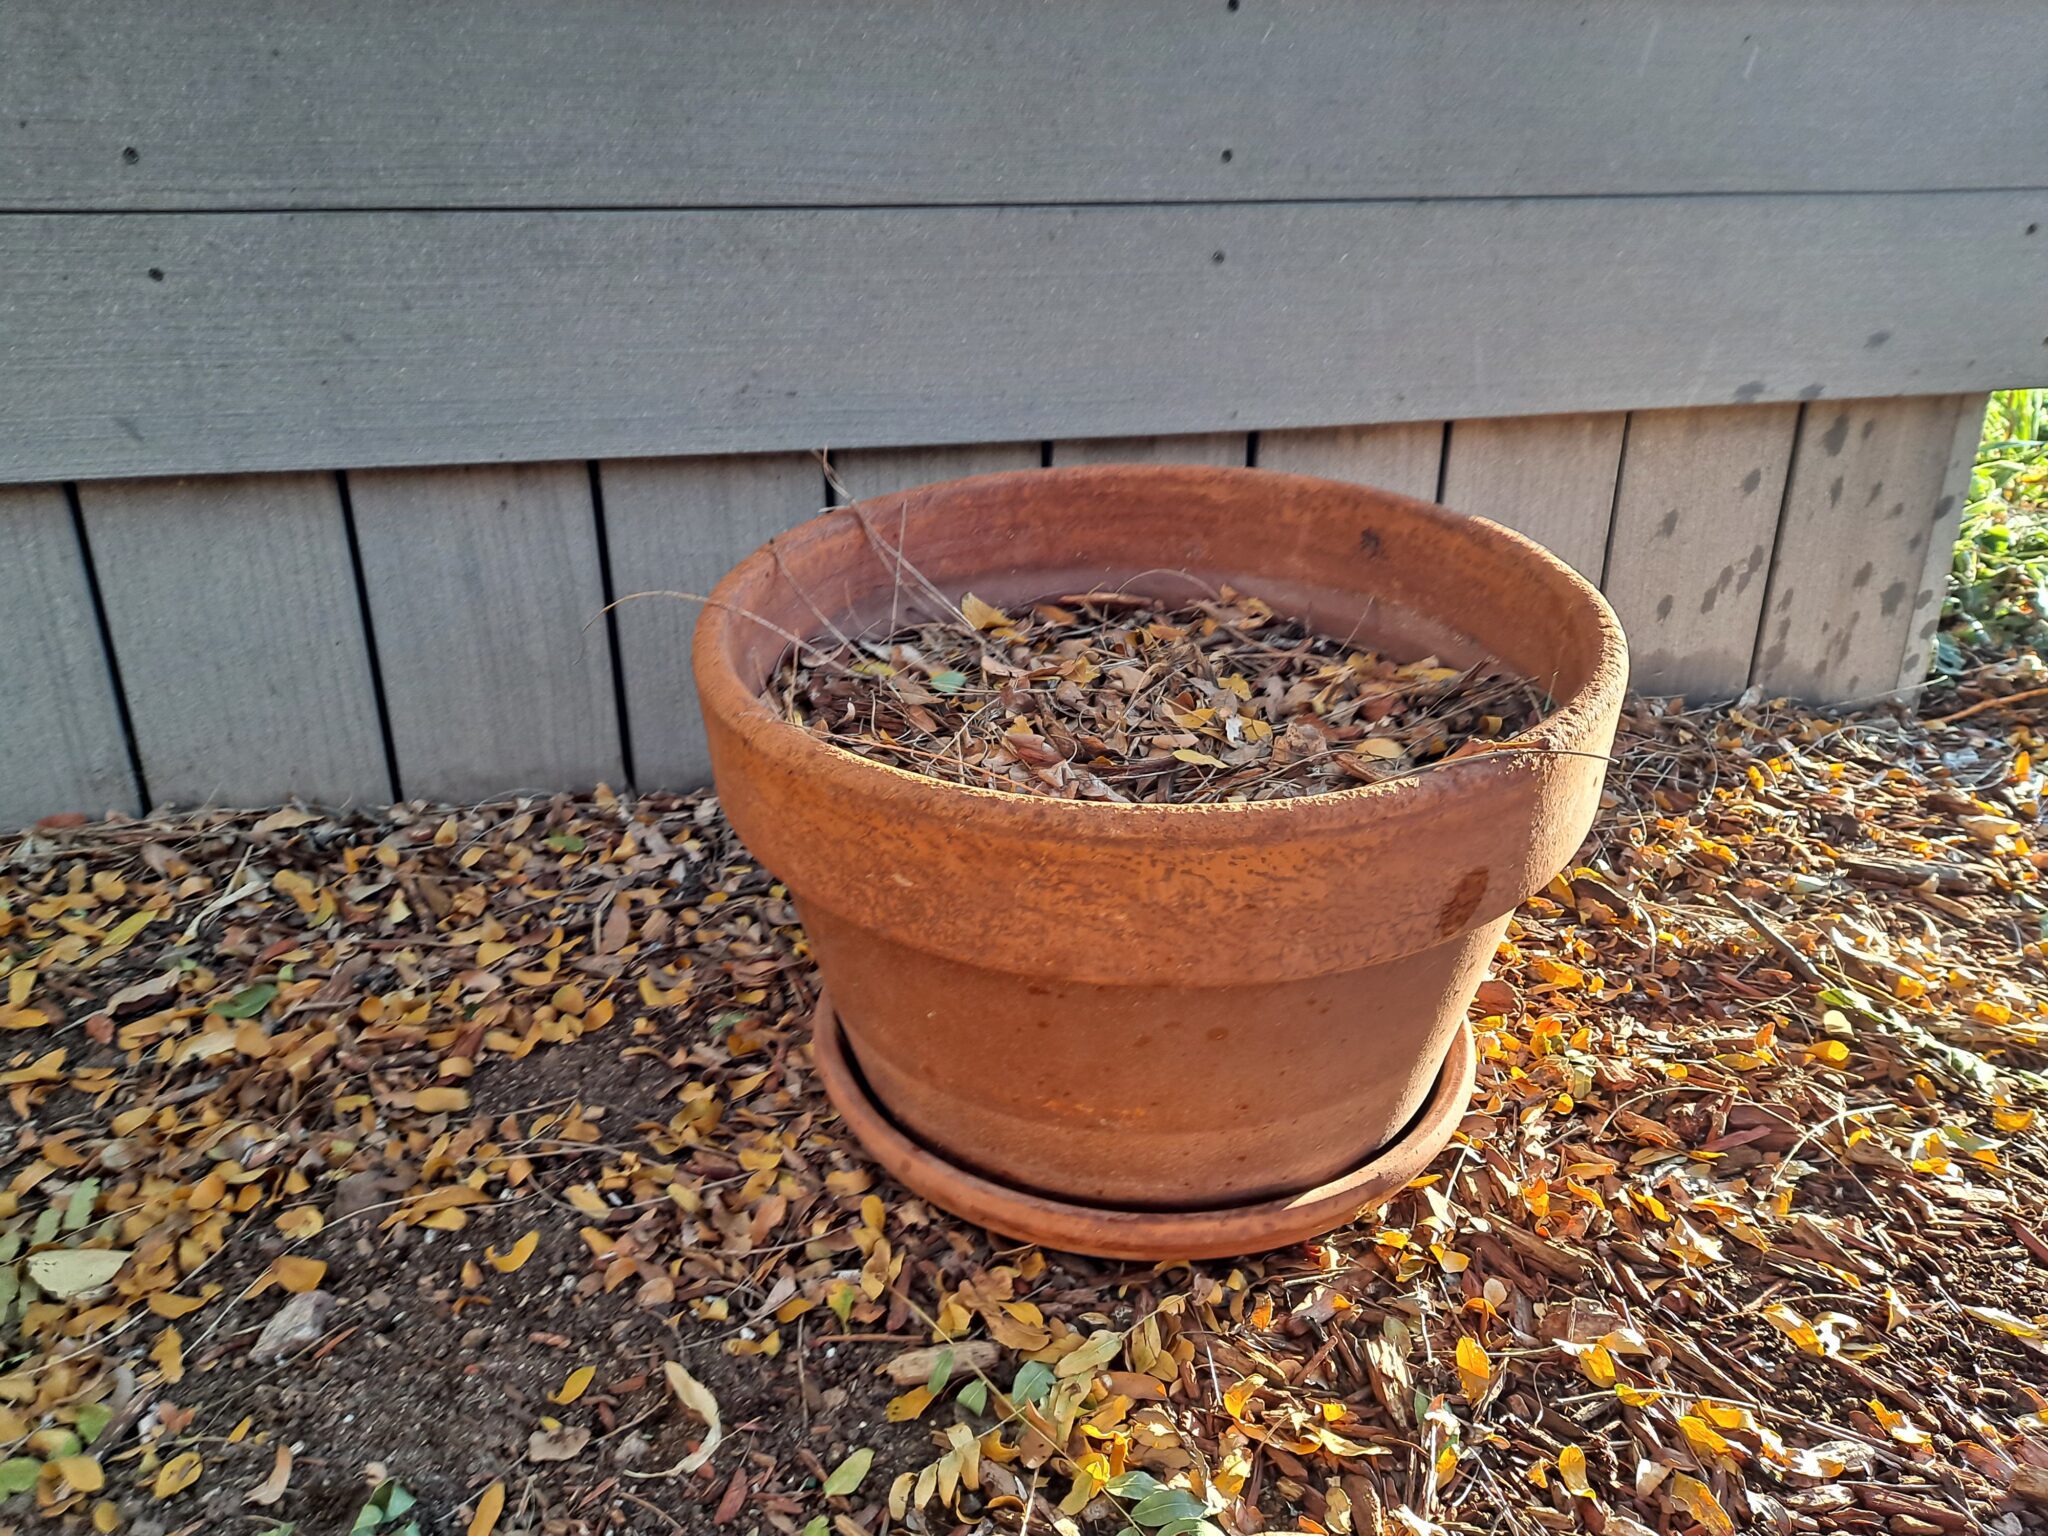
When the days grow short and the temperatures drop, it’s time to clean up the terra cotta and porcelain containers for the winter. I dump the pots into the trash, potting soil and all. Leaving potting soil in fragile containers over winter can lead to cracks and fractures in the walls of the pots. This is caused by the wet potting soil (assuming we get snow) expanding and contracting during the freezing/thawing periods we get here in Colorado during the winter.
Once I’ve dumped the soil out, I scrub the pots good with a dry brush and store them in the shed. Nursery and online sources sell double-fired terra cotta pots, but they are extraordinarily expensive, so we have none. Whiskey barrel and concrete containers will usually weather winter just fine. Plastic pots will too, but they will become faded and brittle over time.
You’ll note that the container in the picture above is actually full of potting soil. That’s because I have planted a variety pack of tulip bulbs in them. After planting the bulbs, I water the pot deeply and then let the soil dry out some. Eventually, I will store the pot in our shed. Most spring flowering bulbs require a certain chilling period. I used to store my potted bulbs in the garage, but I found that the garage stays too warm over the winter for the bulbs to get the chilling period they require. I would get foliage in the spring, but no flowers. Let me reassure you that I have never had a bulb-potted container crack while it was stored in the shed.
6. Cut back foliage of peonies
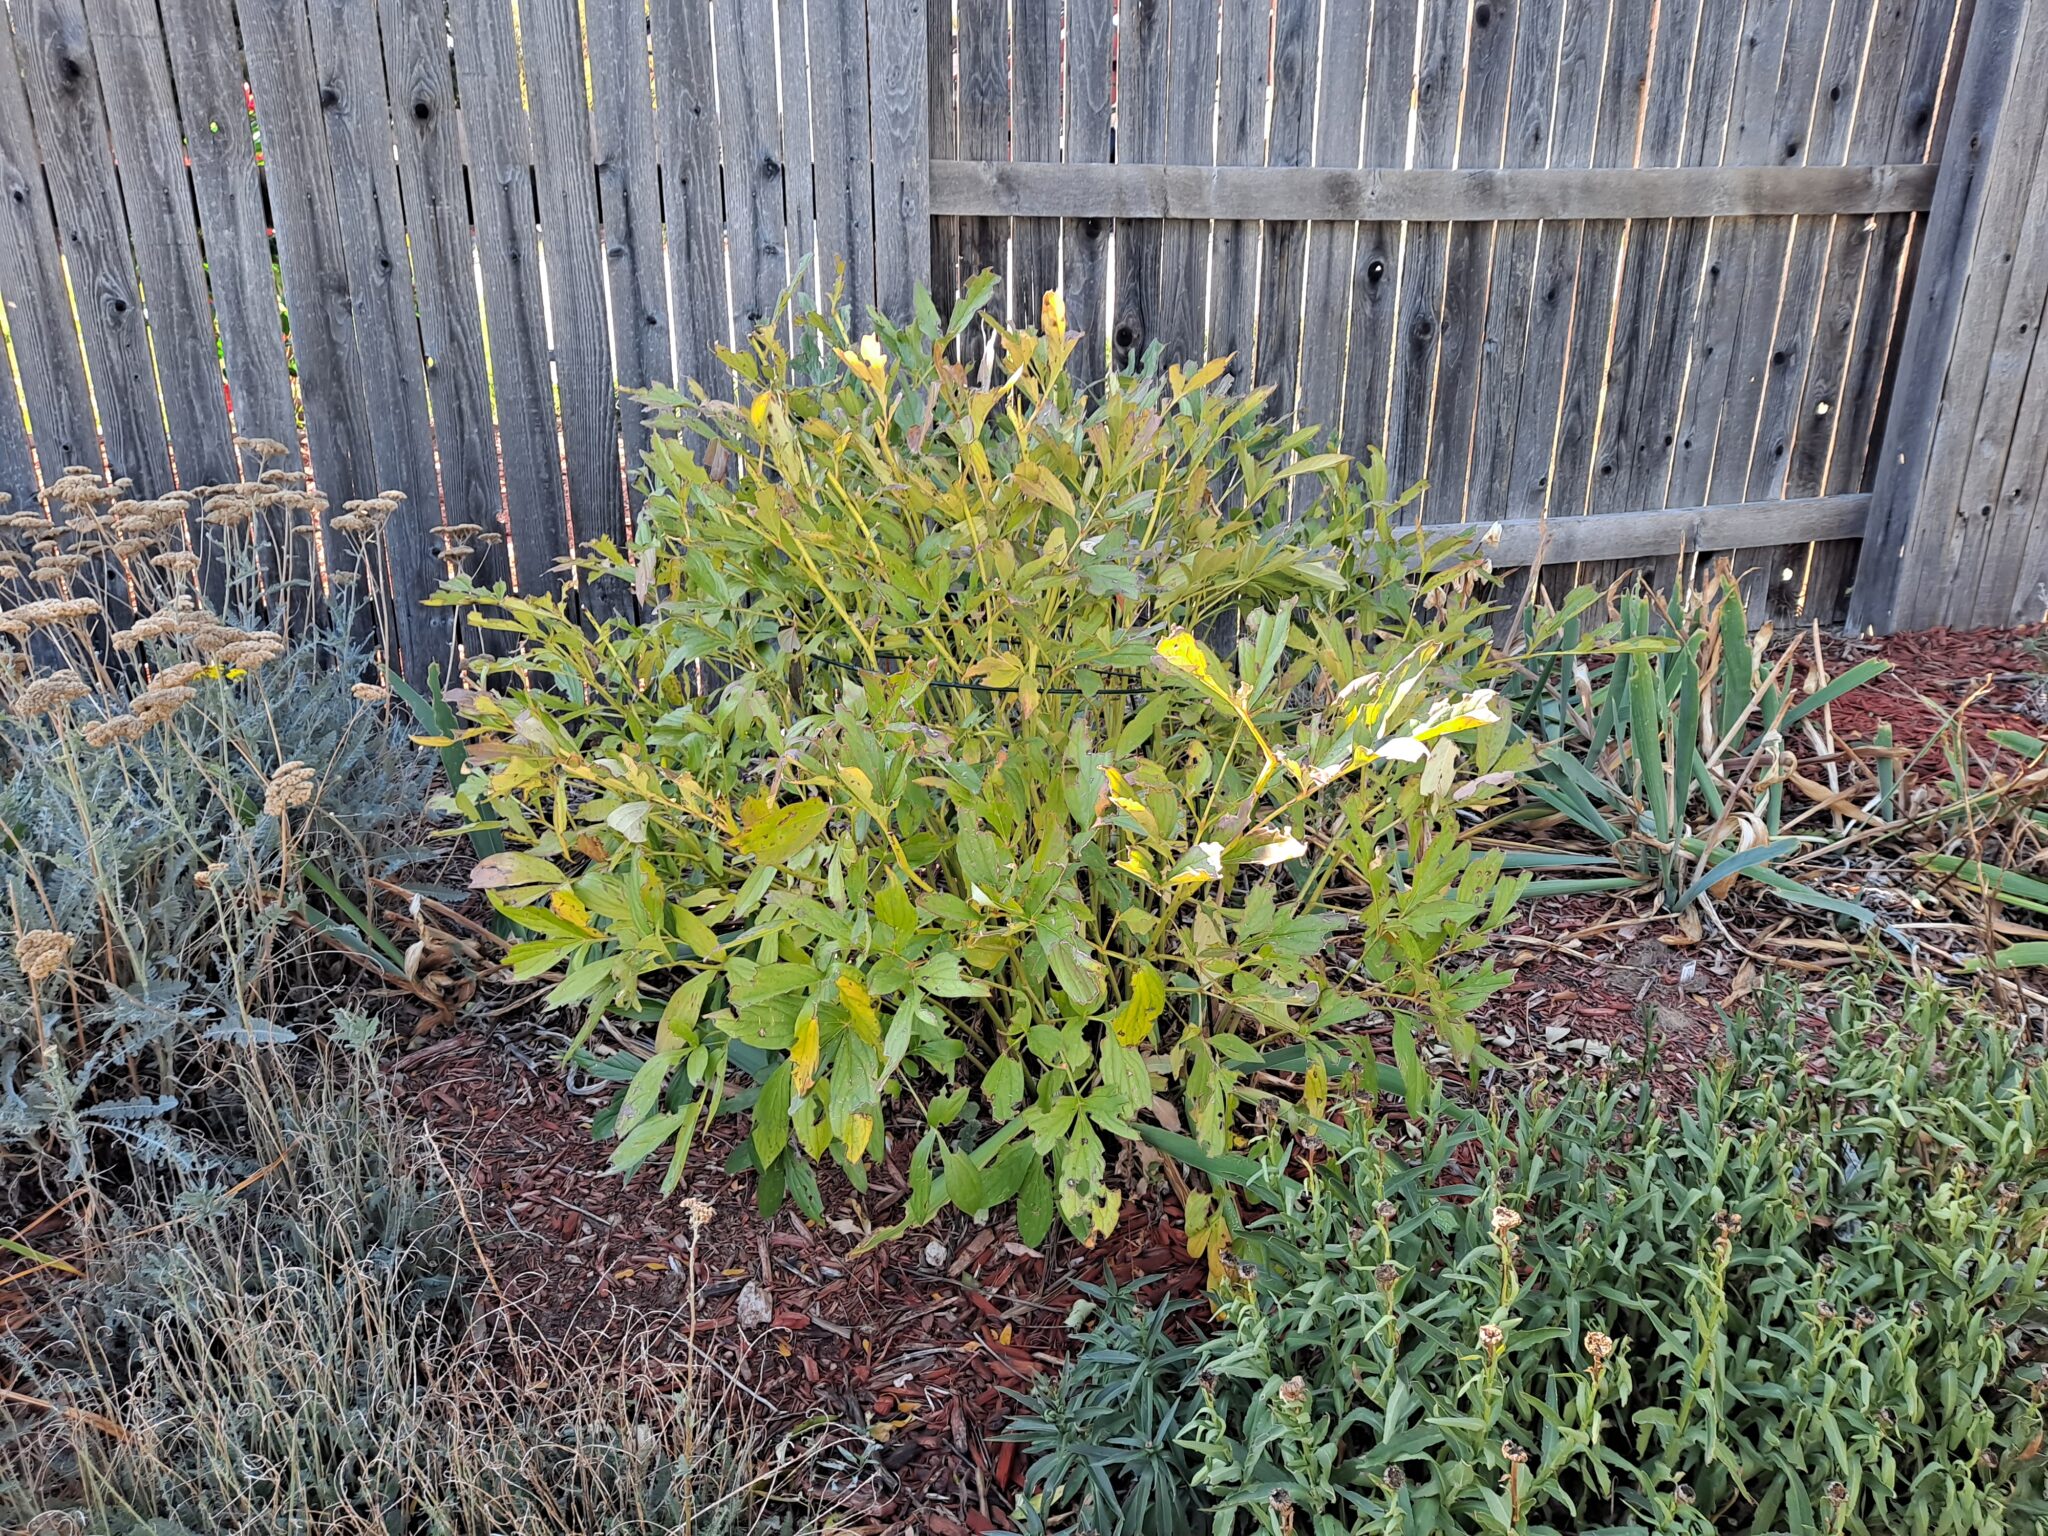
Ol’ MrVintageMan does not cut back his perennial garden borders in the fall. There’s a few reason why this is so. Aesthetics for one. When I go into the yarden in winter, I don’t particularly care to look at swaths of bare soil. Winter is depressing enough without that. I think “winter interest” in the garden is an oxymoron, but I must admit there is some pleasure is seeing all the dried stalks of last years perennials and grasses standing upright on a bright winter day. And when they are covered by frost or a light dusting of snow, the effect can be quite a sight.
Another reason I leave well enough alone is that some of the seed heads of the plants can be a food source for birds over the hard winter months. Coneflowers, black-eyed susans, sages and some of the ornamental grasses fill the bill.
Finally, the plants and fallen leaves can provide protection for beneficial insects and animals. Pests too, but you gotta take the bad with the good. They also protect the crowns of the plants themselves.
In the words of Pee-Wee Herman: “but, but but. Everybody has a big but”. But, there is one exception to the rule, and that’s the peonies. Peonies are susceptible to a fungal disease called ‘botrytis’. Botrytis usually attacks the plants in wet springs, can cause deformations to the leaves, stems, and even the flowers of the peony. Fortunately, botrytis is easily controlled. Botrytis spores overwinter in the fallen leaves of the peony, so I cut the plants to the ground after the first hard freeze, and haul the whole mess to the trash can. If you compost, I wouldn’t recommend composting peony leaves.
7. Remove the carcasses of old plants from the veggie garden
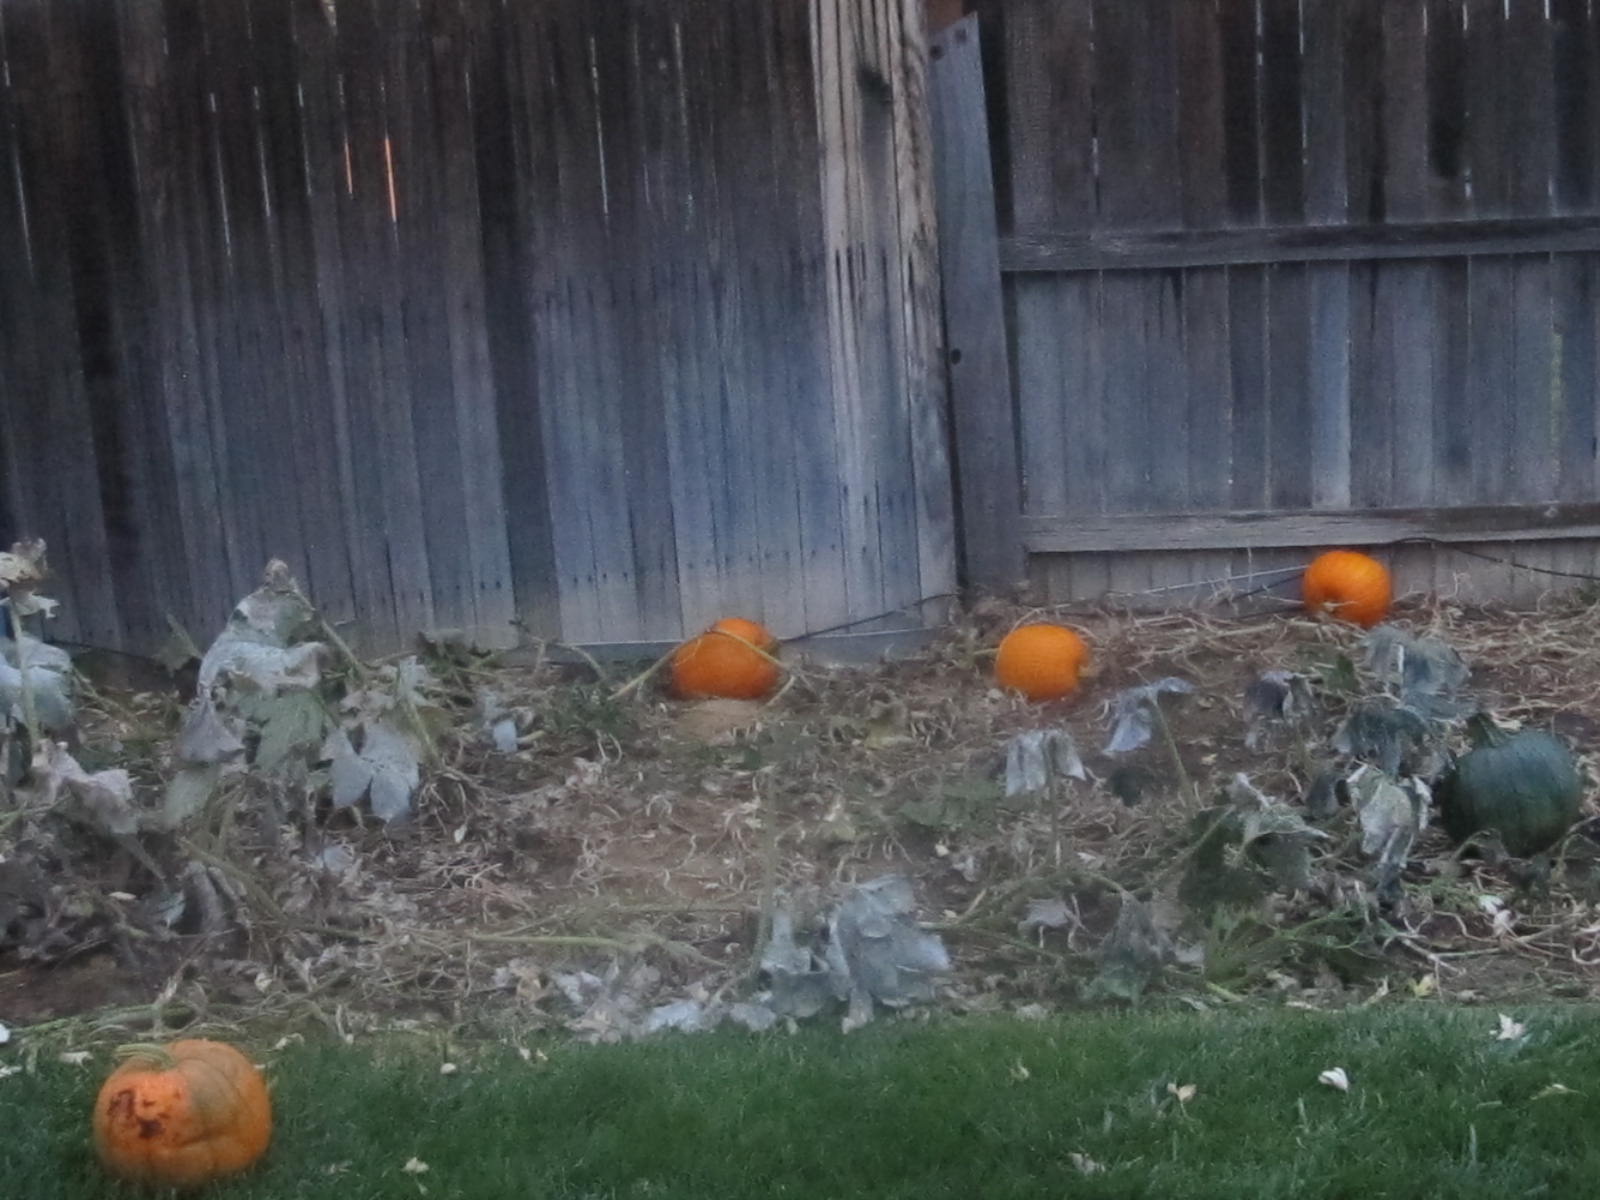
One section of the garden I do clean up in the fall is the veggie border. Modern vegetable plants are so overbred that they have few natural defenses anymore. It is important to remove all the old foliage, and any stray tomatoes, squash, peppers or other veggies missed during harvesting, to prevent disease/fungal problems from overwintering in the soil. Pests like to hide out in old foliage to survive the winter cold.
I used to amend and till the soil of the veggie border in the fall with compost or manure, but I no longer do that. I’ve become something of a disciple of the no-dig method. When you till the soil, you destroy the the homes of beneficial bugs and bacteria, as well as tearing up beneficial fungi. Yes, there are indeed beneficial fungi in the soil, and they are important. So, now I just put the compost on top, and let the earthworms and other critters do the work for me of pulling the good stuff into the ground.
8. Plant bulbs for a spring display
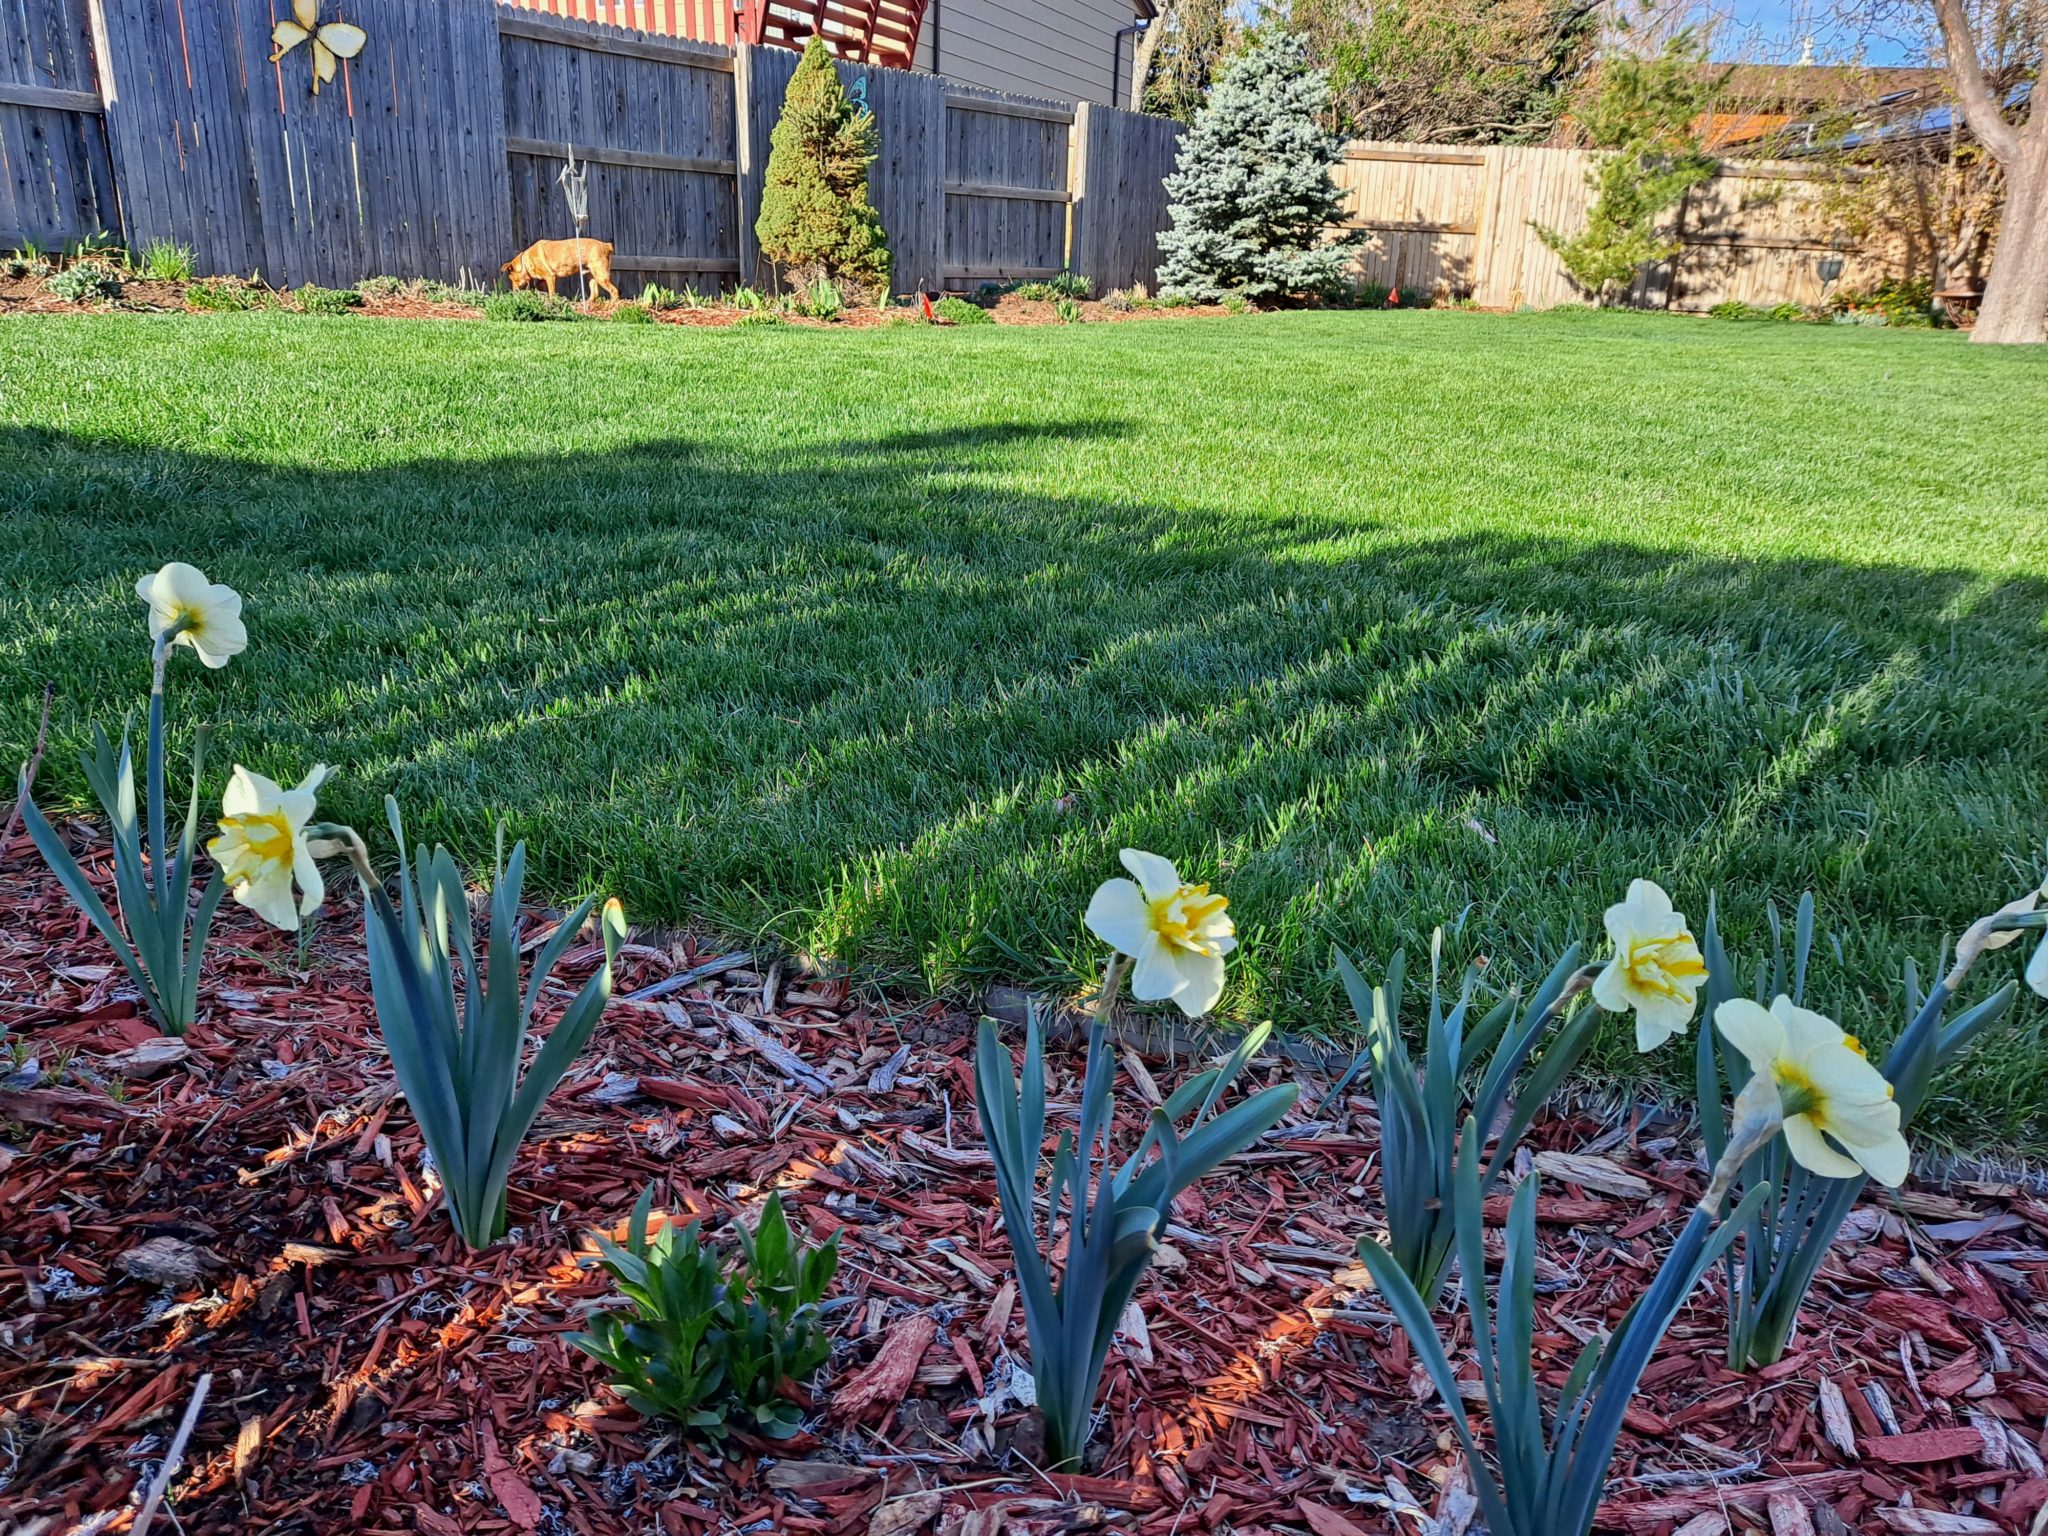
With all these tasks I’ve got going on, I feel I should take some time to do some, you know, actual gardening. And planting spring flowering bulbs fits the bill. I realize I am publishing this post a little late in the season. Trying to get bulbs now might be nigh impossible. I either order my bulbs online in late August or pick them up from local nurseries in September. Make a note to yourself to get yourself some spring flowering next year. Your future self will thank you.
9. Clean and oil tools
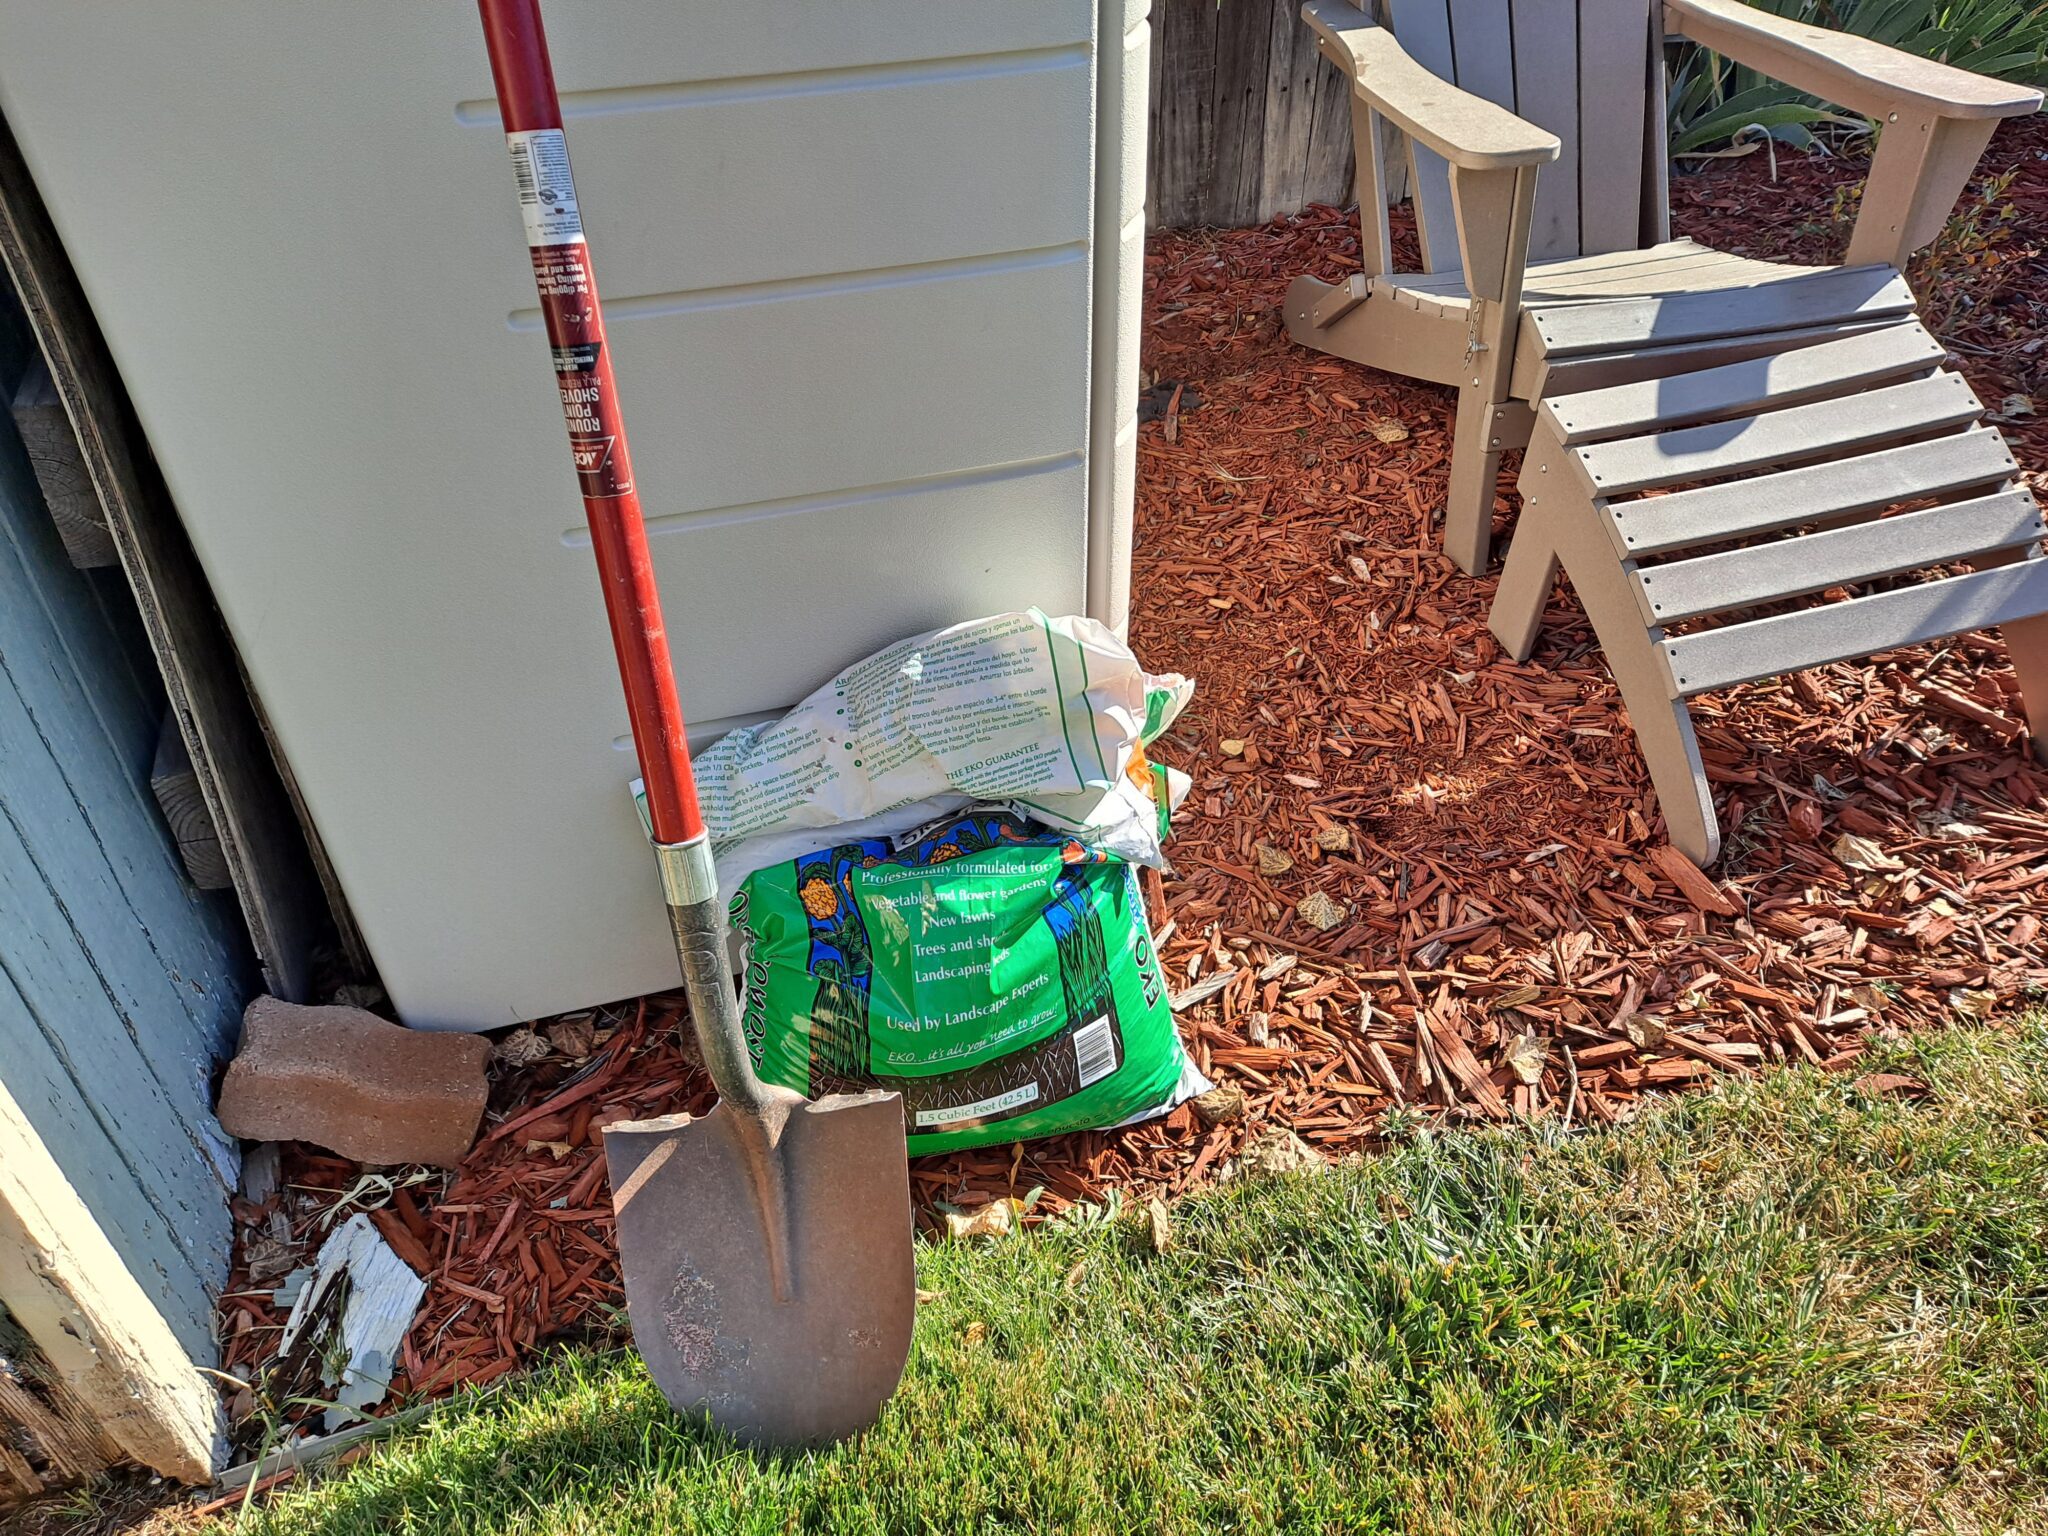
The end is in sight for autumn chores. Now that most of the projects are done, it’s time to for me to clean and oil my tools. Mud and dirt left on tools can lead to rust and decay, shortening the life of said tools. And as expensive as tools are, it behooves us to maintain them properly.
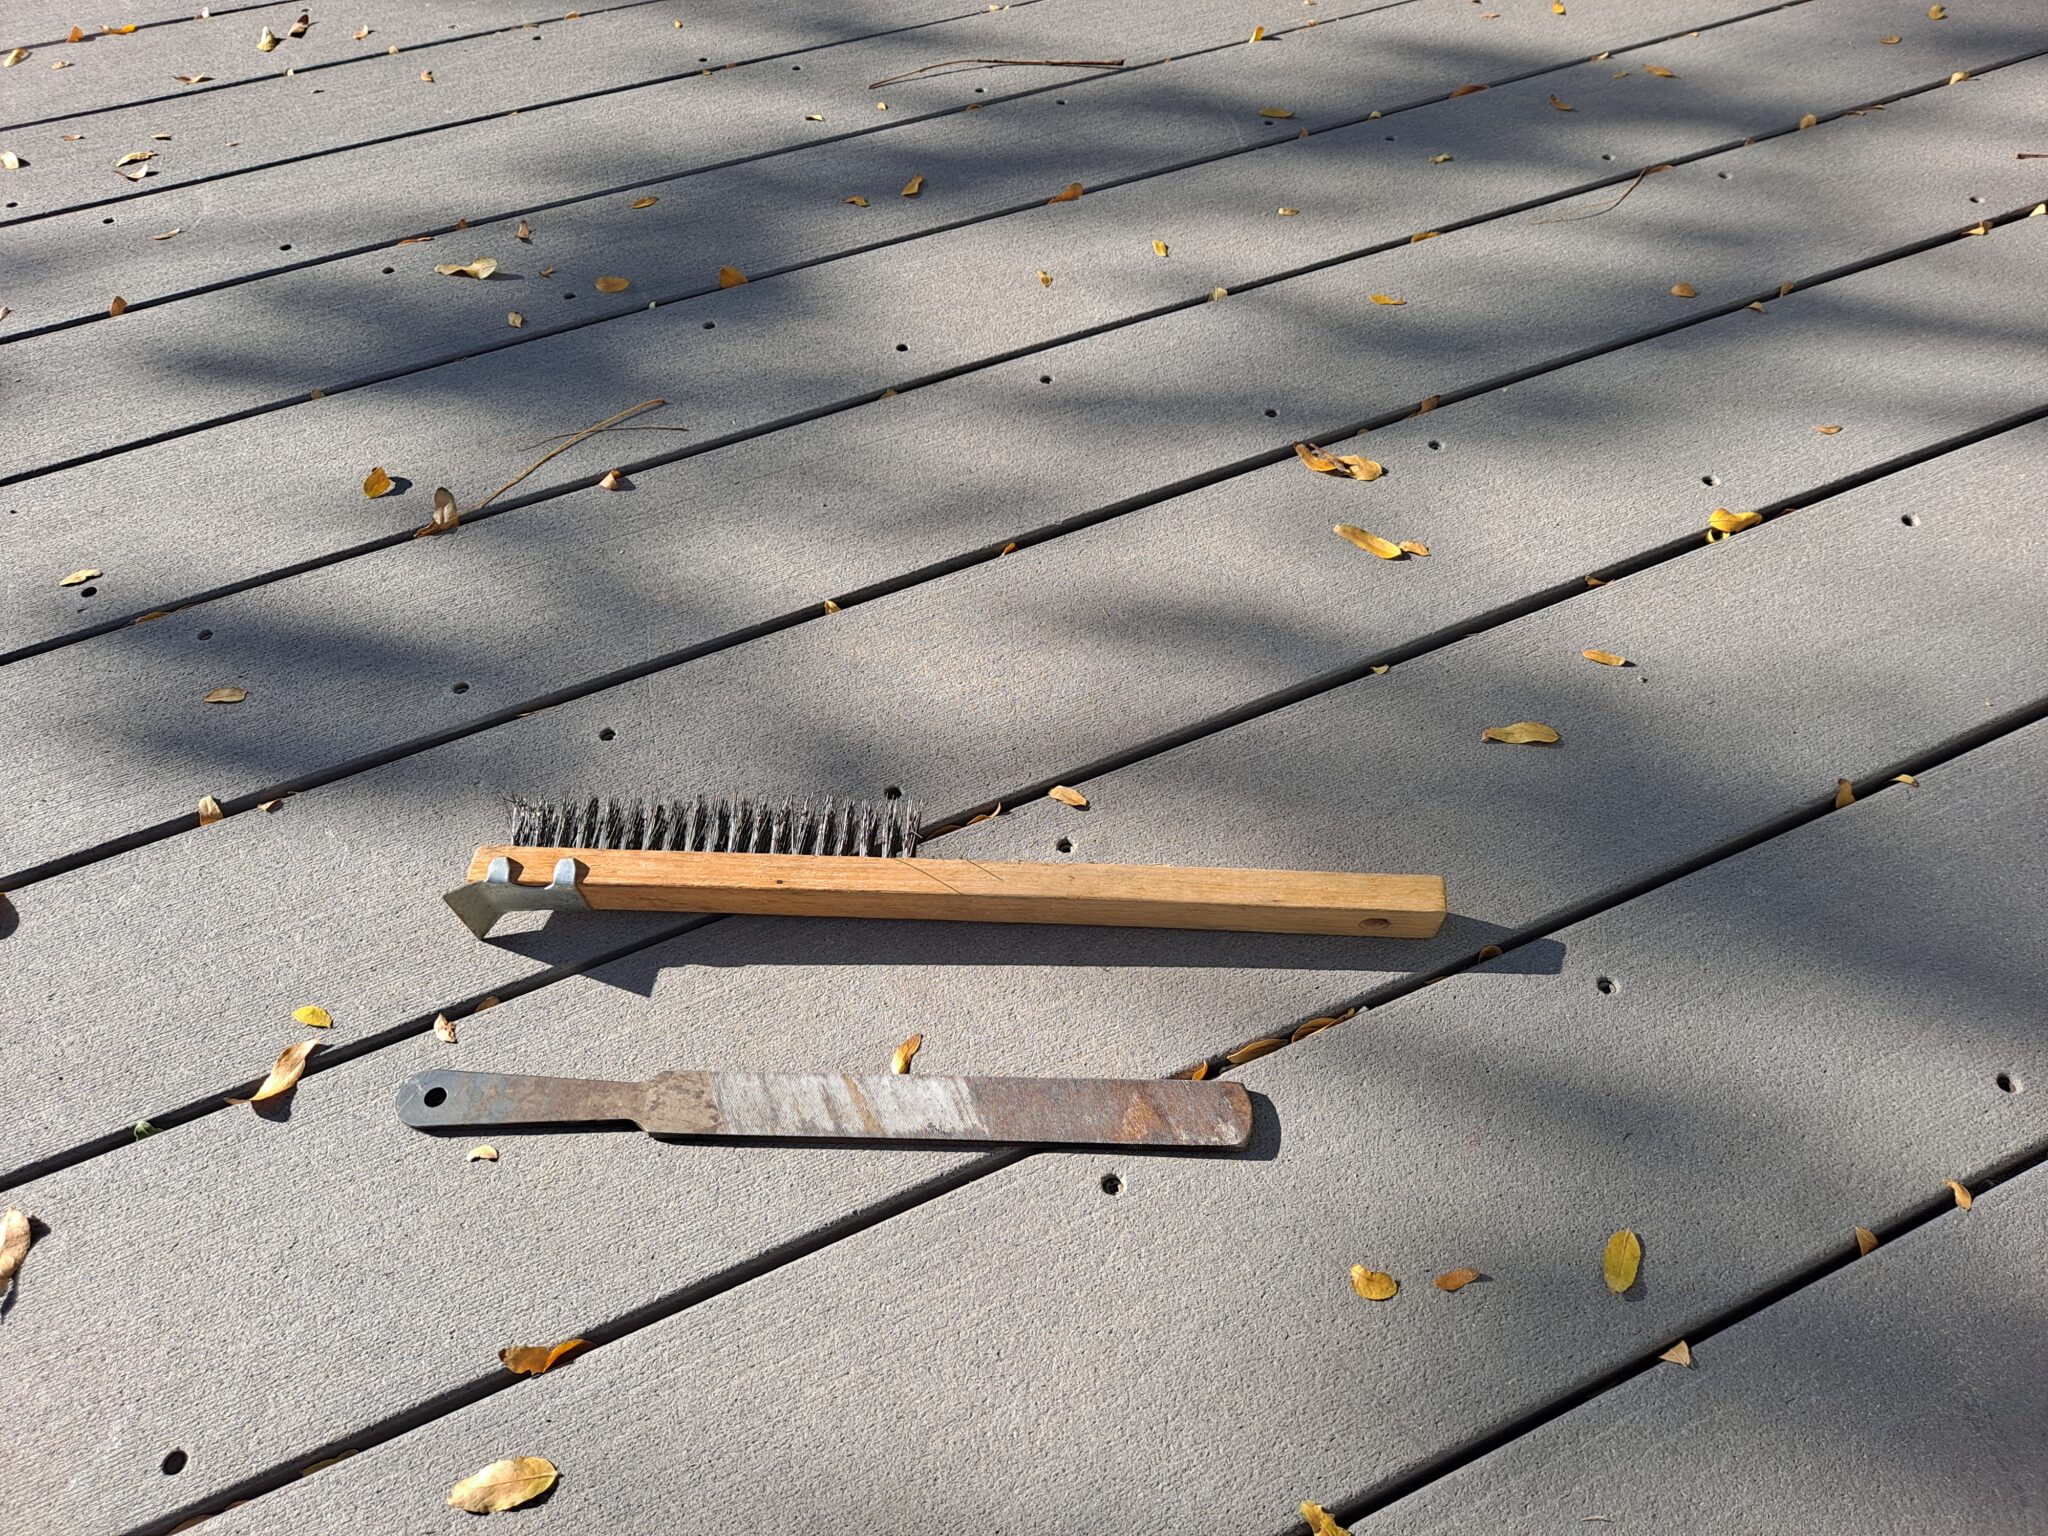
I use a wire brush with a scraper on the end to get the worst of the dirt and dried mud off. I then use a soft bristle brush and soapy water to clean the tool thoroughly. Rinse and allow them to dry off. Then I use a file to provide a nice, sharp edge on my loppers, pruners and shovels. Finally, I apply a coating of 3-in-1 oil (don’t wipe it off!), then store the tools in the shed for the season.
If you have wooden handled tools, applying a coat of mineral spirits to the wood would be a good idea.
10. Drain garden hoses
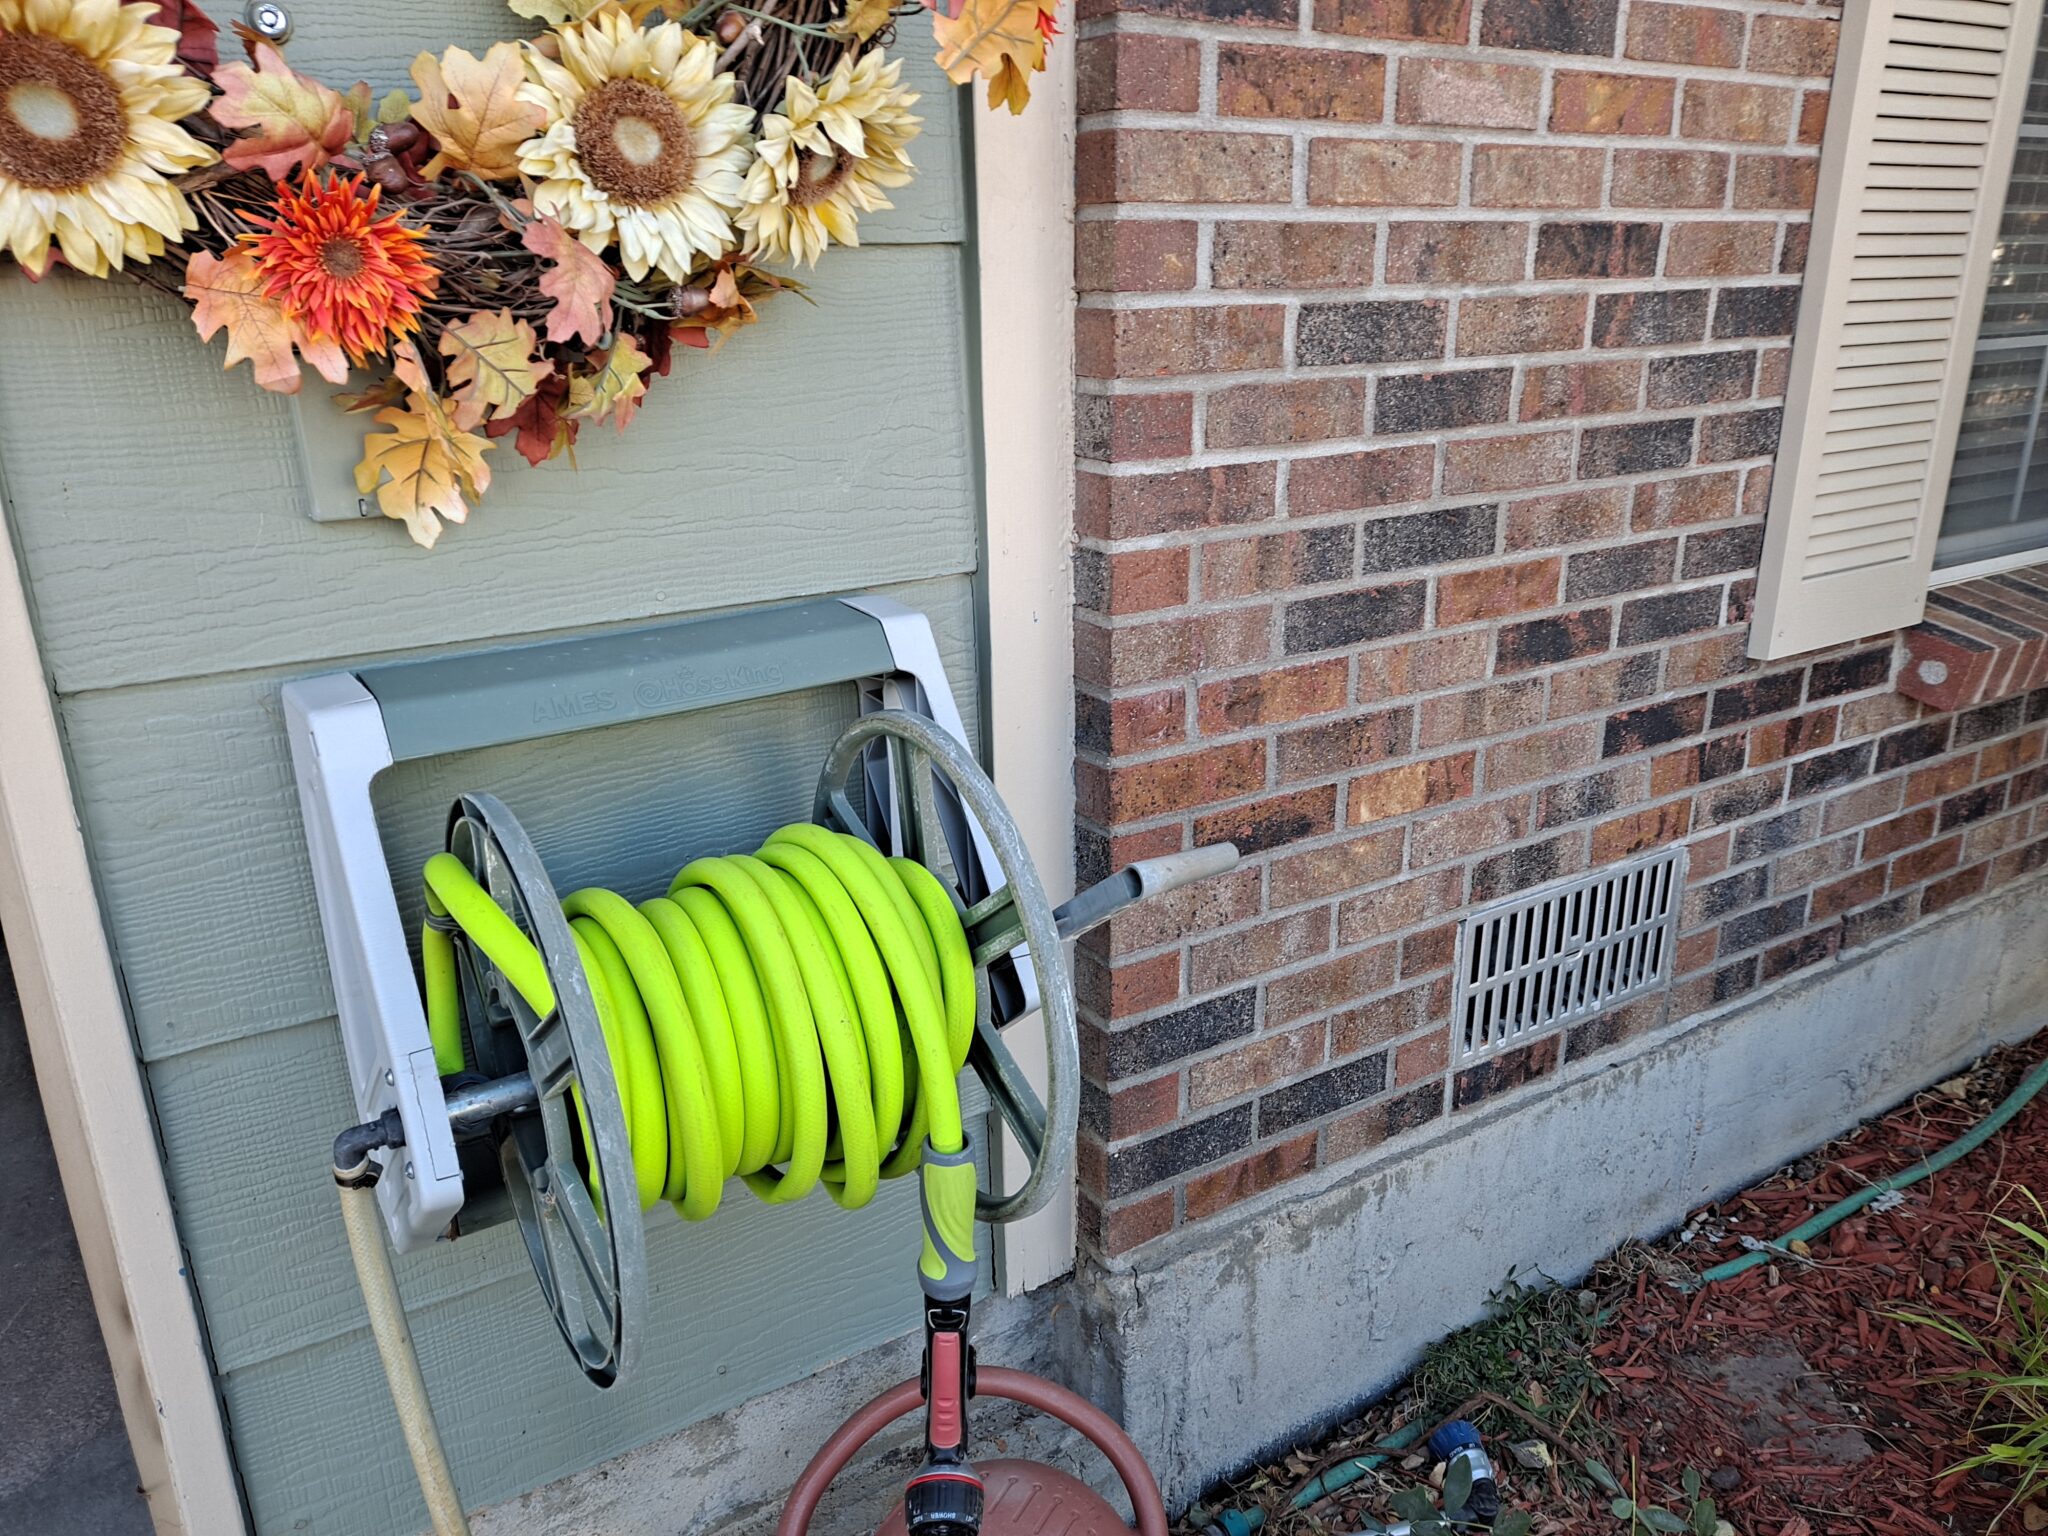
I don’t take my hoses in during the winter. I should, but I don’t. In the backyard, I like to fill up the birdbath on warm winter days so the birdies can get a drink. And hauling the hose in and out is too much of a hassle. And the reason I don’t take the front hose in is because I would have to disconnect the reel from the wall, and that’s an even bigger hassle.
So, if like me you don’t want to bring the hoses is, I have a solution for you. I simply drain them. In the front, I unspool the whole hose while leaving it connected to the reel, and drag it down down the gutter. We have a moderately steep front yard, and when I roll the hose back up, the water in the hose drains downhill. Ta-da!
The back hose is in a reel box, so that one is a little more tricky. I haul the box up onto the deck, then unspool the hose into the yard. The deck is about 3 feet higher than the lawn, so the same principle applies: water flows downhill.
Important caveat: My reels both have a short hose that connects them to the spigots. I always disconnect these hoses from the spigots in winter, only connecting them temporarily when I need to water something.
Finally, time to rest
Now that the garden is put to bed, it is time for the gardener to rest as well. The nights have grown long, the sun is but a pale orb, and the temperatures are starting to drop down into the twenties and teens. Snow will be flying very soon. Now it’s time for me to head inside, warm up my cold and tired dogs in front of the fireplace, and dream of next year’s garden.
Nighty-night garden!
