But when fall comes, kicking summer out on its treacherous ass as it always does one day sometime after the midpoint of September, it stays awhile like an old friend that you have missed. It settles in the way an old friend will settle into your favorite chair and take out his pipe and light it and then fill the afternoon with stories of places he has been and things he has done since last he saw you.” – Salem’s Lot
Stephen King
Autumn officially arrived at 00:50 this morning here in the Mountain time zone. Cheers to the return of the best season of the whole year!
I have mentioned more than once on this blog that I am a huge fan of autumn (see: Autumn splendor in Colorado, Welcome back autumn you’ve been missed, Welcome Autumn, I’ve had enough of summer. It’s time to move on to autumn., and Autumn is here…finally!.
After weeks/months of blistering summer heat, the cooler days of autumn are a blessed relief. I can finally enjoy being outside again. I don’t turn in to a sweaty pile of clothes the moment I set foot out my door. I don’t handle heat very well. Never have. I spend almost the entire month of August hiding out from the heat, with the a/c running during the day and fans blowing all night. Being trapped inside all day leads to a bit of cabin fever.
However, when autumn rolls back around I am rejuvenated. The cooler days entice me back out into the yard, or onto the bike paths. It’s enjoyable once again to just relax on the patio, or in my hammock.
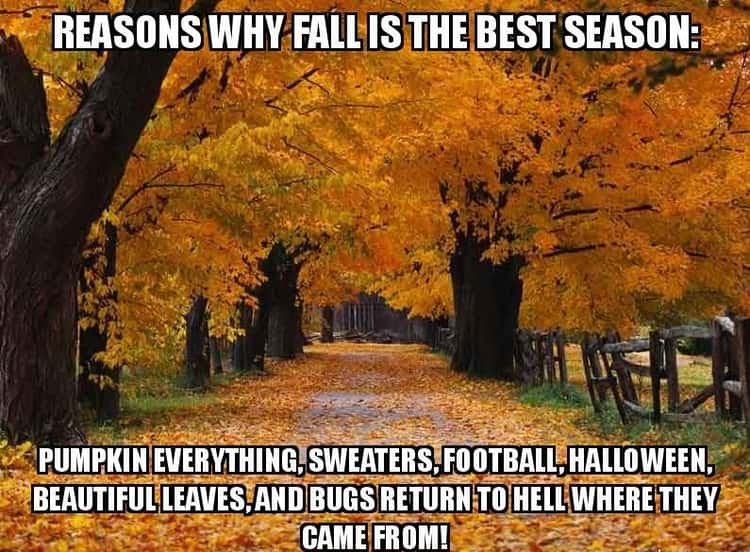
There’s so much to look forward to in the autumn months. Fall is the season of Halloween and Thanksgiving. Football has returned. Spicy chili and cornbread are back on the menu. The trees put on a stunning display to close out the growing season. The garden returns, albeit briefly, to its former glory. And the mosquitos have disappeared. Huzzah!
Still, I must admit that while autumn is my favorite time of the year, even I have conflicting feelings about the season. Autumn is a season that sometimes can engender introspection and sadness, for a variety of reasons.
After all, the days are growing shorter while the shadows grow longer, and the veil between this world and the next grows thin.
Autumn introspection and nostalgia; a season of sadness…

Each season has a “feeling” to it. For me, winter is to be endured.
Spring is a transition season, but it is transition of optimism and renewed vigor, when the days have grown longer, and life abounds yet again.
Summer is the season of BBQs and the 4th of July, of vacations and trips to the mountains/beaches/whateverfloatsyour boat. It’s baseball games and summer concerts, pool parties and amusement parks. It’s the season that celebrates life.
Autumn, like spring, is also a season of transition. It heralds the closing of the year, and thus we become acutely aware of time slipping away. The season becomes one of sadness as we grieve the passing of time, the loss of our youth, the fading of our dreams and hopes, the passing of friends and loved ones. I think it is no coincidence that Samhain, All-Hallows Eve, and Dia de los Muertos (Day of the Dead), all occur in autumn. Every year we ask ourselves “where has the time gone?”. For better or worse, another year will soon be marked “complete” in our ledger.
For a younger person, this can trigger an existential dread. They may lament “what am I doing with my life?”. I know I used to. Now that I have reached geezer status, that question has been replaced with “I wonder how many more autumns I will be around for?”.
And, of course, we are all too aware that the long cold bleak days of winter are just a few short weeks away.
I know several people who actively detest autumn for these very reasons.
And of joy
Yet autumn is also a season of celebration and for gathering together with our loved ones. We rejoice in the harvest, and its attendant feasts. We revel during Oktoberfest and autumn festivals, pumpkin mazes and Halloween. We huddle together in late November to give Thanks for all our blessings. Many of us who celebrate Christmas like to close out the season by decorating our home in preparation for the first holiday of the winter season.
It truly is a paradoxical season.
There’s also a nostalgia factor about autumn. While I hated returning to school, it was fun to reconnect with friends I hadn’t seen in months. The first Scholastic book catalogs arrived in early fall. Playing football on the weekends. Planning what to be for Halloween. (For younger readers, there weren’t Spirit stores stocked with a plethora of costumes and Halloween decorations available. You either made your own costume, or your folks bought you a cheap, piece of shit costume from a department store that included a stamped plastic mask held on to your head by a rubber band). Going to the pumpkin patch to pick out the perfect gourd to make into a jack-o-lantern. Good times!
If you’re interested, here’s a pretty good explanation for why we feel the way we do about autumn: There’s a Psychological Reason Why We Love Fall So Much (verywellmind.com)
The Grande Finale
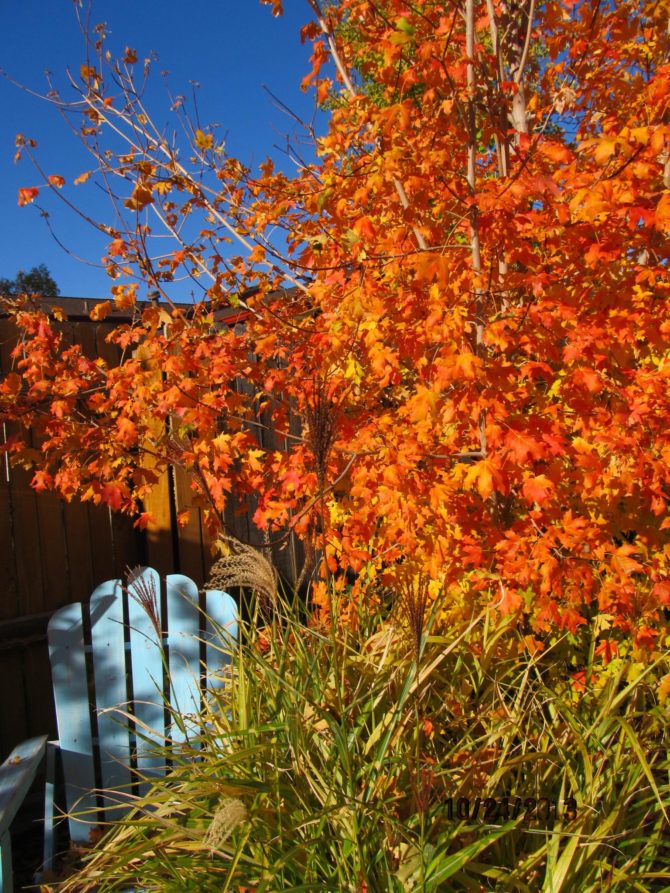
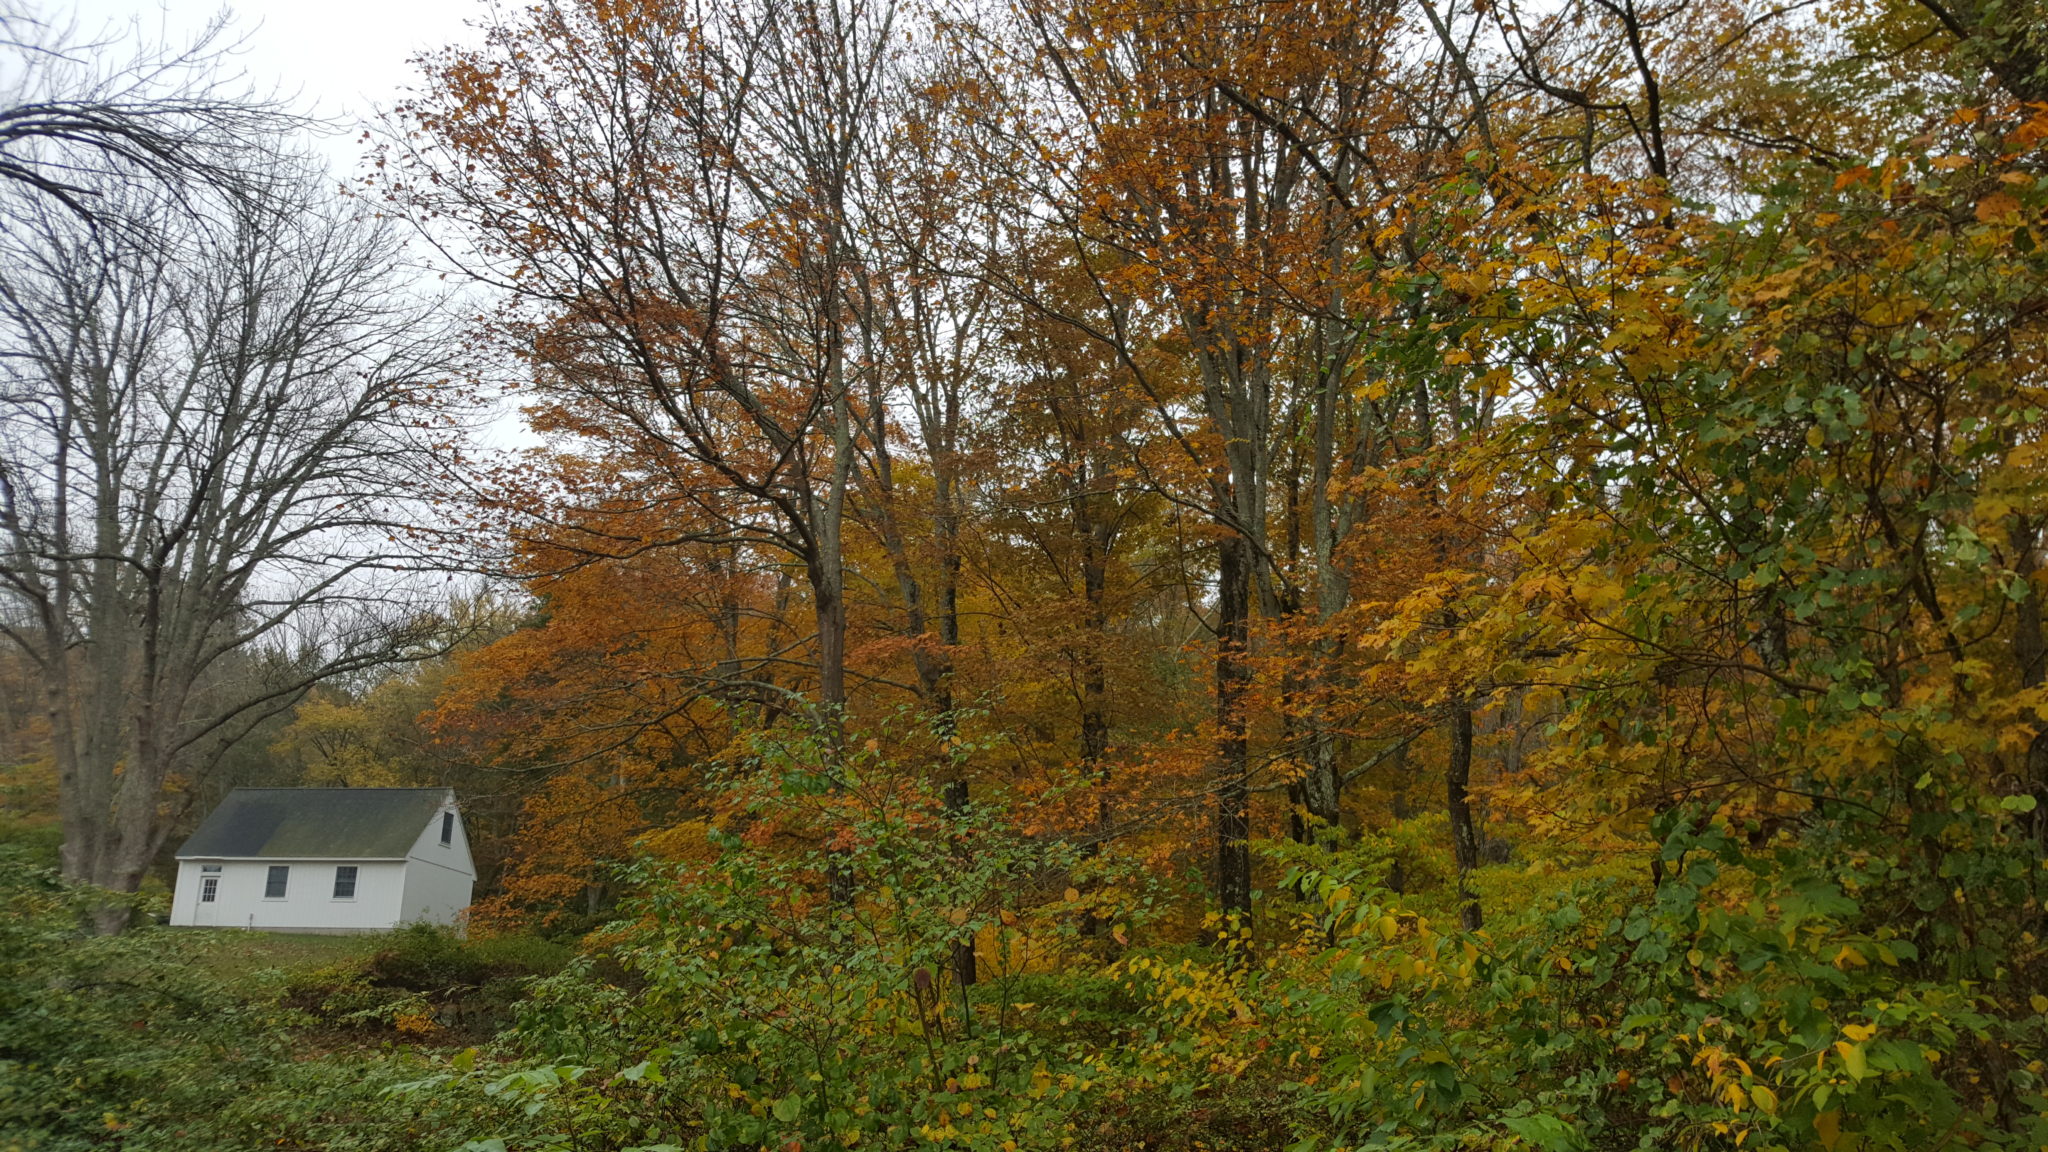
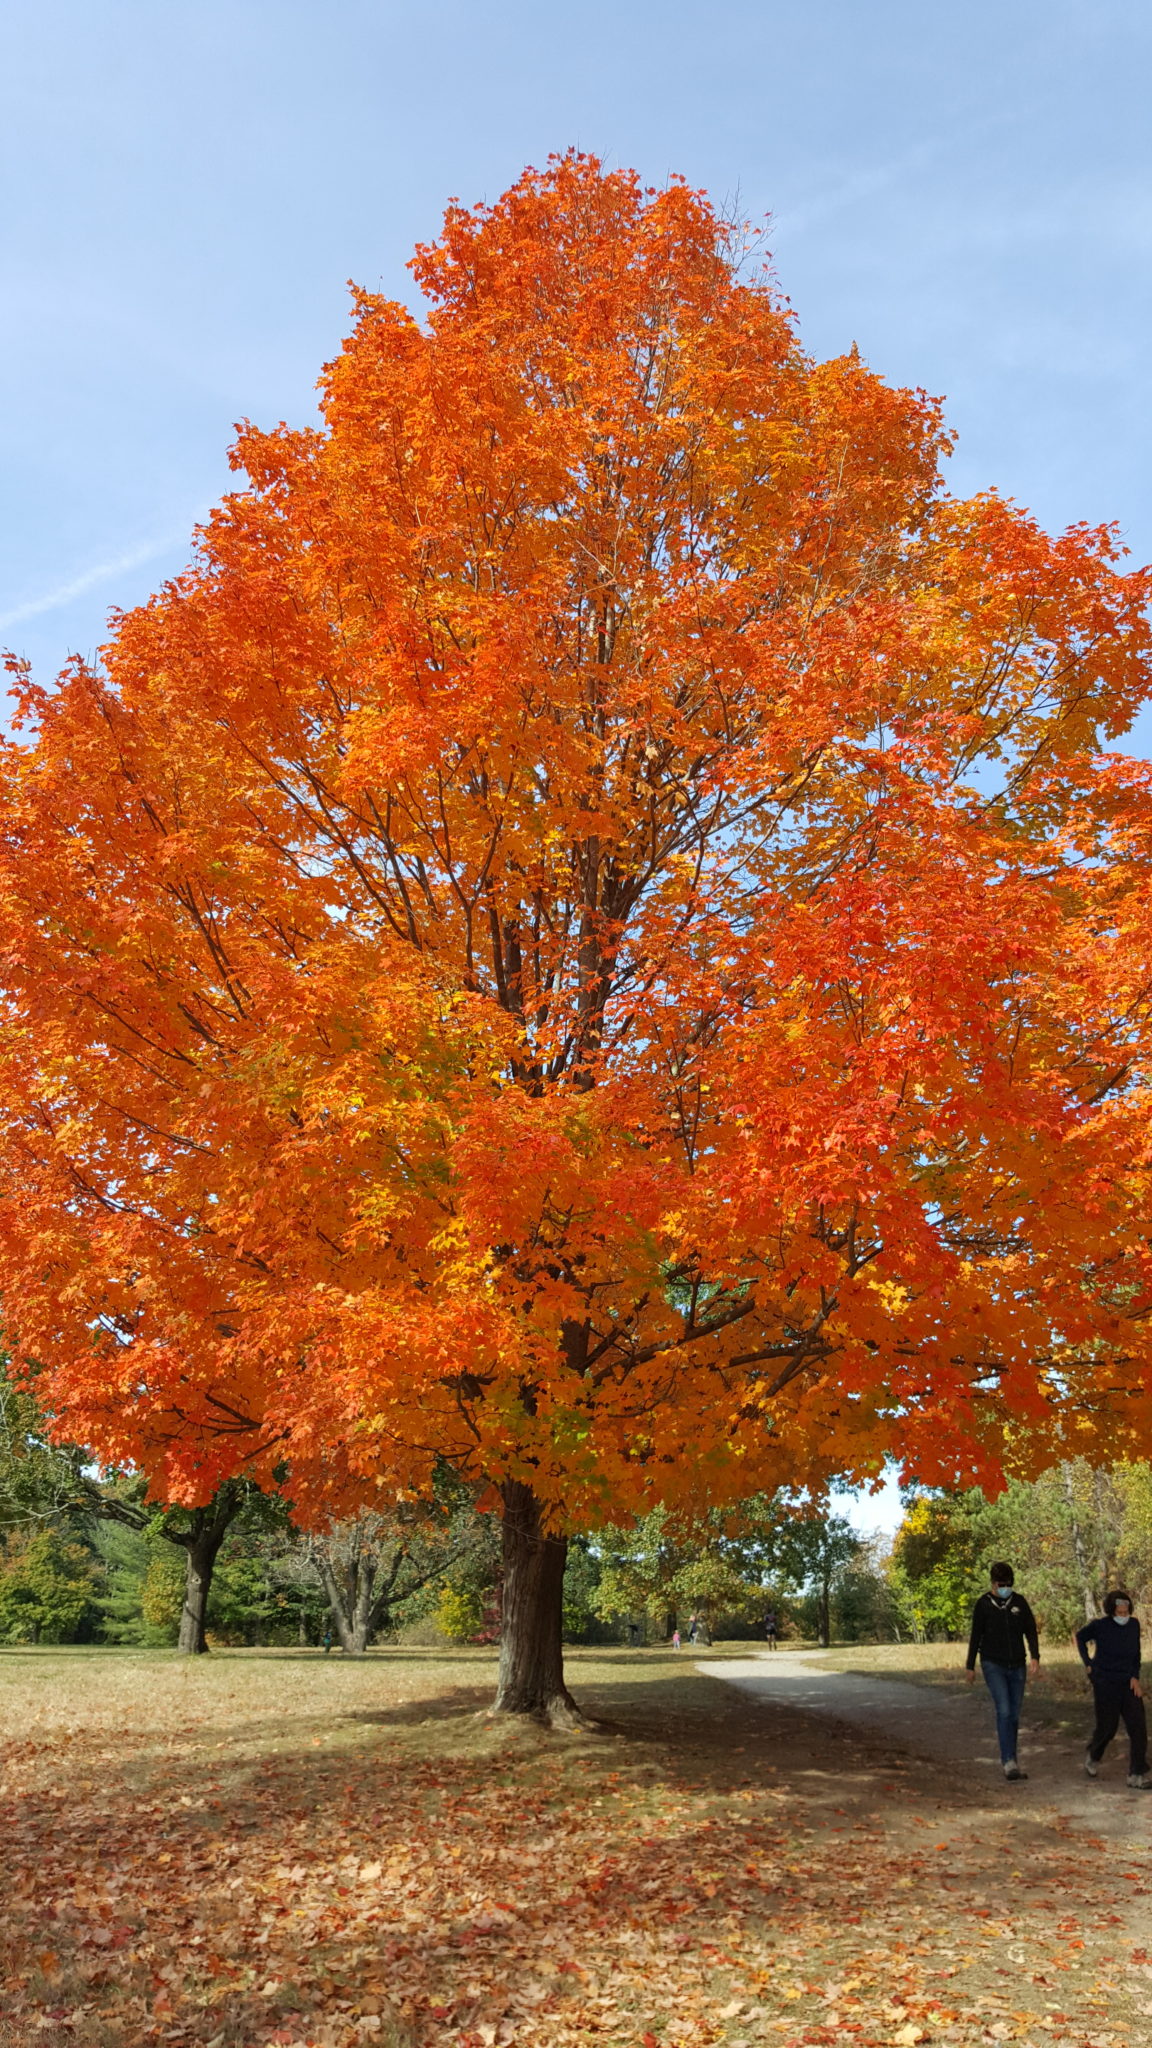
Albert Camus stated that “autumn is a second spring, when every leaf is a flower”. For those of us who live in more temperate climes here in the United States, the fall foliage display is nature’s version of a 4th of July fireworks grand finale. This final blaze of glory ends of the growing season with a bang.
I have been blessed enough in this life to have witnessed autumn colors in several iconic places in the US.
From the New England states…
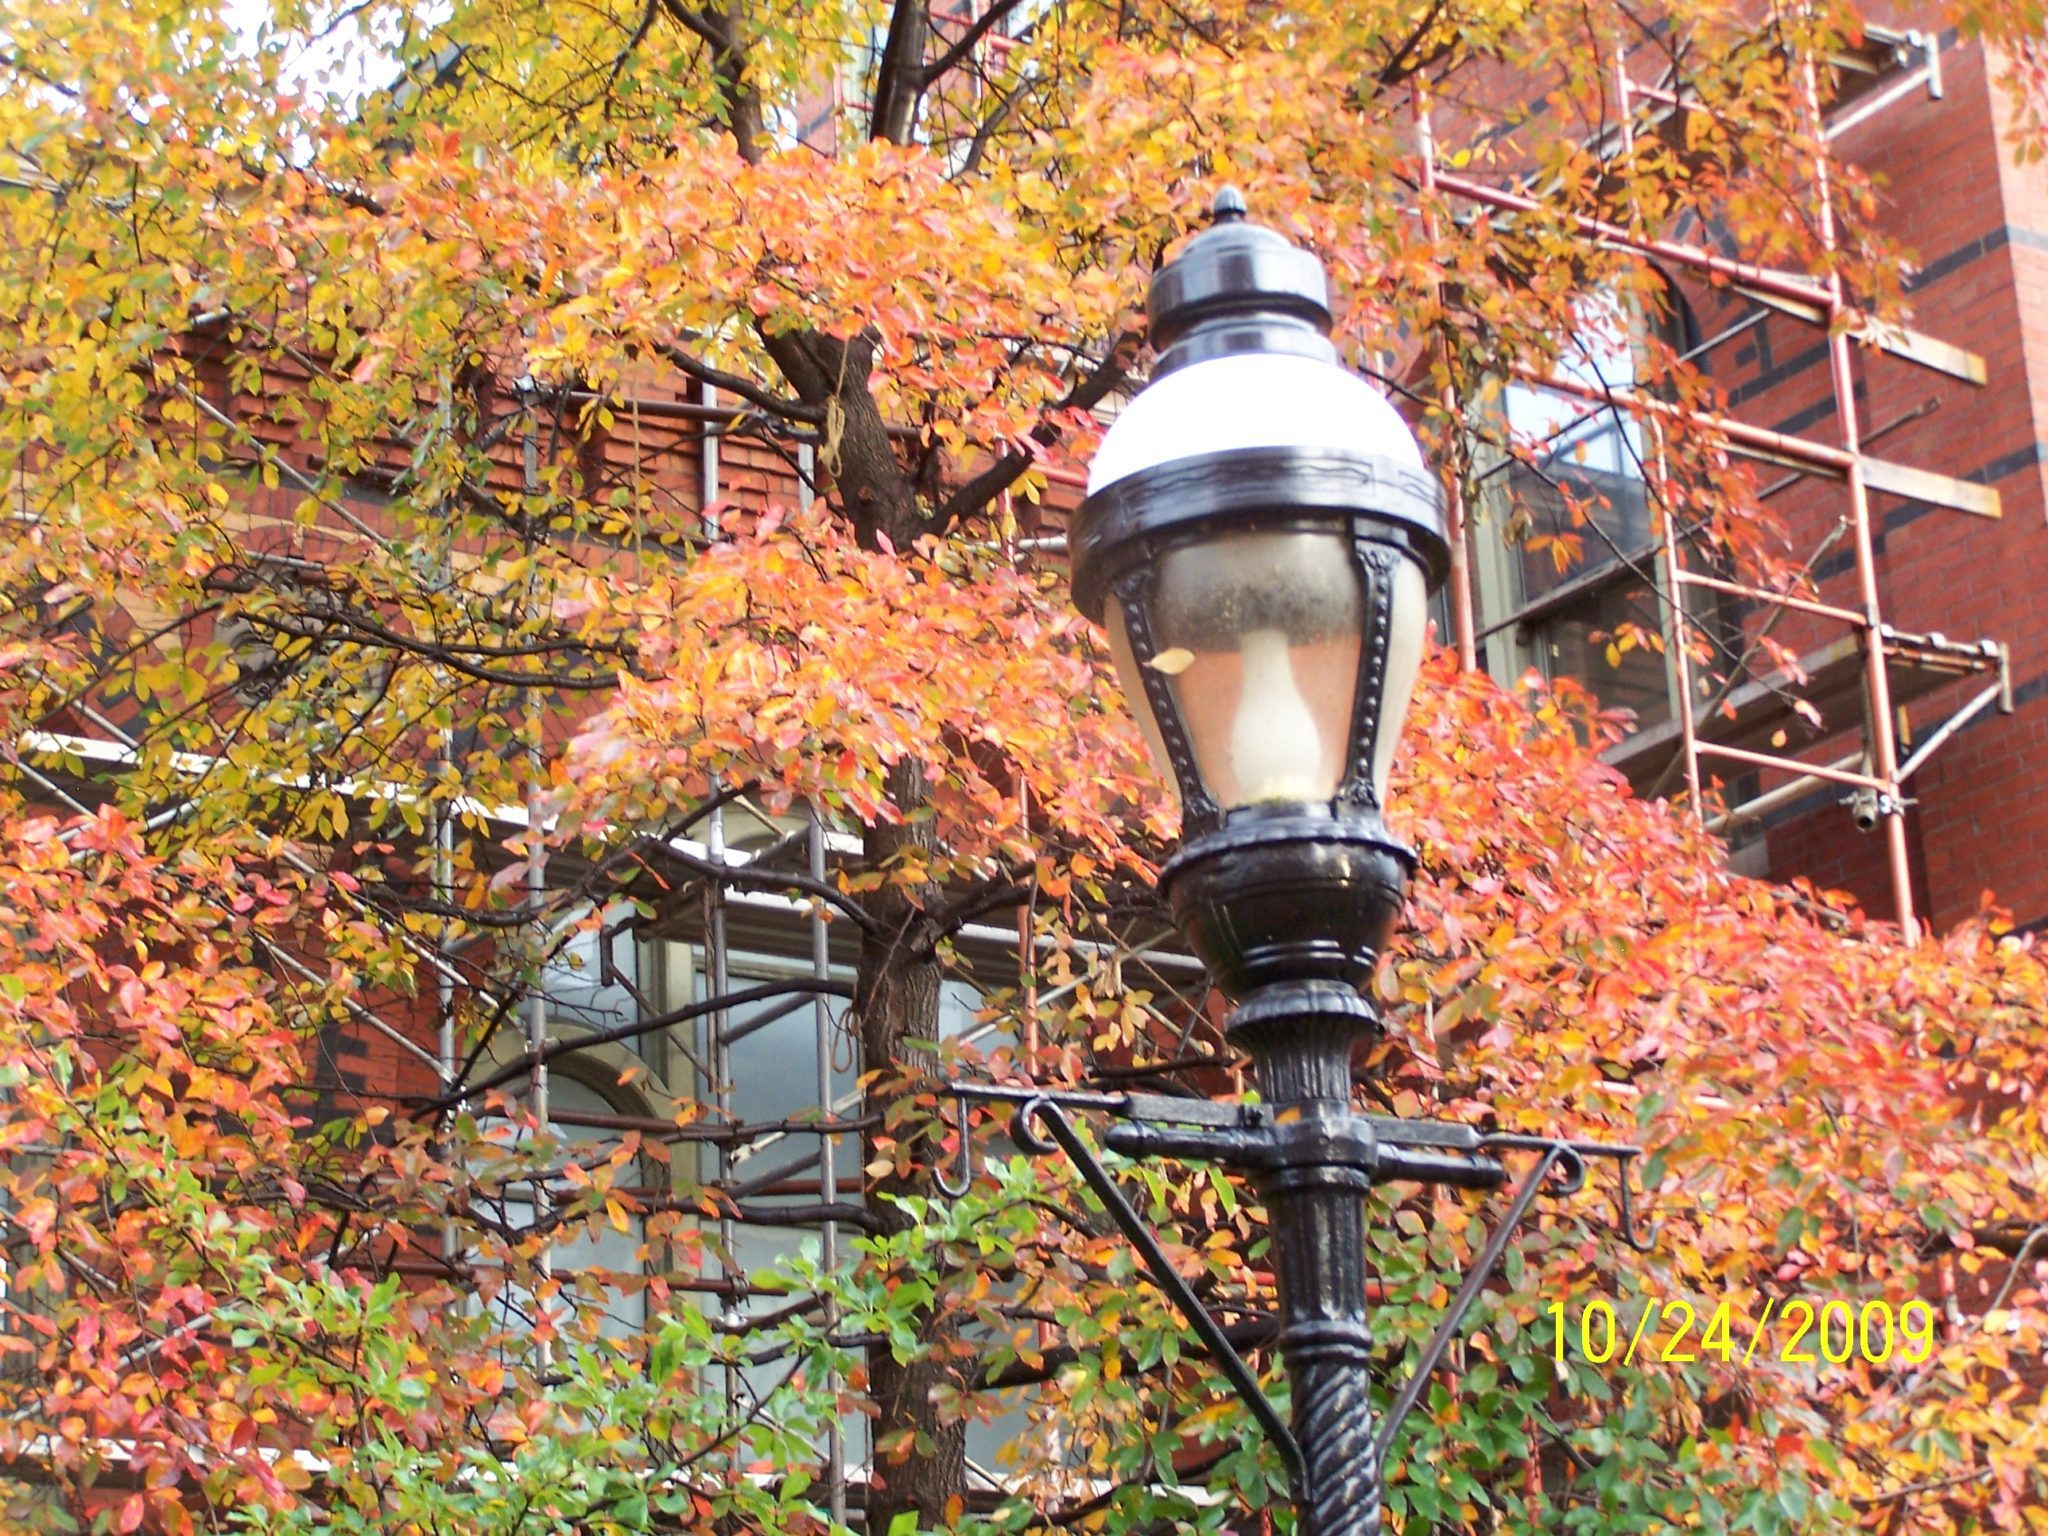
To the mid-Atlantic states…
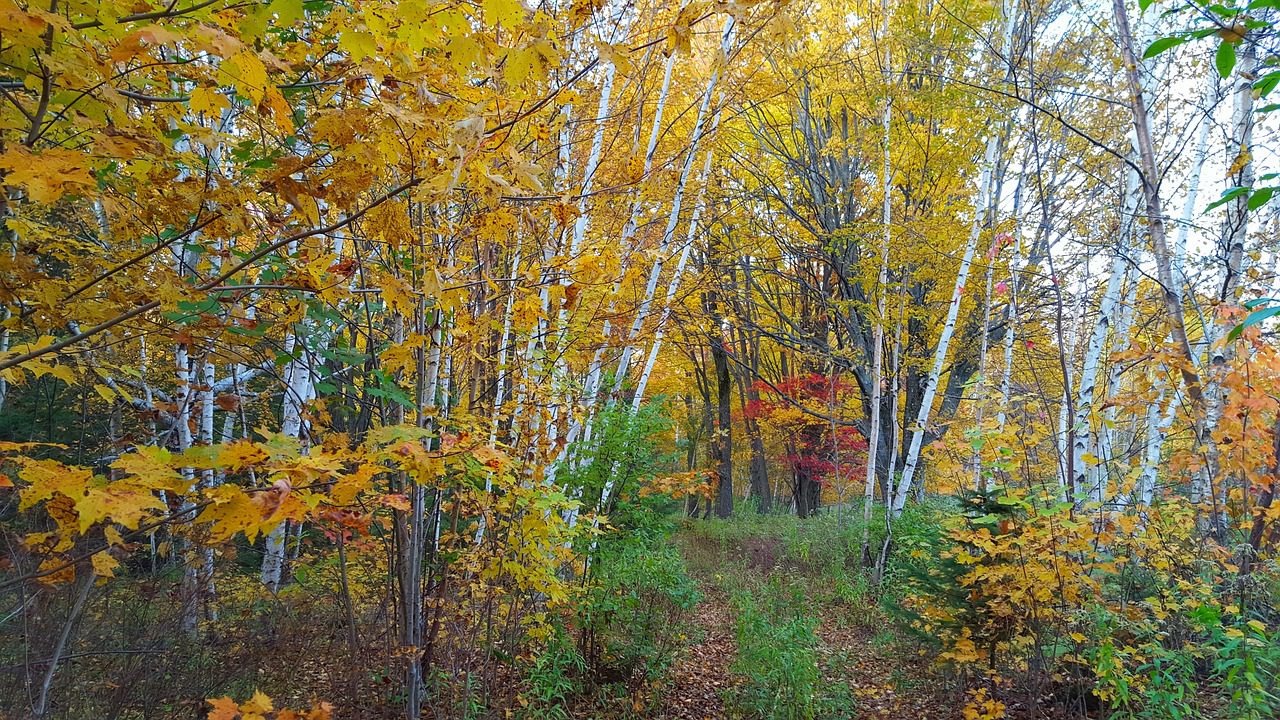
To the mid-West…
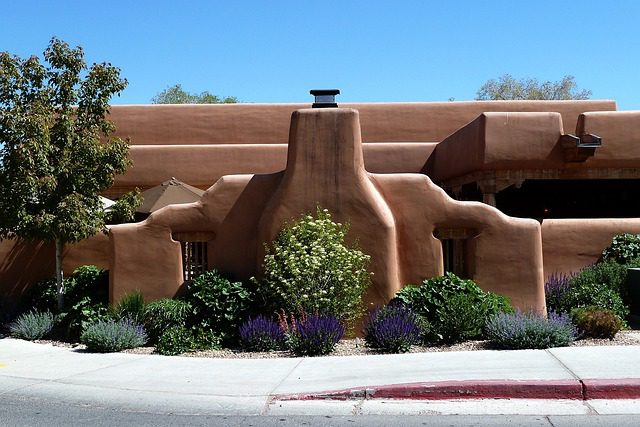
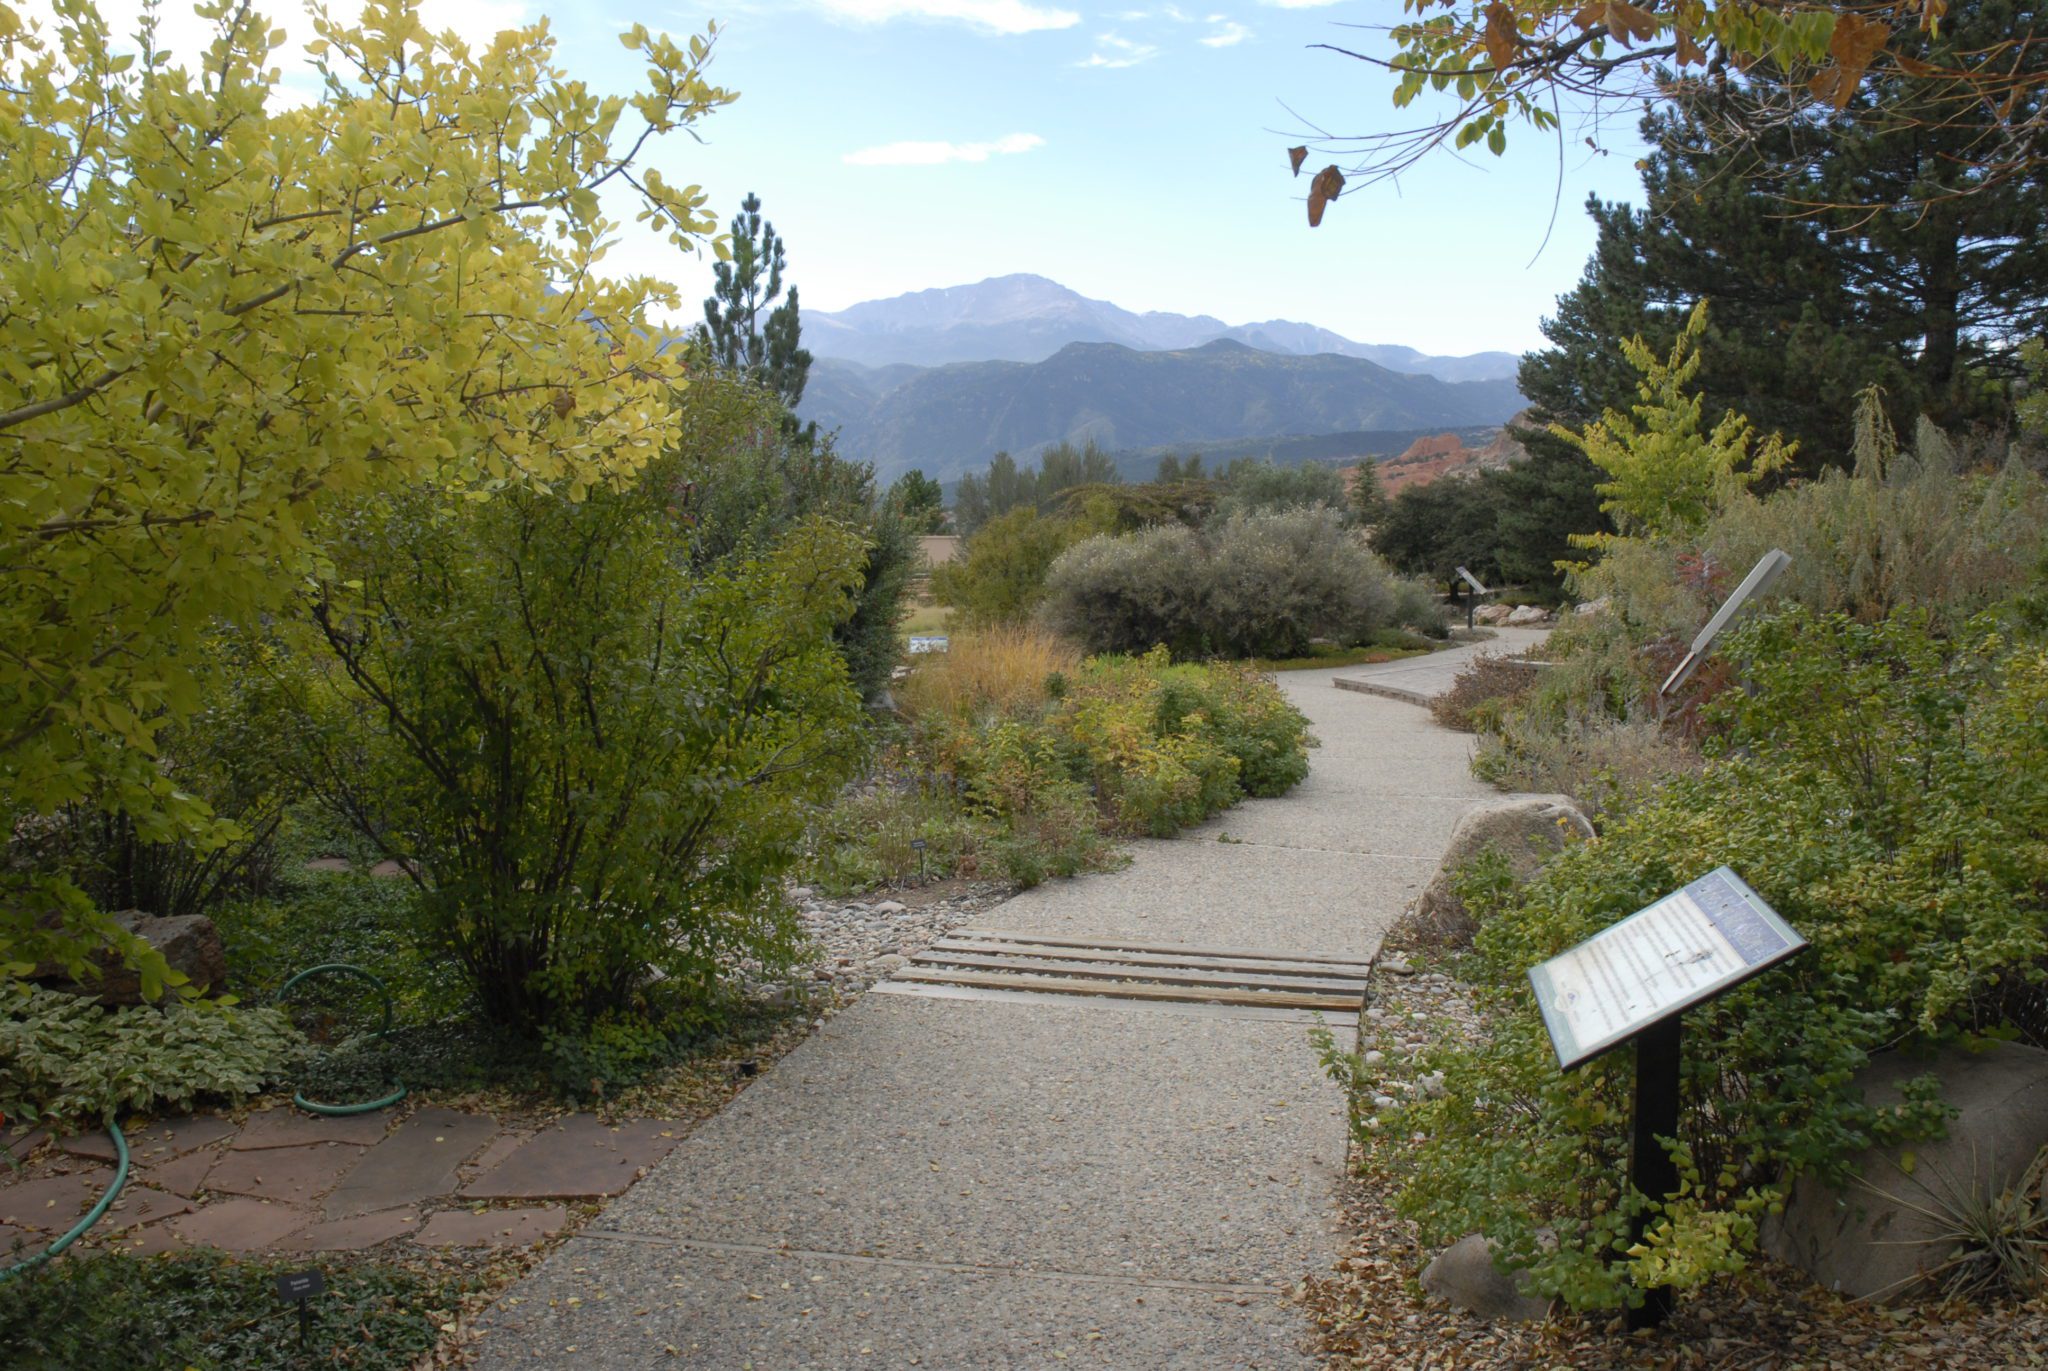
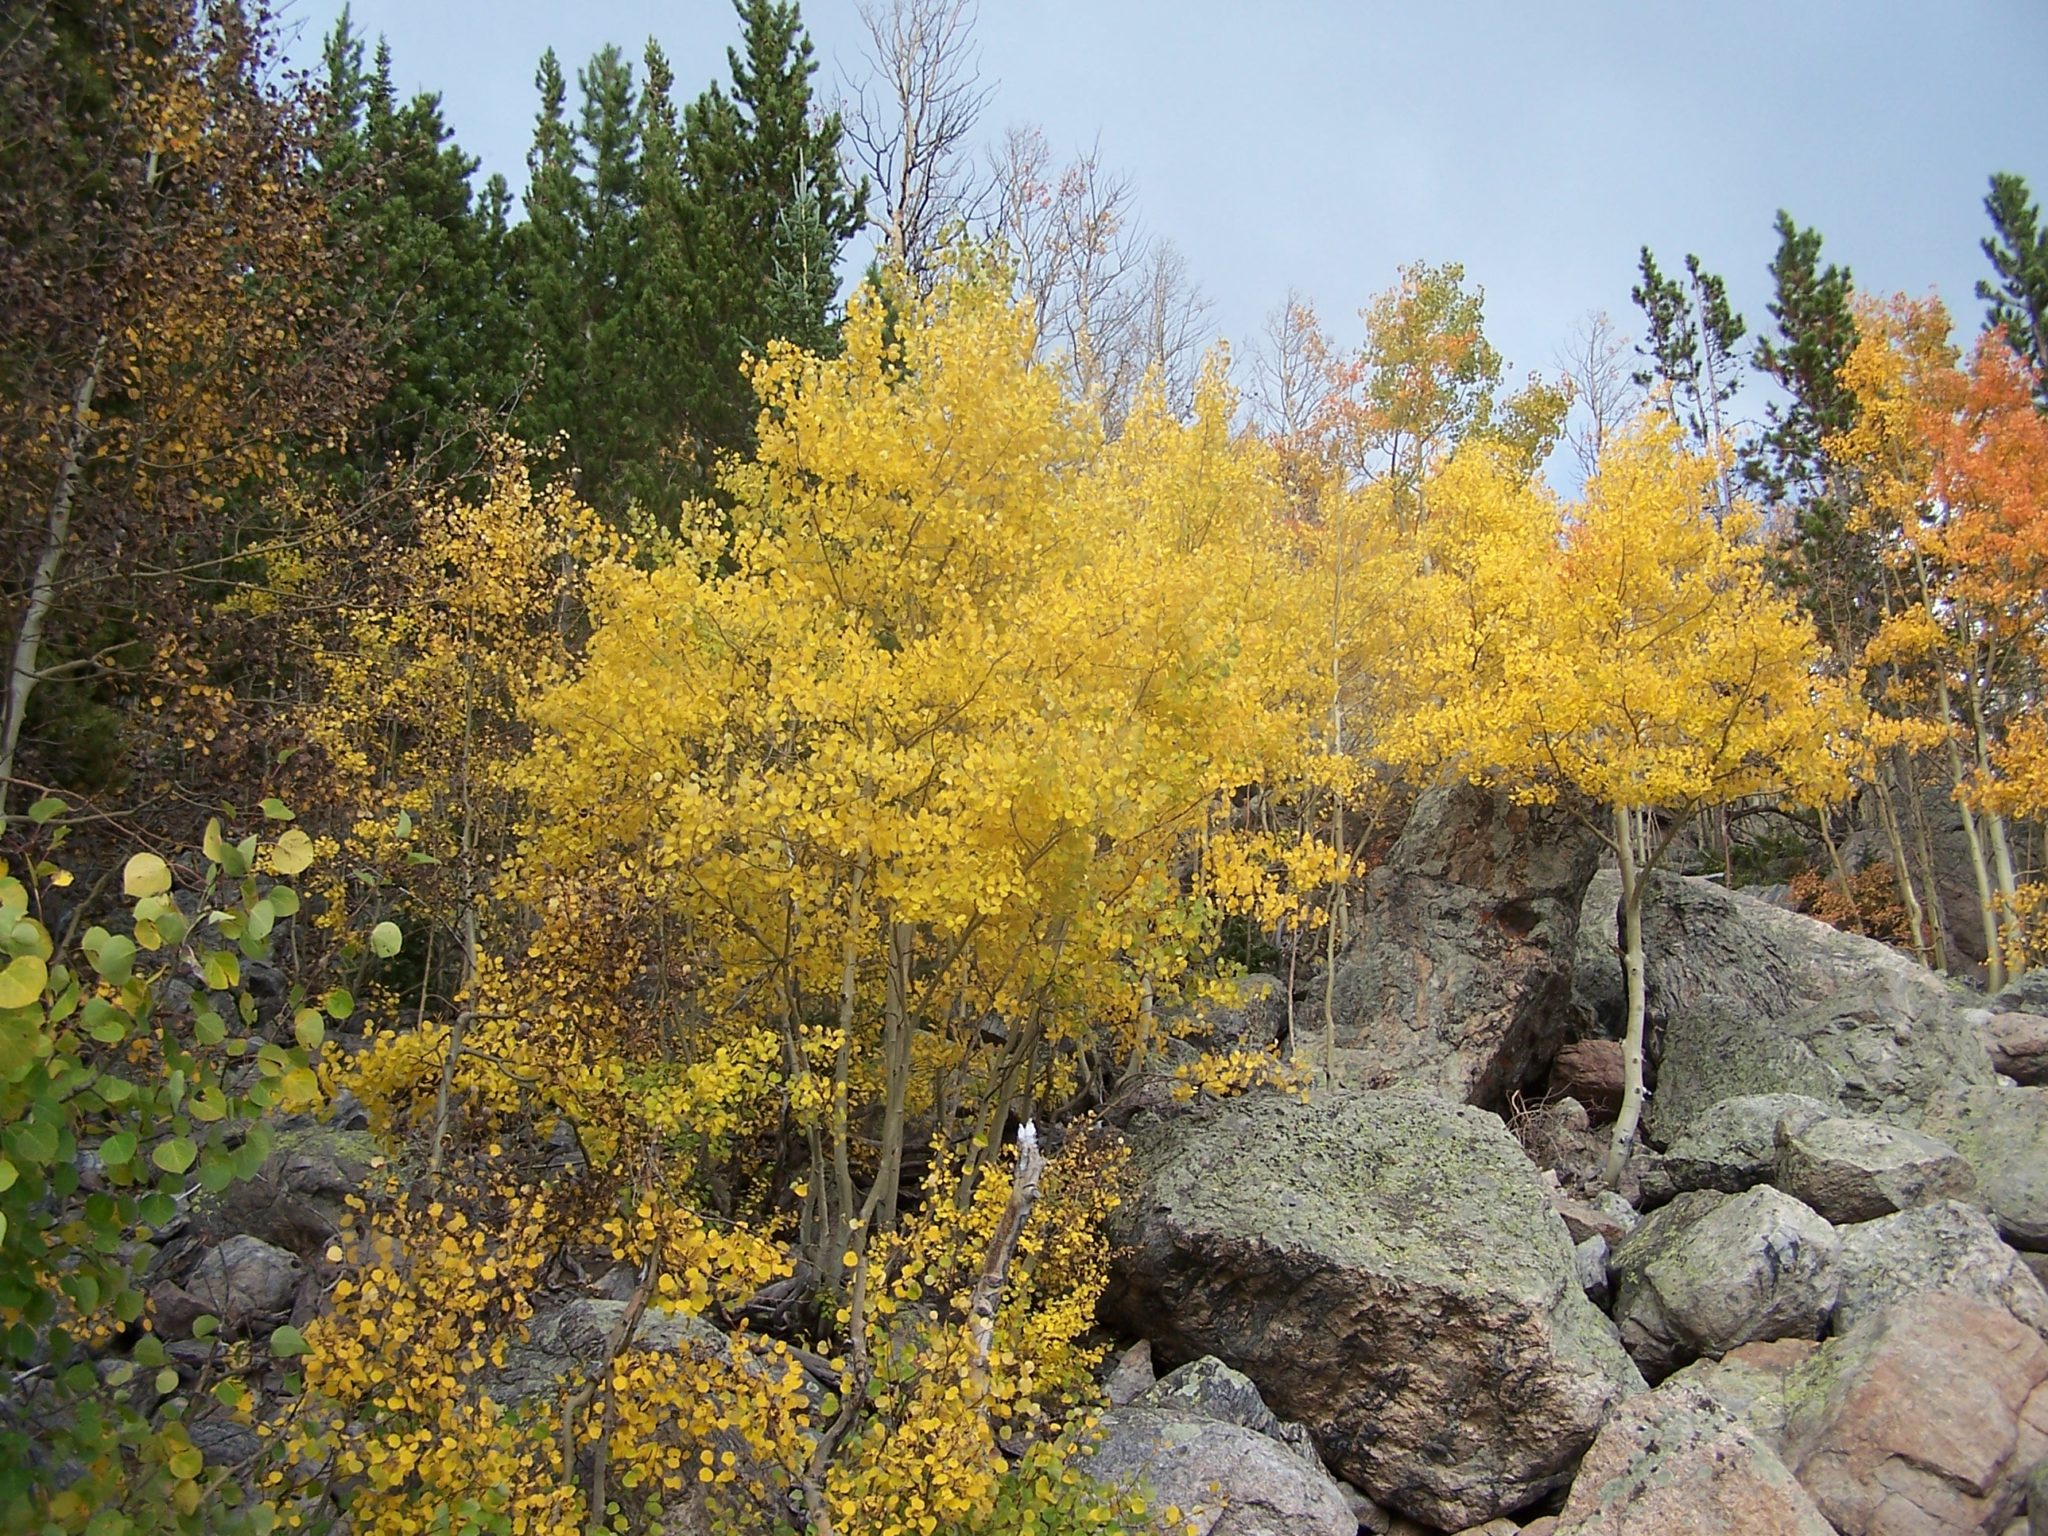
To Colorado and the mountain west…
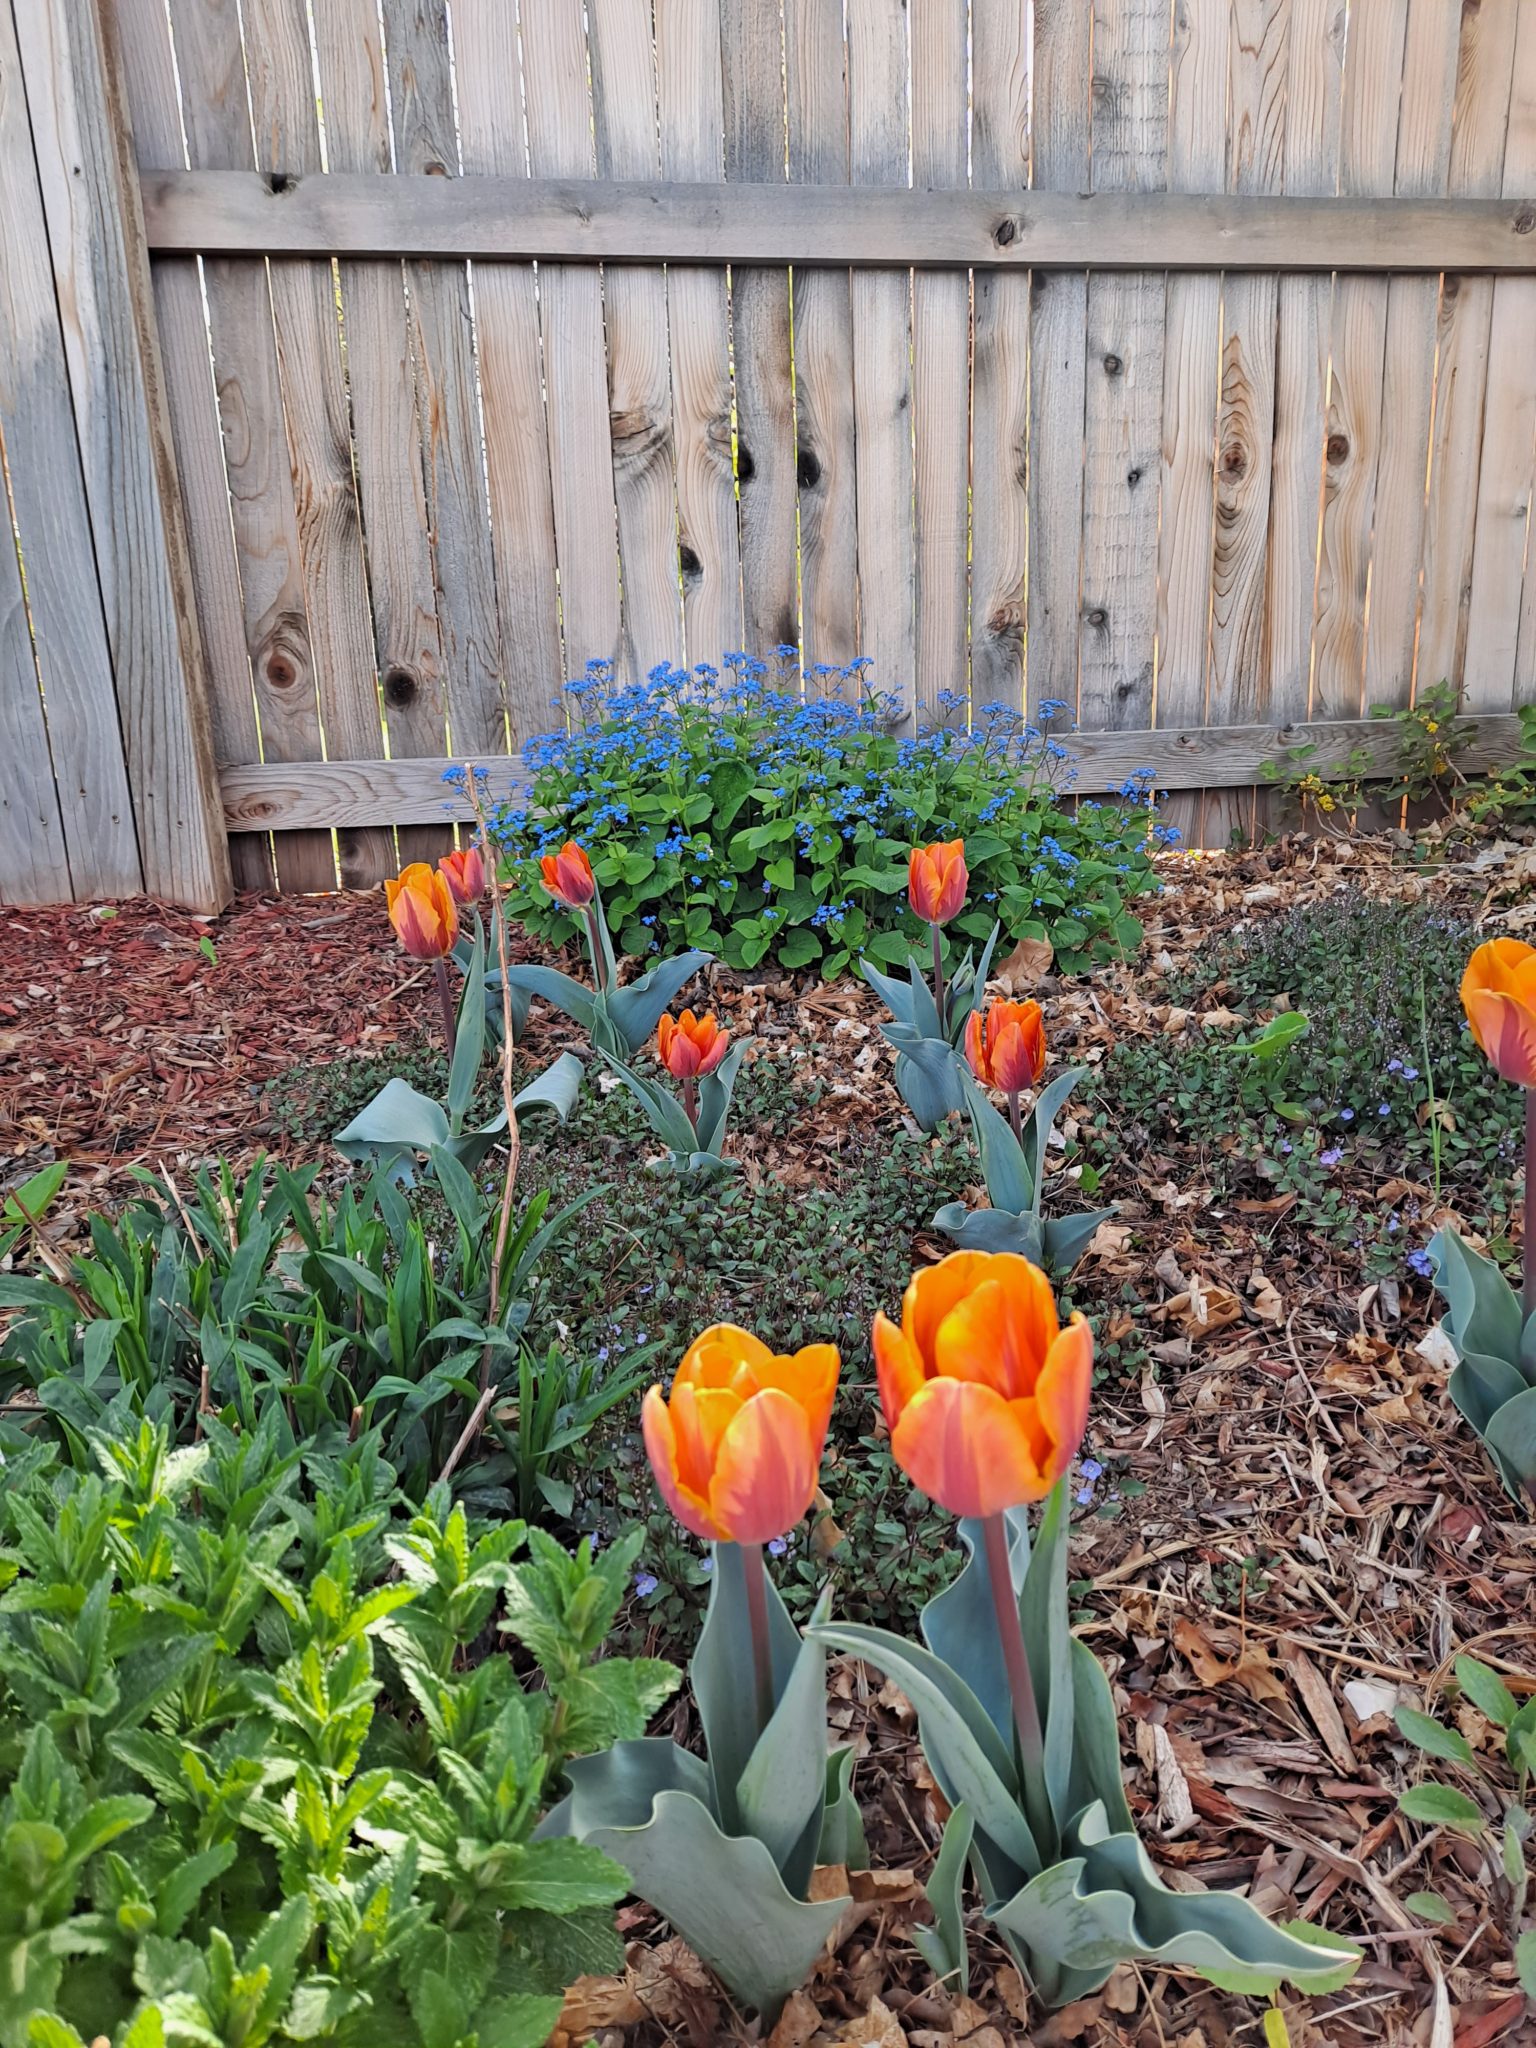
To my very own backyard.
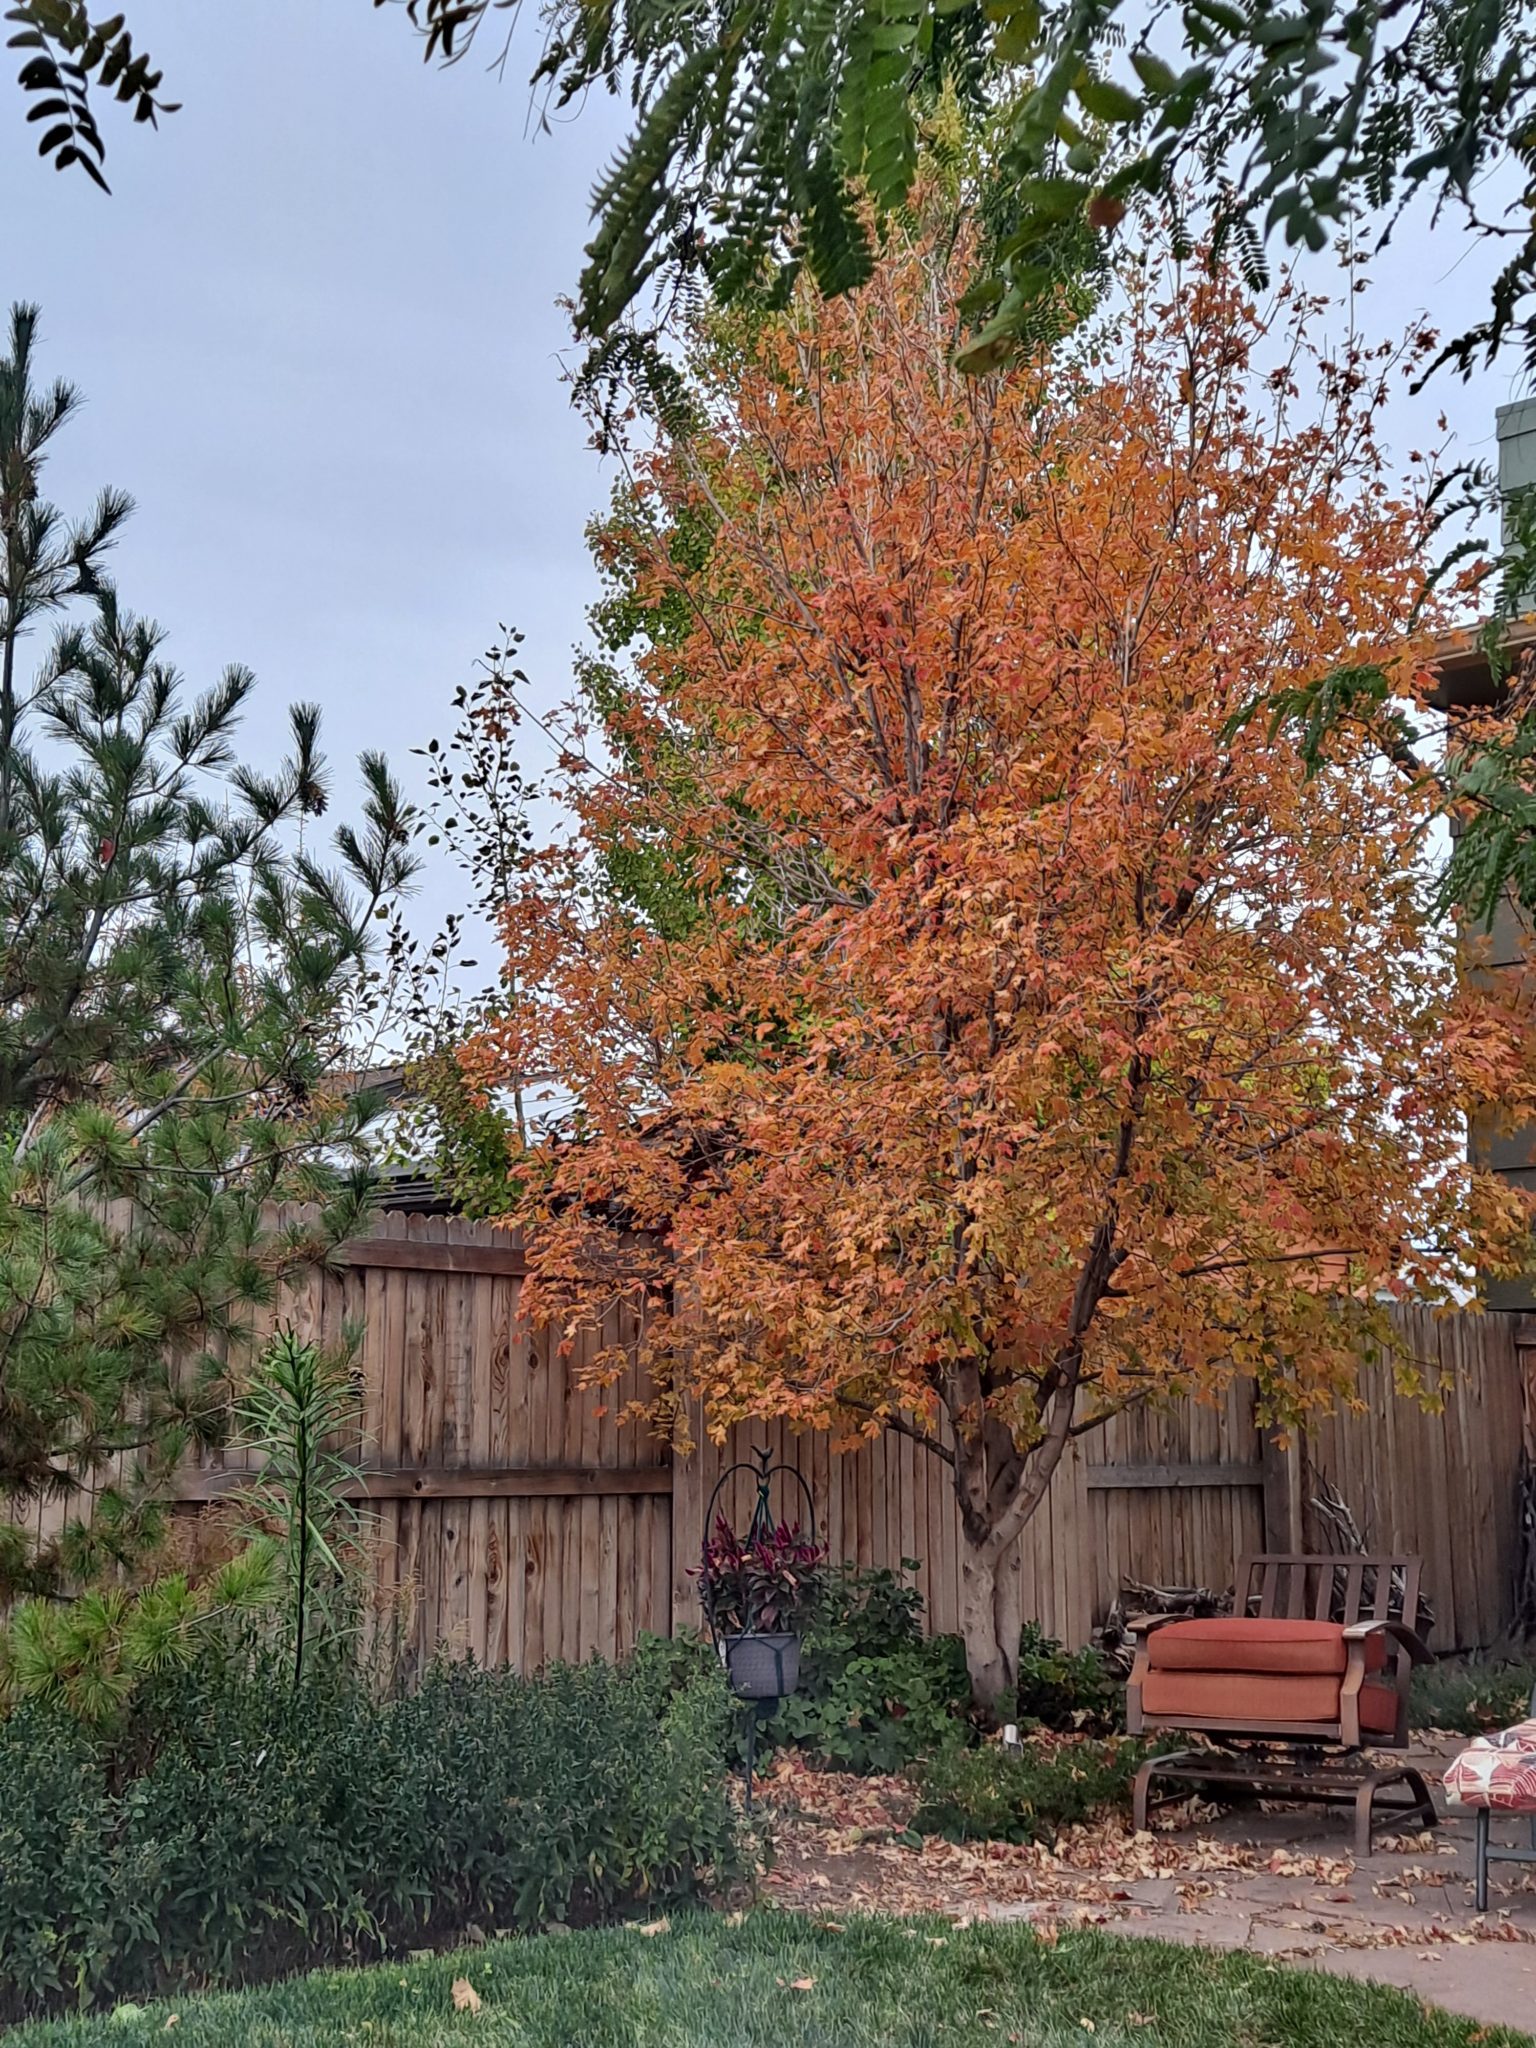
In the memories of my childhood, it seemed to me back then that the fall foliage display lasted for a long time. This memory is, of course, wrong. The truth is autumn’s grand finale is a rather short-lived spectacle, and always has been. Display length and intensity is totally dependent on the weather. Some years the show can last up to two weeks or more. Other years, an early hard frost or snowstorm can end the display overnight. Or perhaps an autumn gale comes along and strips the trees bare just as they’ve reached peak color.
Heck, just a couple of years ago, we here along Colorado’s Front Range had an unseasonably warm fall. Just as the temperatures finally dropped to the average and the trees started turning colors, a freak snowstorm came through. And that was that. Sorry folks, show’s over until next year.
And when that show is over, all that is left is the bare branches that seem to claw at the chilly sky, grasping for a sunny warmth that is denied them for many months to come. Then we know, really know, that winter is fast approaching.
The eastern, central and northern United States is one of the few places on earth where the growing season goes out with such a glorious blaze of color. For those of us lucky enough to live in such places I think it is important for us to slow down and enjoy the show, however long it might last. As an added bonus, it’s free.
The rejuvenated garden
Come Labor Day, the Vintage garden looks quite worn and threadbare. By late summer the plants have had a very eventful growing season. Late spring snows and freezes, followed by torrential rains, bashing winds and hail in early summer. (We are fortunate to here at the Vintage ranch. The hail we received was small and not too copious. Parts of Colorado got hail so heavy that snowplows had to be utilized to clear streets. Parts of eastern Colorado got hail the size of softballs!).
Once the rains receded, the plants endured weeks and weeks of heat and no appreciable moisture. And through it all were the legion of pests that gnawed and chomped their way through the buffet we so helpfully provided them. Squirrels, rabbits, caterpillars, grubs, leaf miners, aphids, you name it we seemed to have ’em. And the scourge from last year, grasshoppers, returned to wreak havoc of biblical proportions. It’s amazing there’s a garden at all.
But a week or two after Labor Day, something amazing happens. The temperatures moderate, and in some years we get rain (inch and a half last week). The predators have begun laying waste to all the pests. Mosquitos have been absent for weeks.
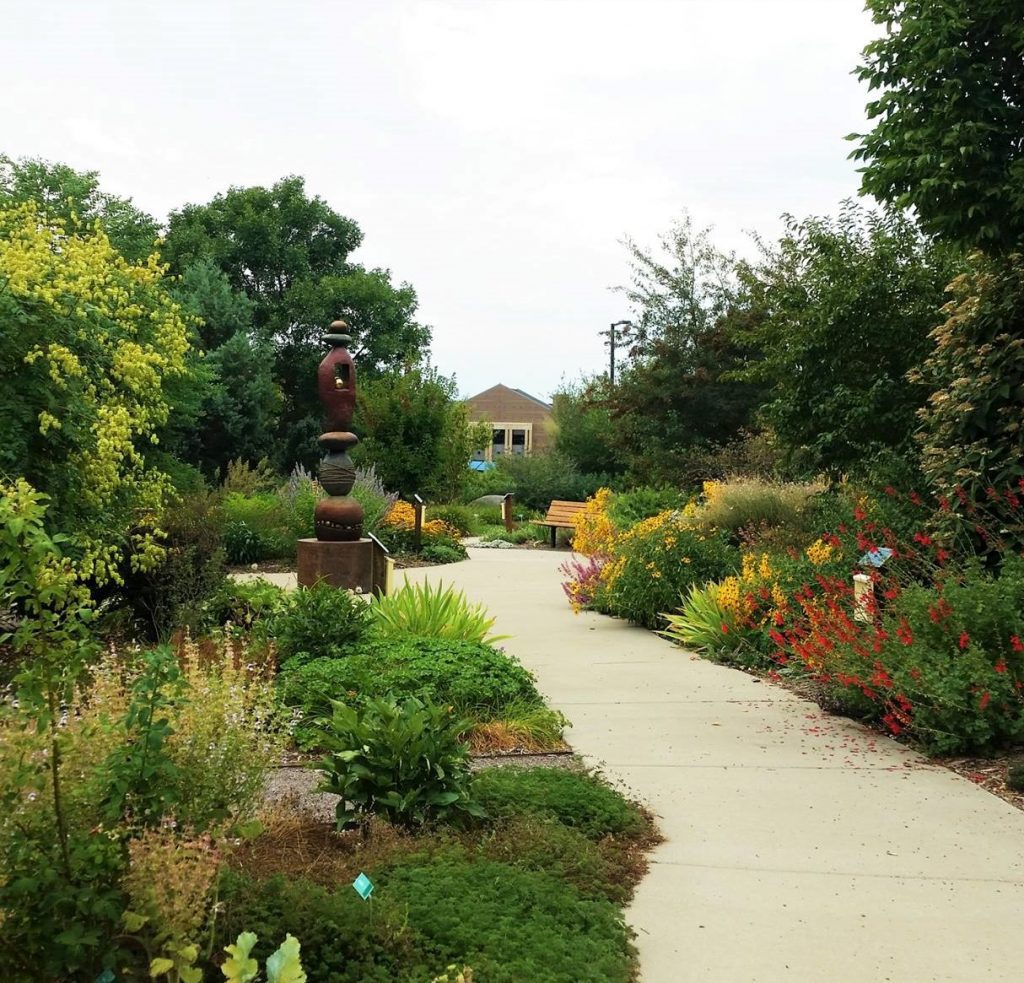
And the garden begins to recover and look almost as energetic as it did in early June. But this late season flush is different. In late spring and early summer, the plants are just reaching their potential size. That means there is a lot of space between each plant, like soldiers in formation. There is a formality and rigidity to the borders.
By autumn, everything has grown lush. The plants now lean, and sprawl and weave through each other. The garden is more relaxed, and so is the gardener. About the only thing to worry about is trying to get the last tomatoes or peppers to ripen before a cold snap ruins them.
As an added bonus, by this time there are far fewer weeds to deal with.
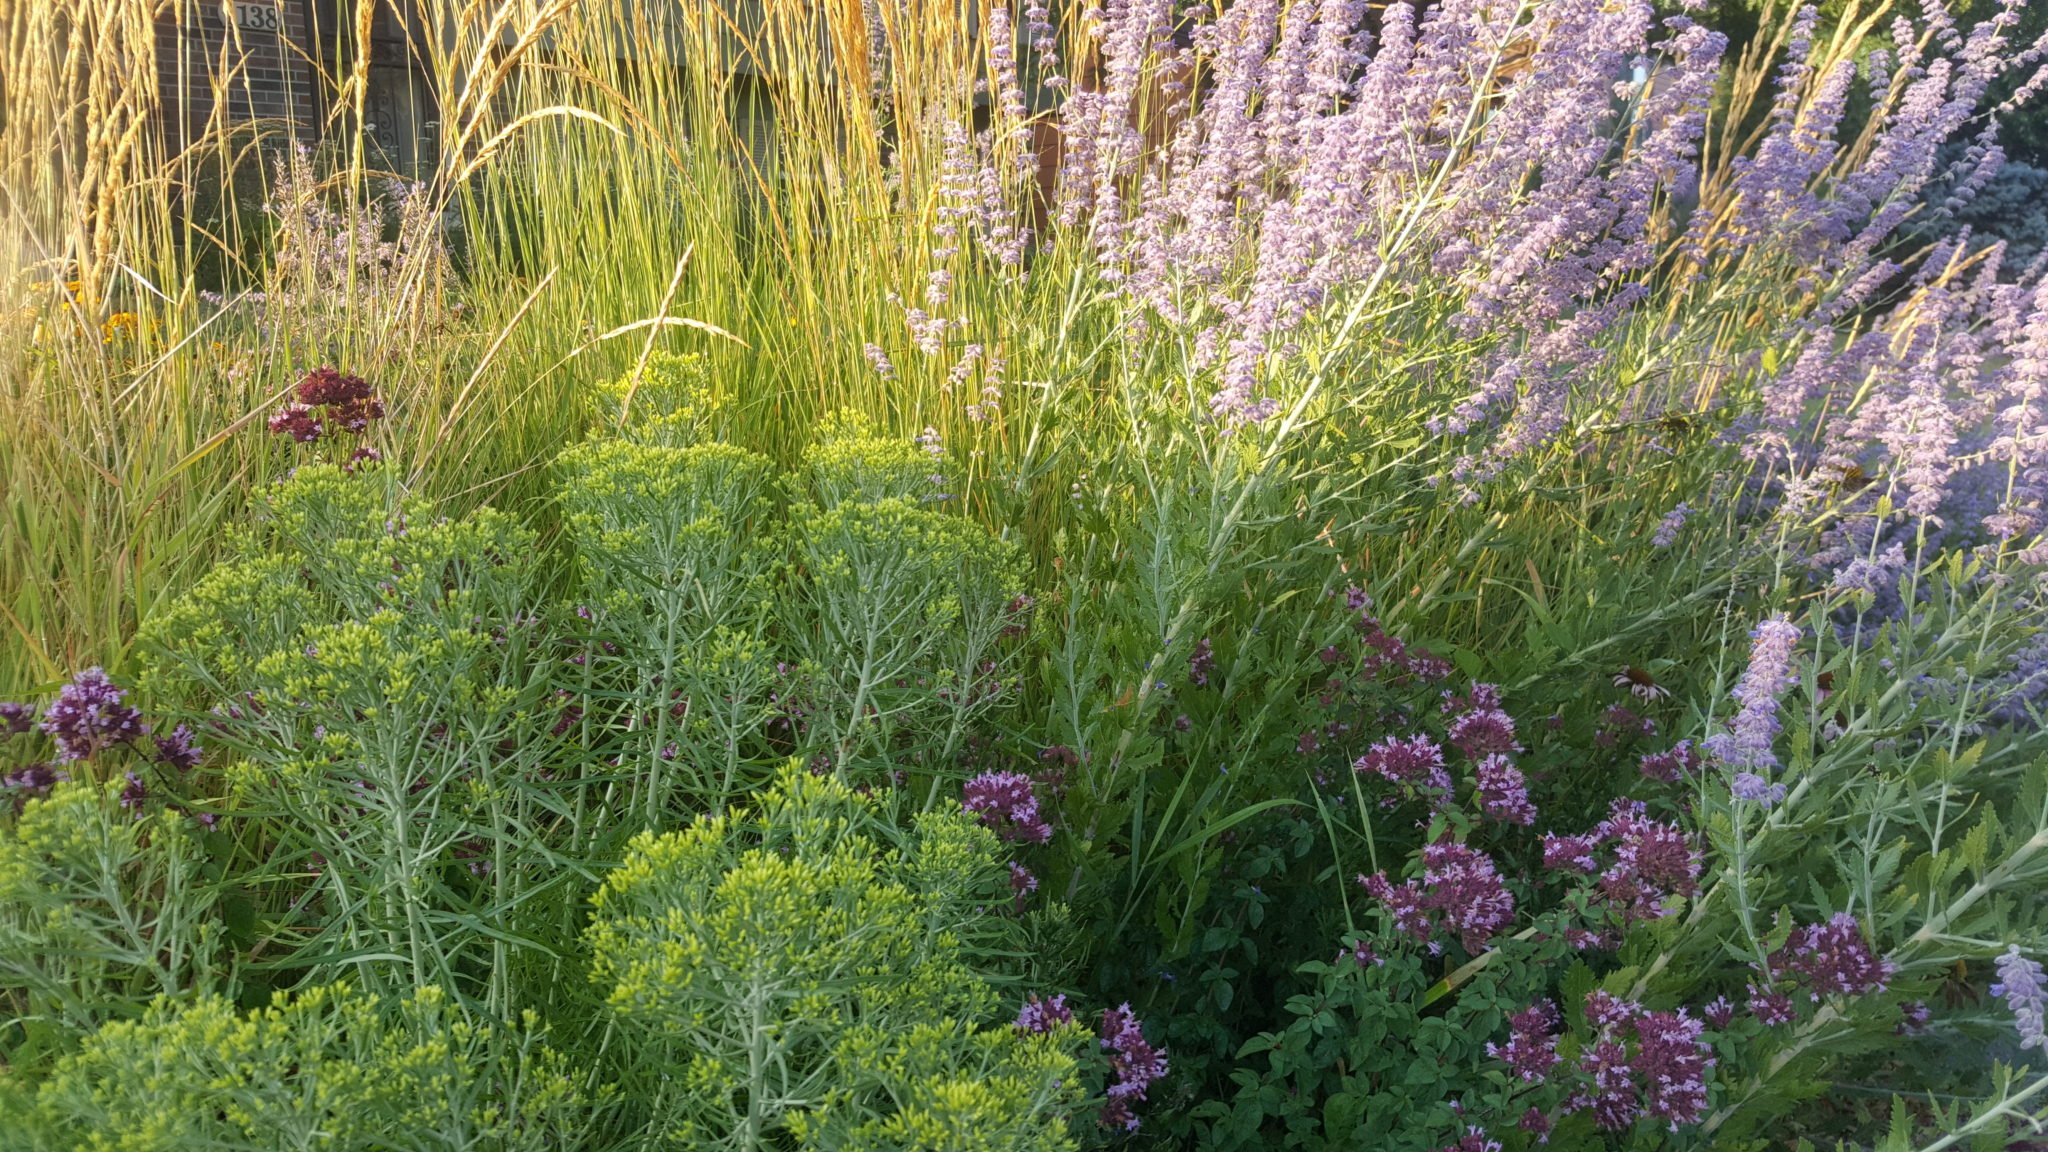
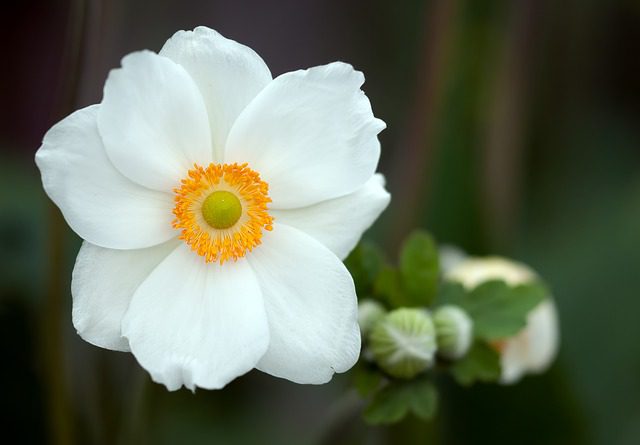
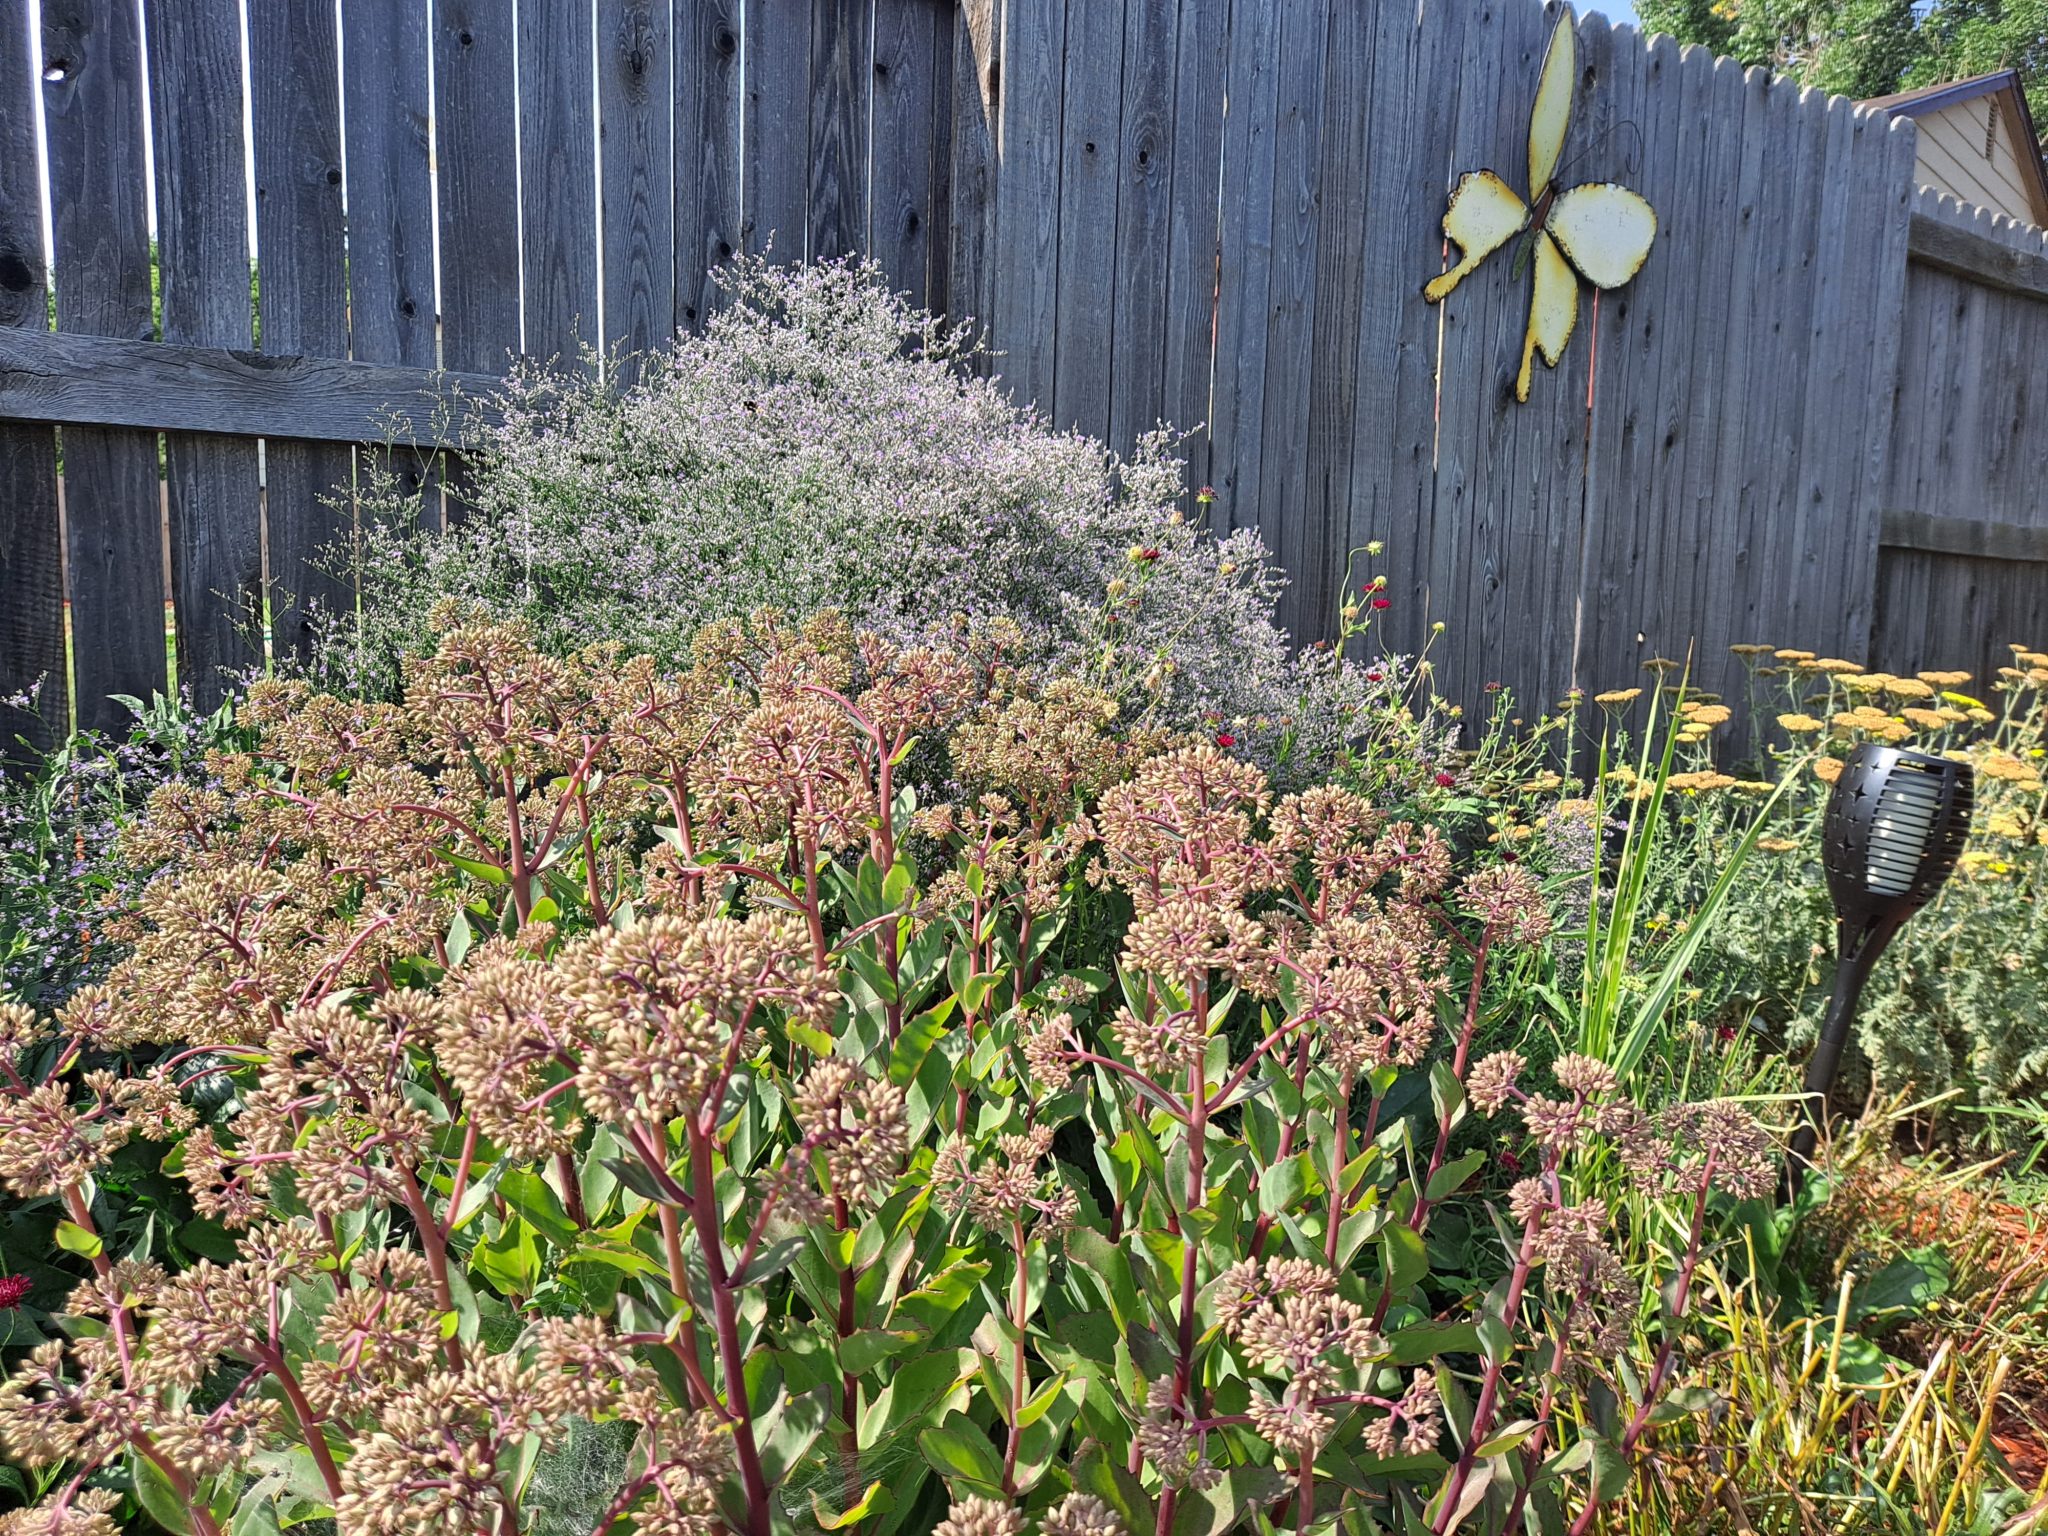
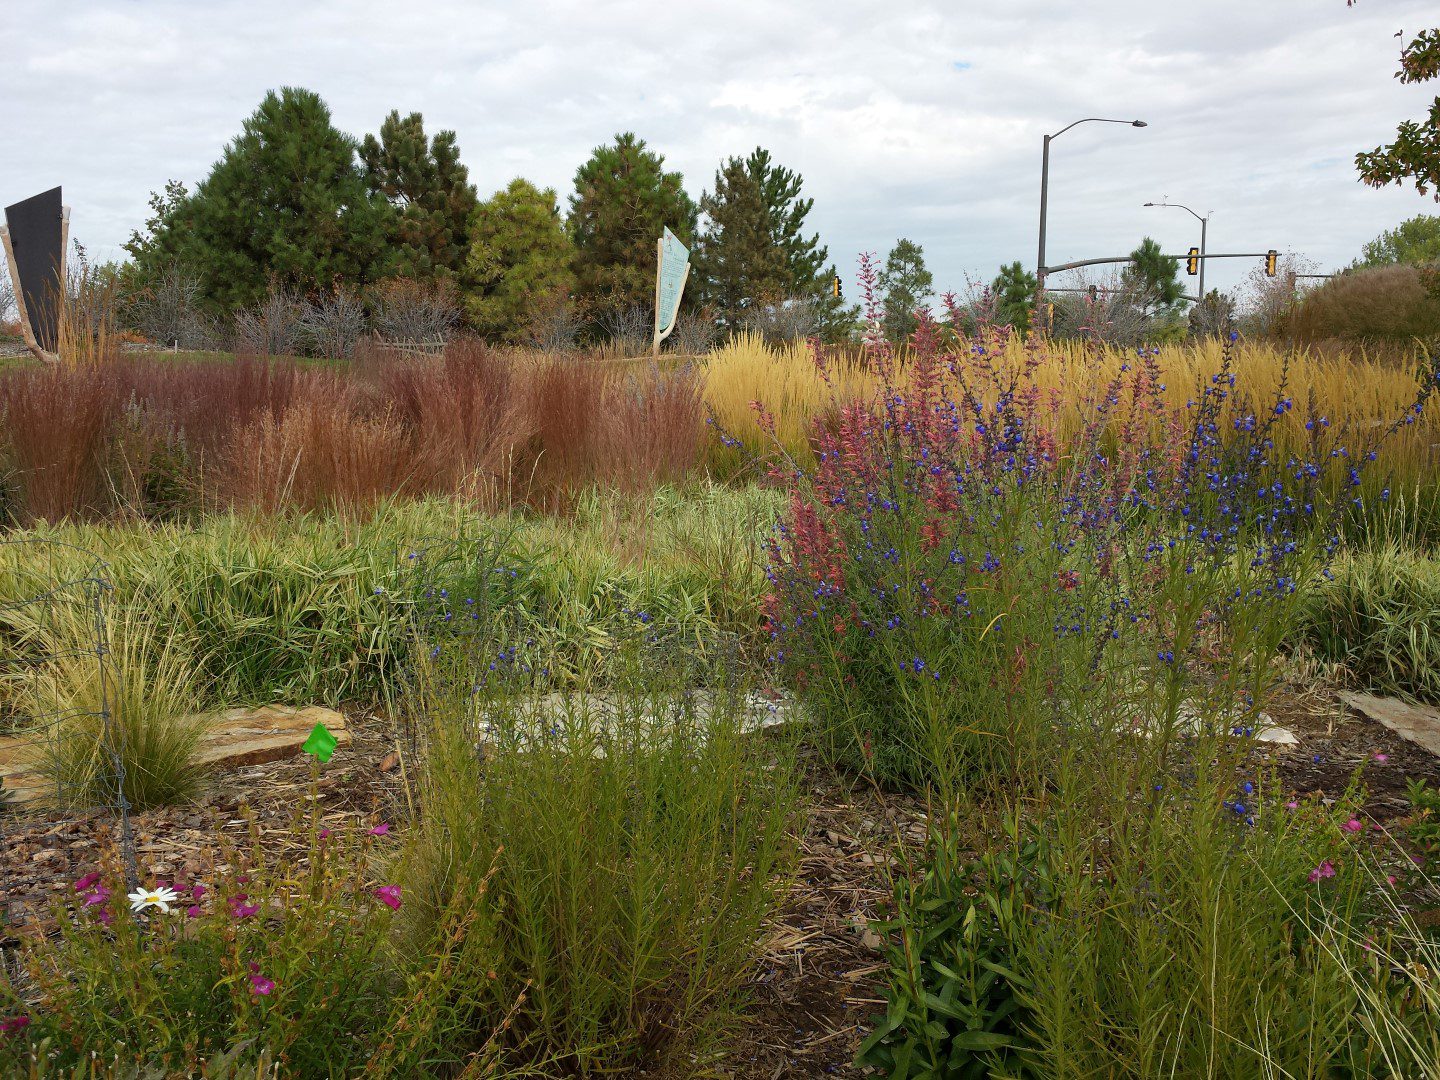
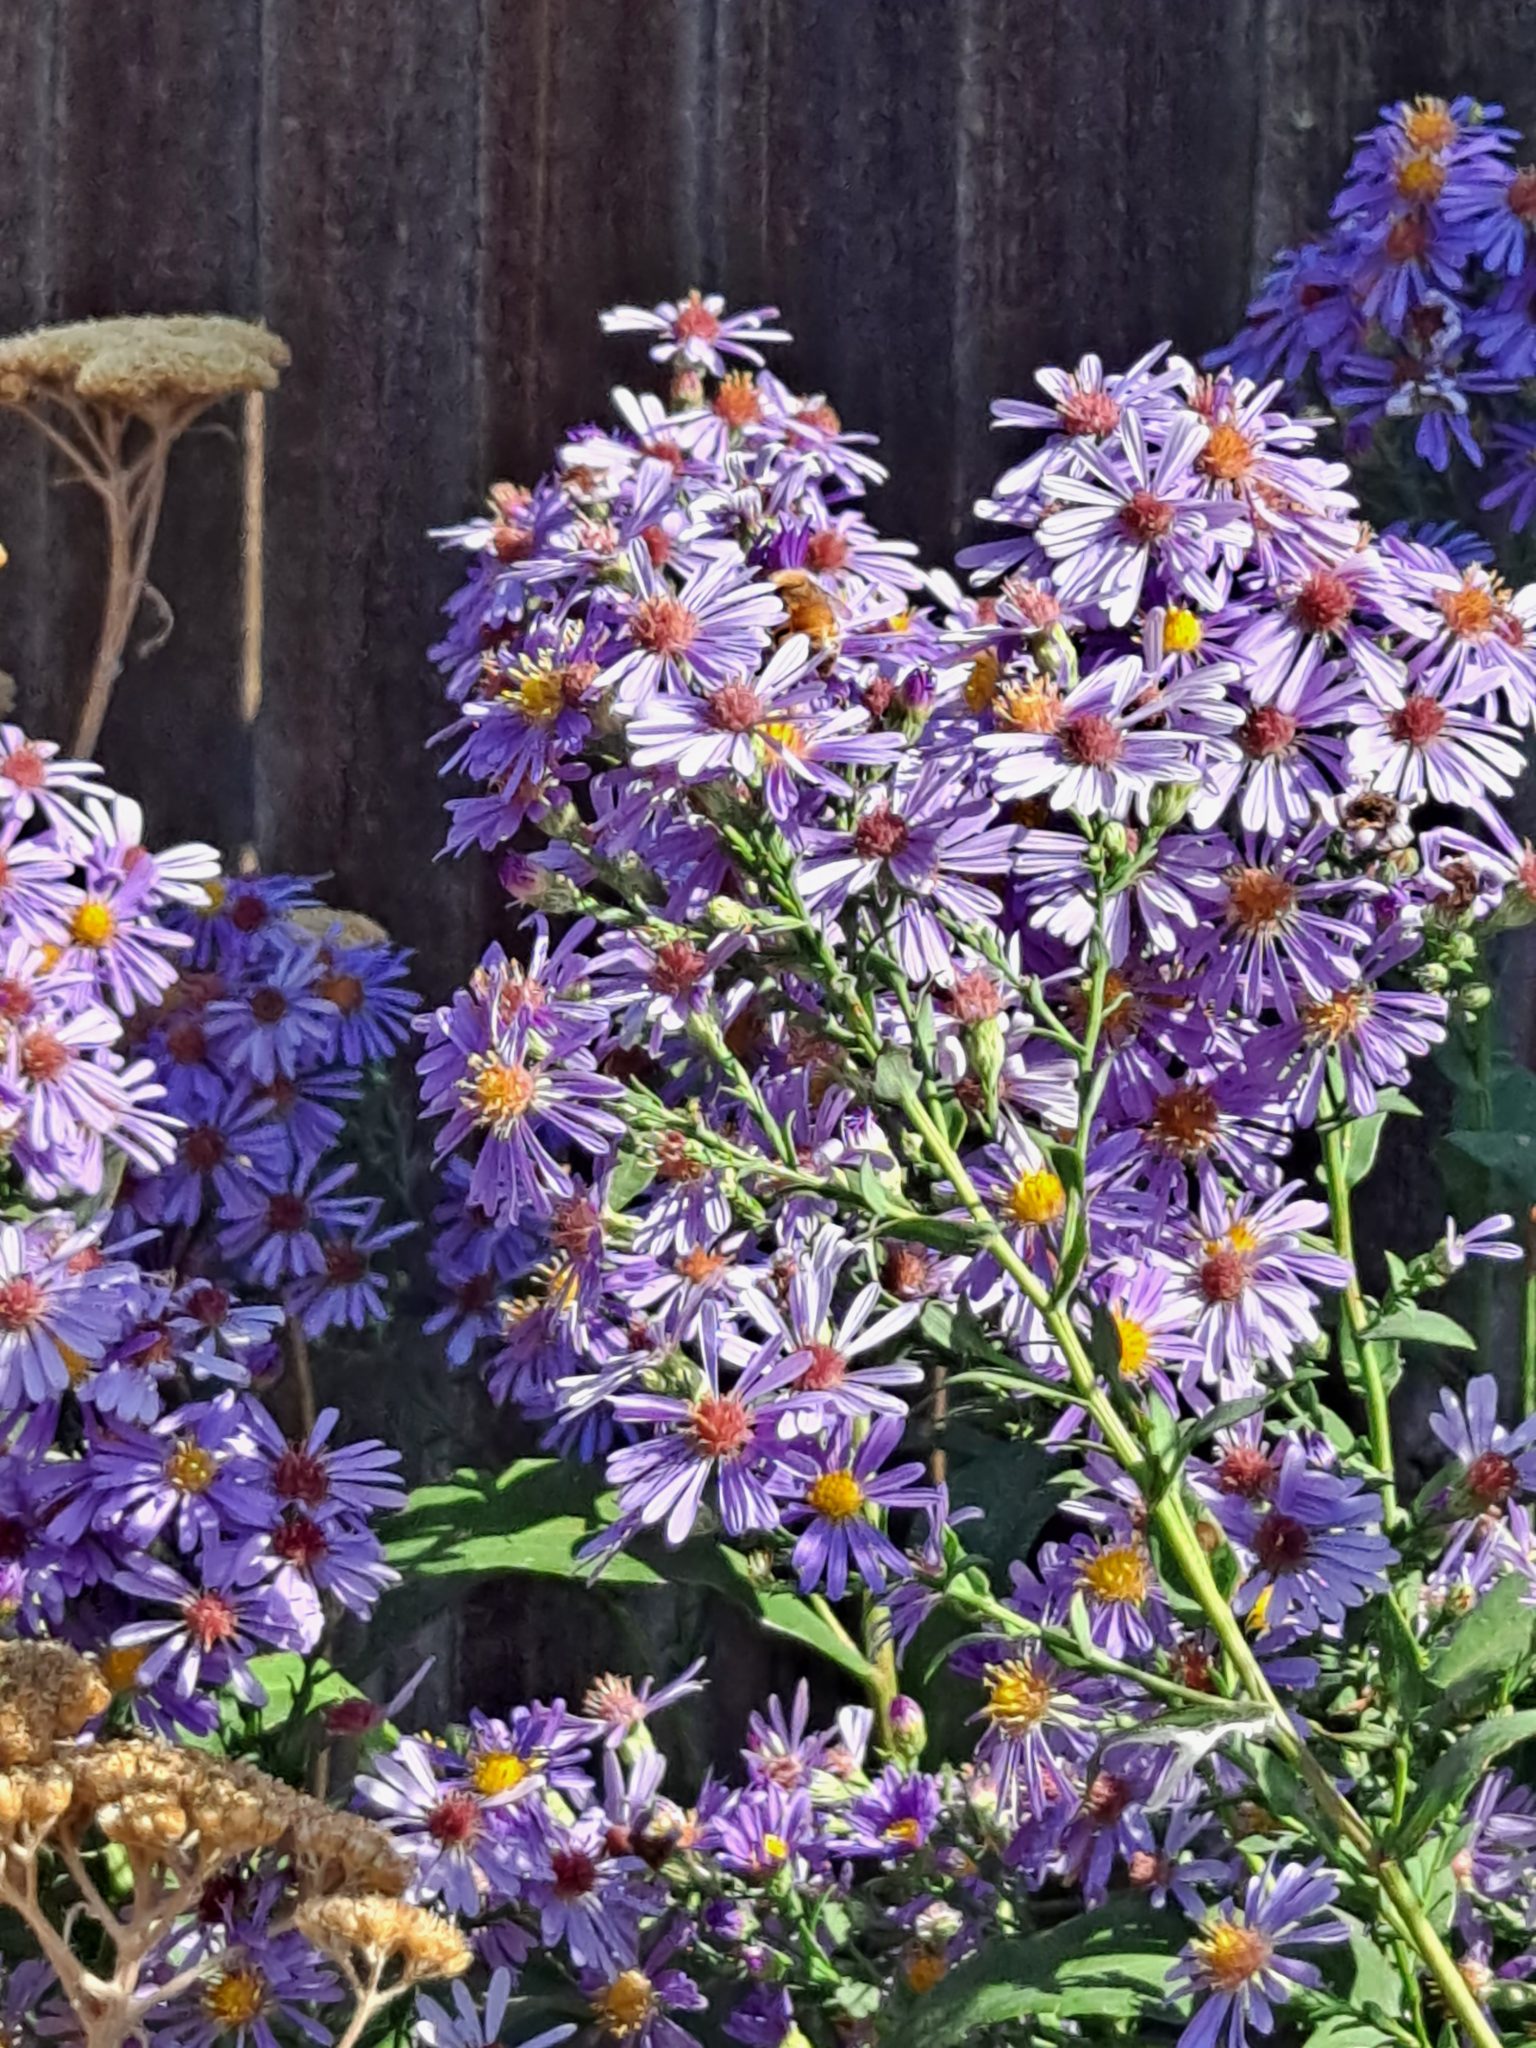
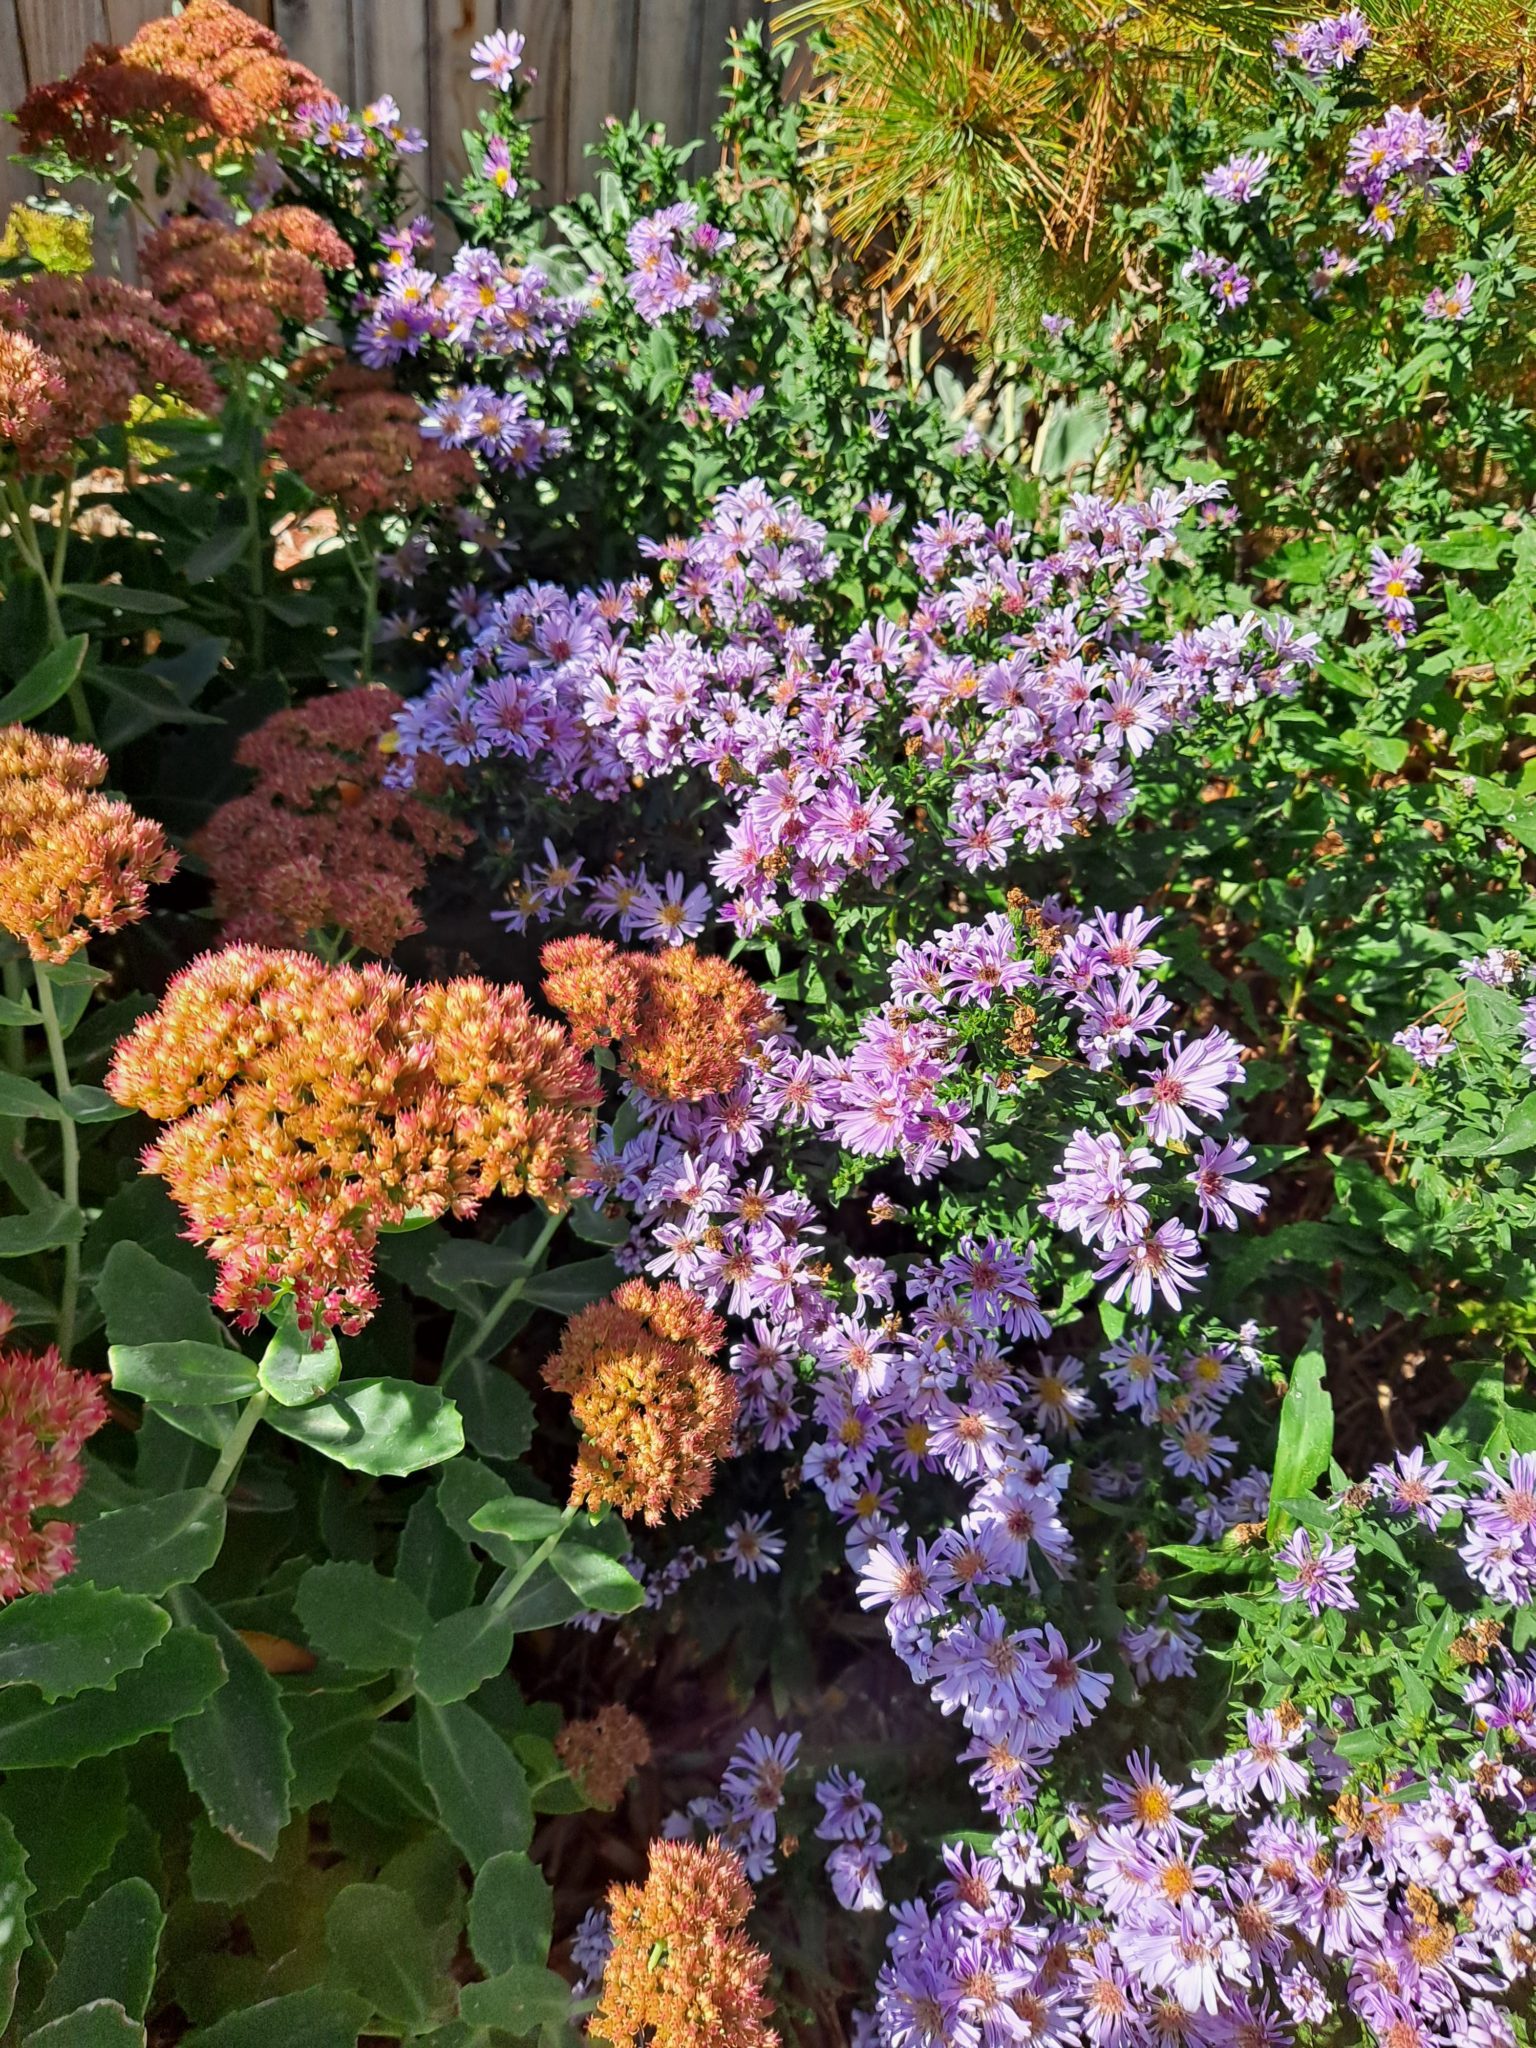
Thanks to diligent planning (and planting), the Vintage garden shines in late summer and autumn. Asters, goldenrods and sedums are flowering in colors that might have seemed gaudy earlier in the year. But thanks to the softer sunlight, the colors hues cooperate in perfect harmony. Plus, there is an audible quality to these plants; pollinators swarm of the flowers in such numbers that they make the flowers vibrate.
Grasses have set their plumes, and parts of the Vintage garden look a little like the prairie that it once used to be. And if the conditions are just right, some of the summer flowering perennials put on a new (albeit more sparsely) flush of blooms.
And some of these plants even put an autumn foliage display of their own. While these plants can’t compete with the giant blowtorch colors of nearby trees, they can add a subtle fire of their own down at eye level. Small shrubs such as viburnums, chokeberries, cotoneaster, and more add to show. Heck, even blue mist spiraea adds a touch of faded yellow to the mix.
The End of the Garden Year. Or is it?
Then comes the day, just like with the trees, when a storm or freeze comes along and ends the gardener year. But is it really? For you see, many gardeners view autumn not as the end, but as the start of the gardening year.
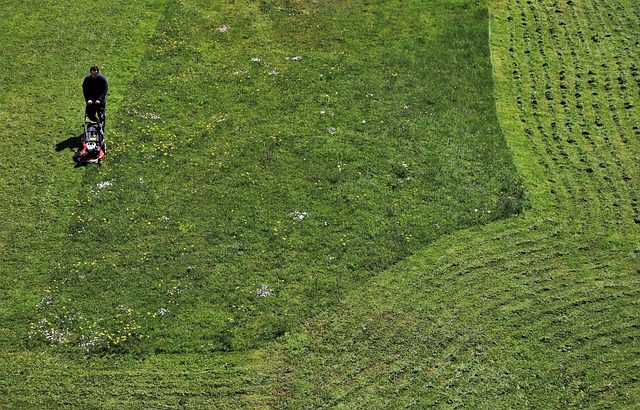
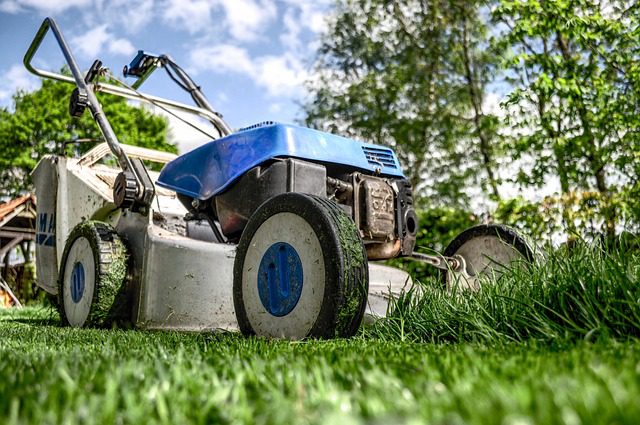
Consider this my friends: in autumn, we rake or mulch the fallen leaves off the grass, to ensure that they don’t matt down and kill the turf. We fertilize the grass with a winterizer in late fall to ensure a lush and healthy lawn come spring.
We cut down spent perennials and annuals that don’t provide winter interest to prevent diseases from overwintering in the old growth. Some veggie gardeners sow a manure crop, one that will slowly grow over the winter, to be turned over in spring to add nutrients to the soil.
We plant spring flowering bulbs in bare spots, so as when the temperatures warm again we will be cheered by their colorful blooms.
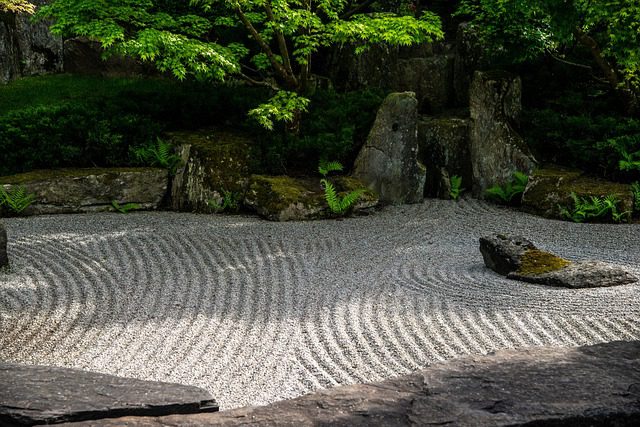
We clean, sharpen and oil our tools in preparation for the growing season ahead.
And of course, we intently study garden and seed catalogs over the winter, dreaming and scheming of big plans for the seasons ahead.
So be of good cheer my friends, while your garden (and its gardener) may go into hibernation soon, rest assured that the growing season is but a few short months away.