
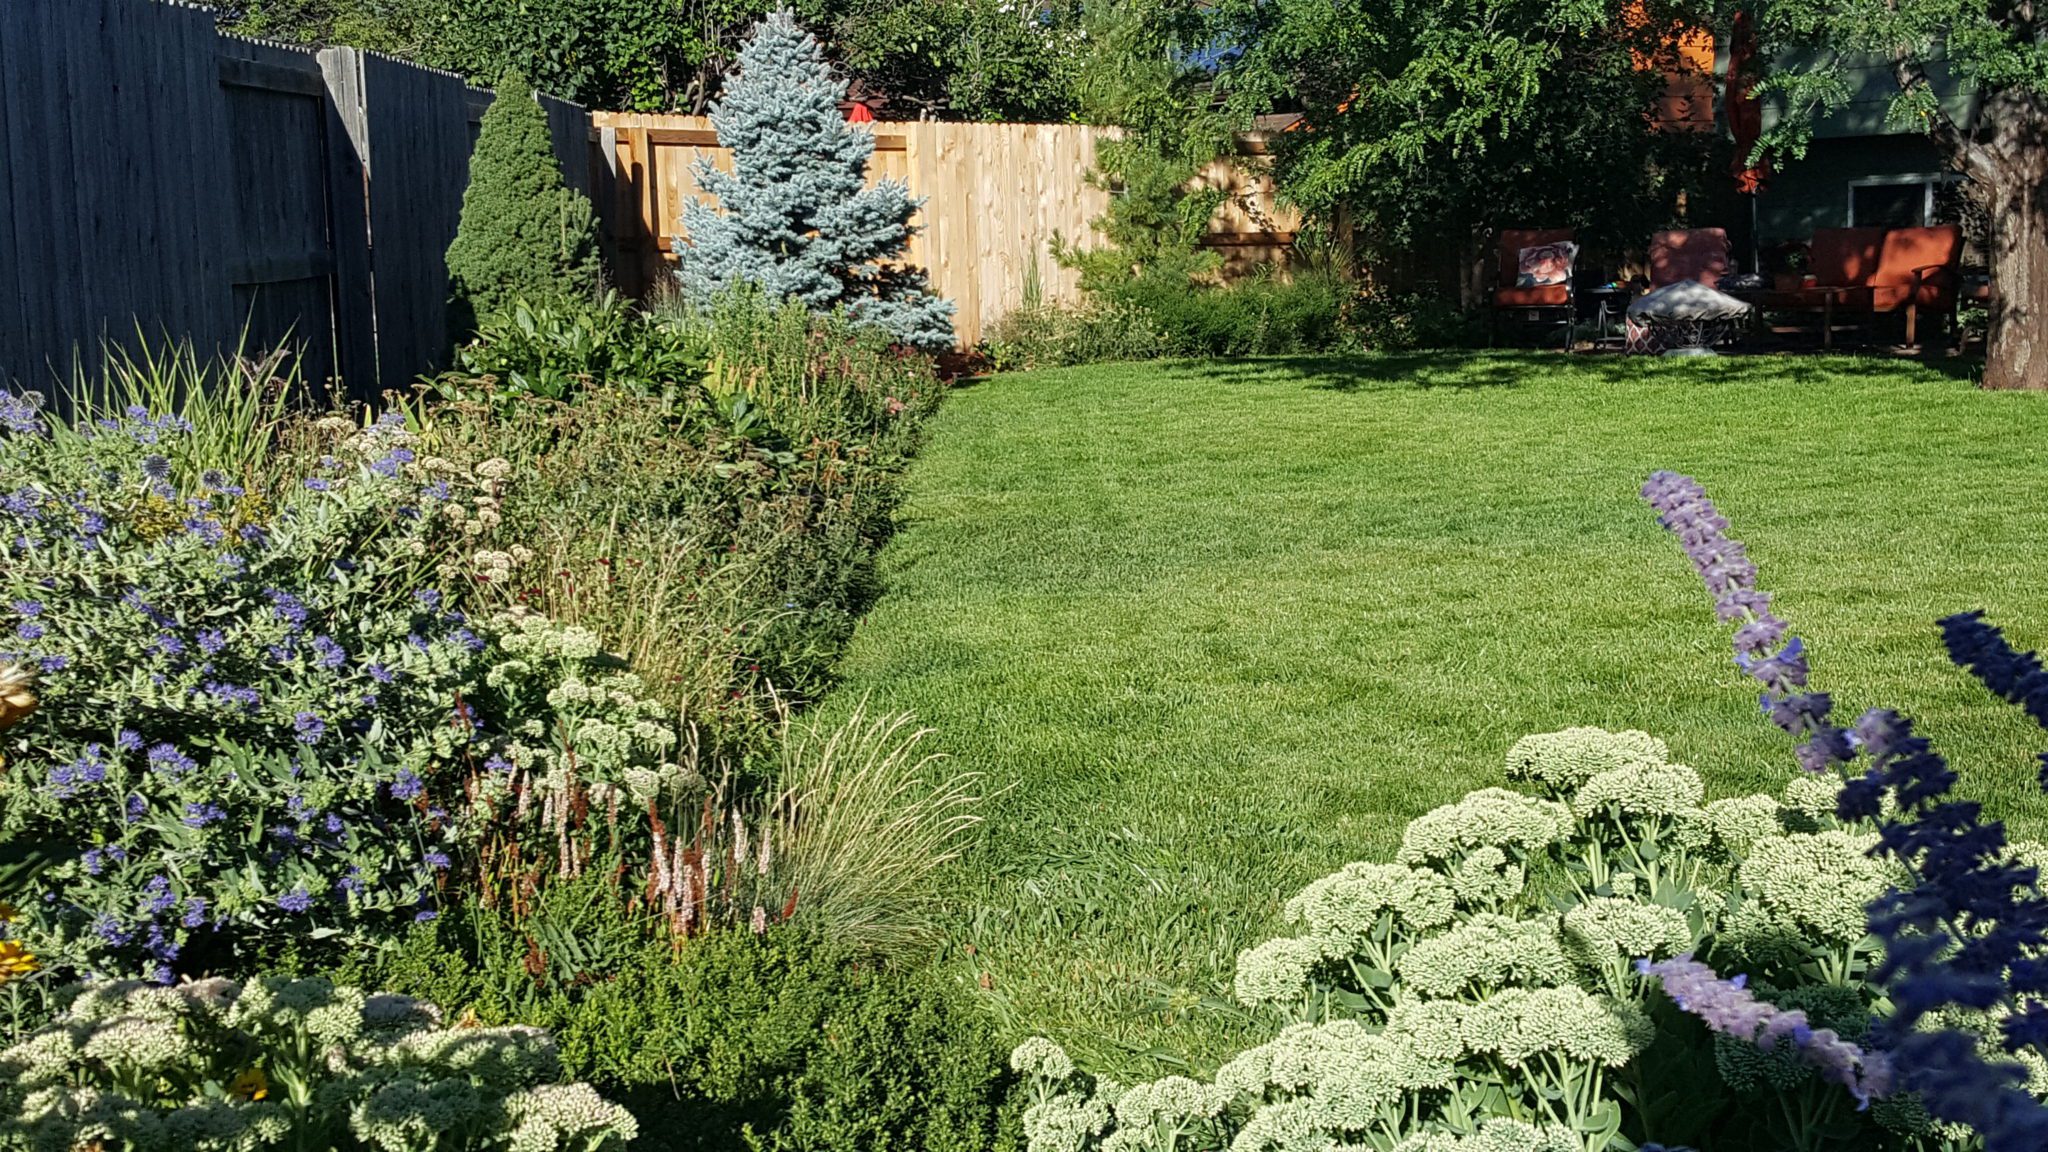
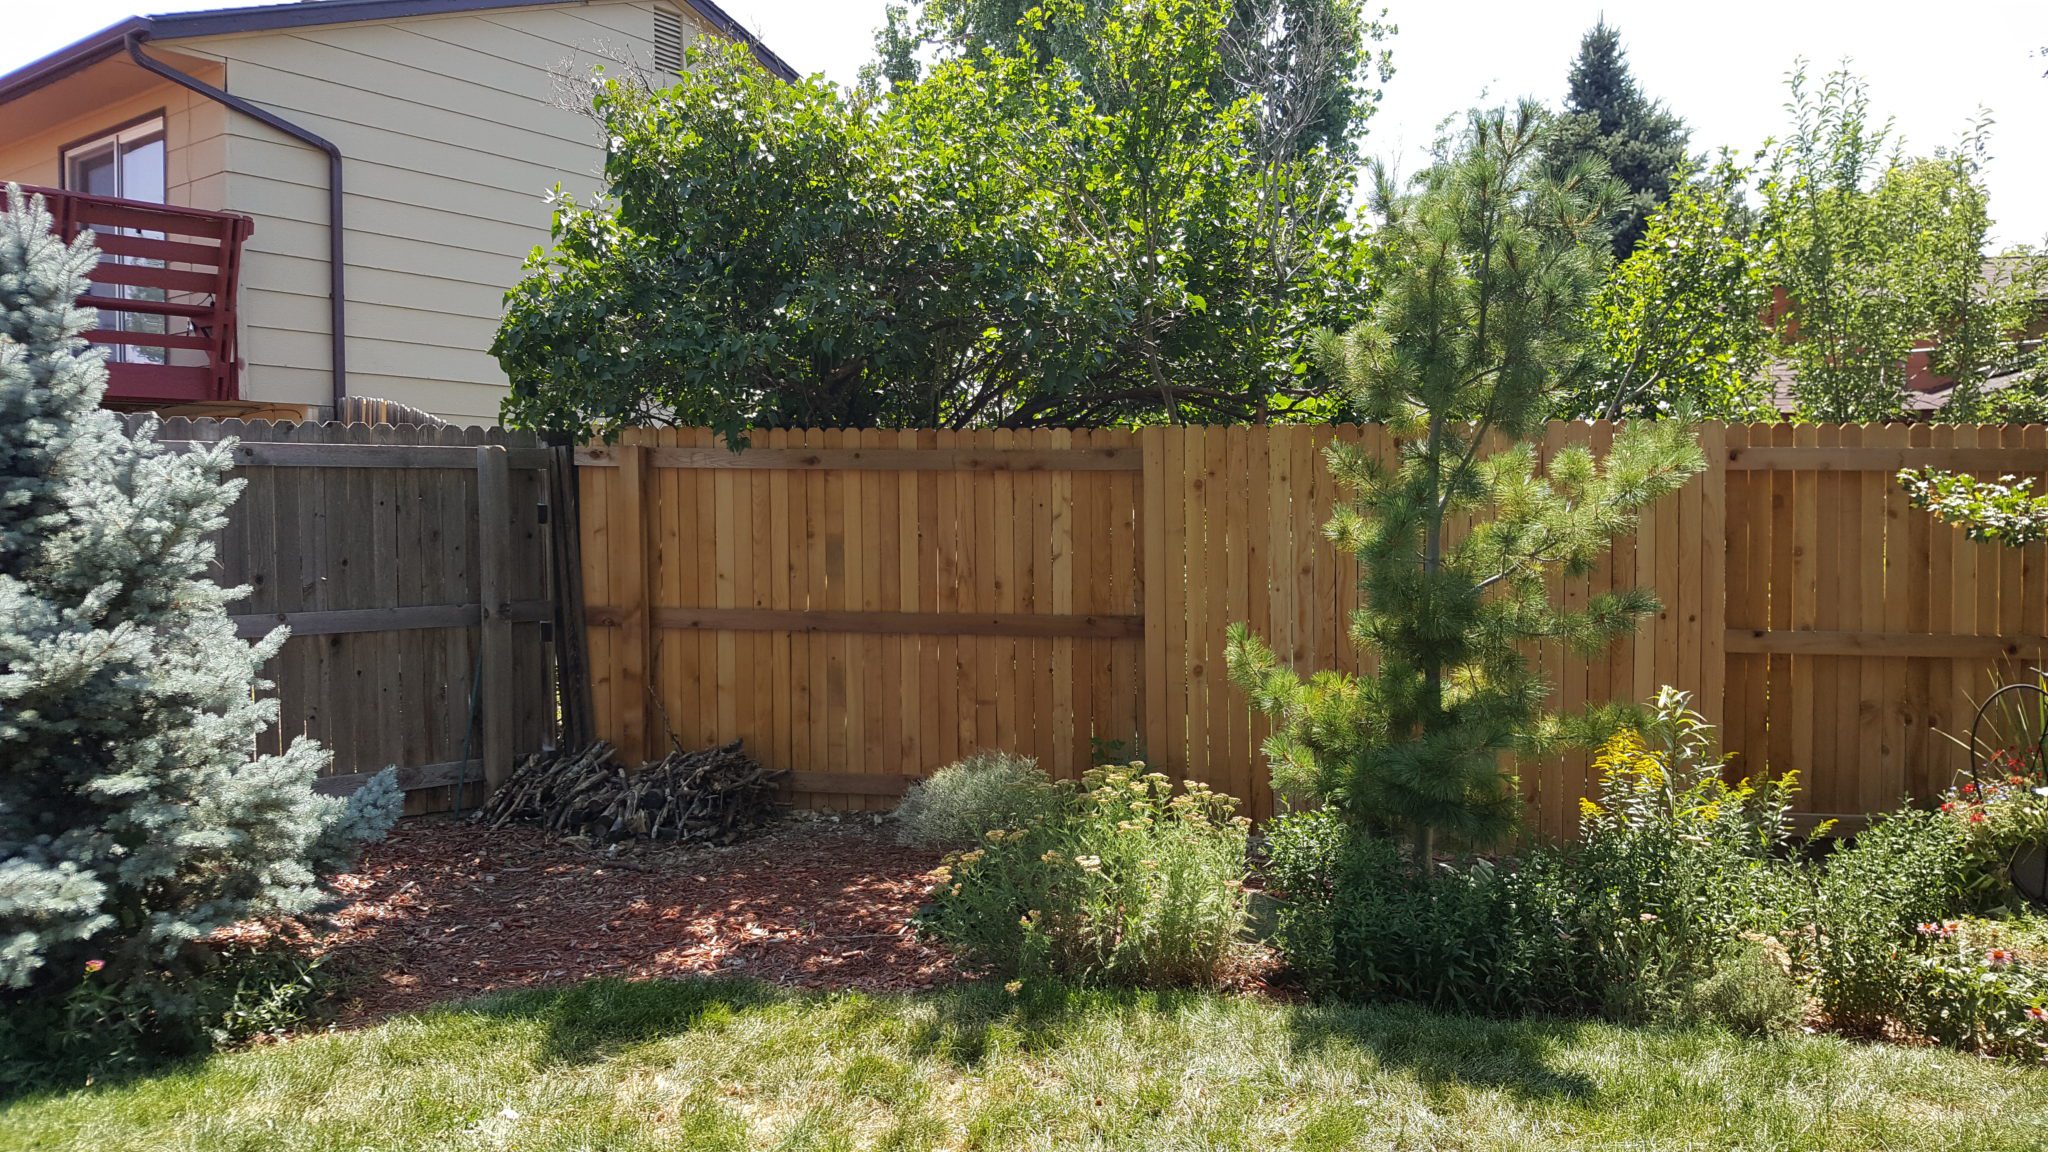
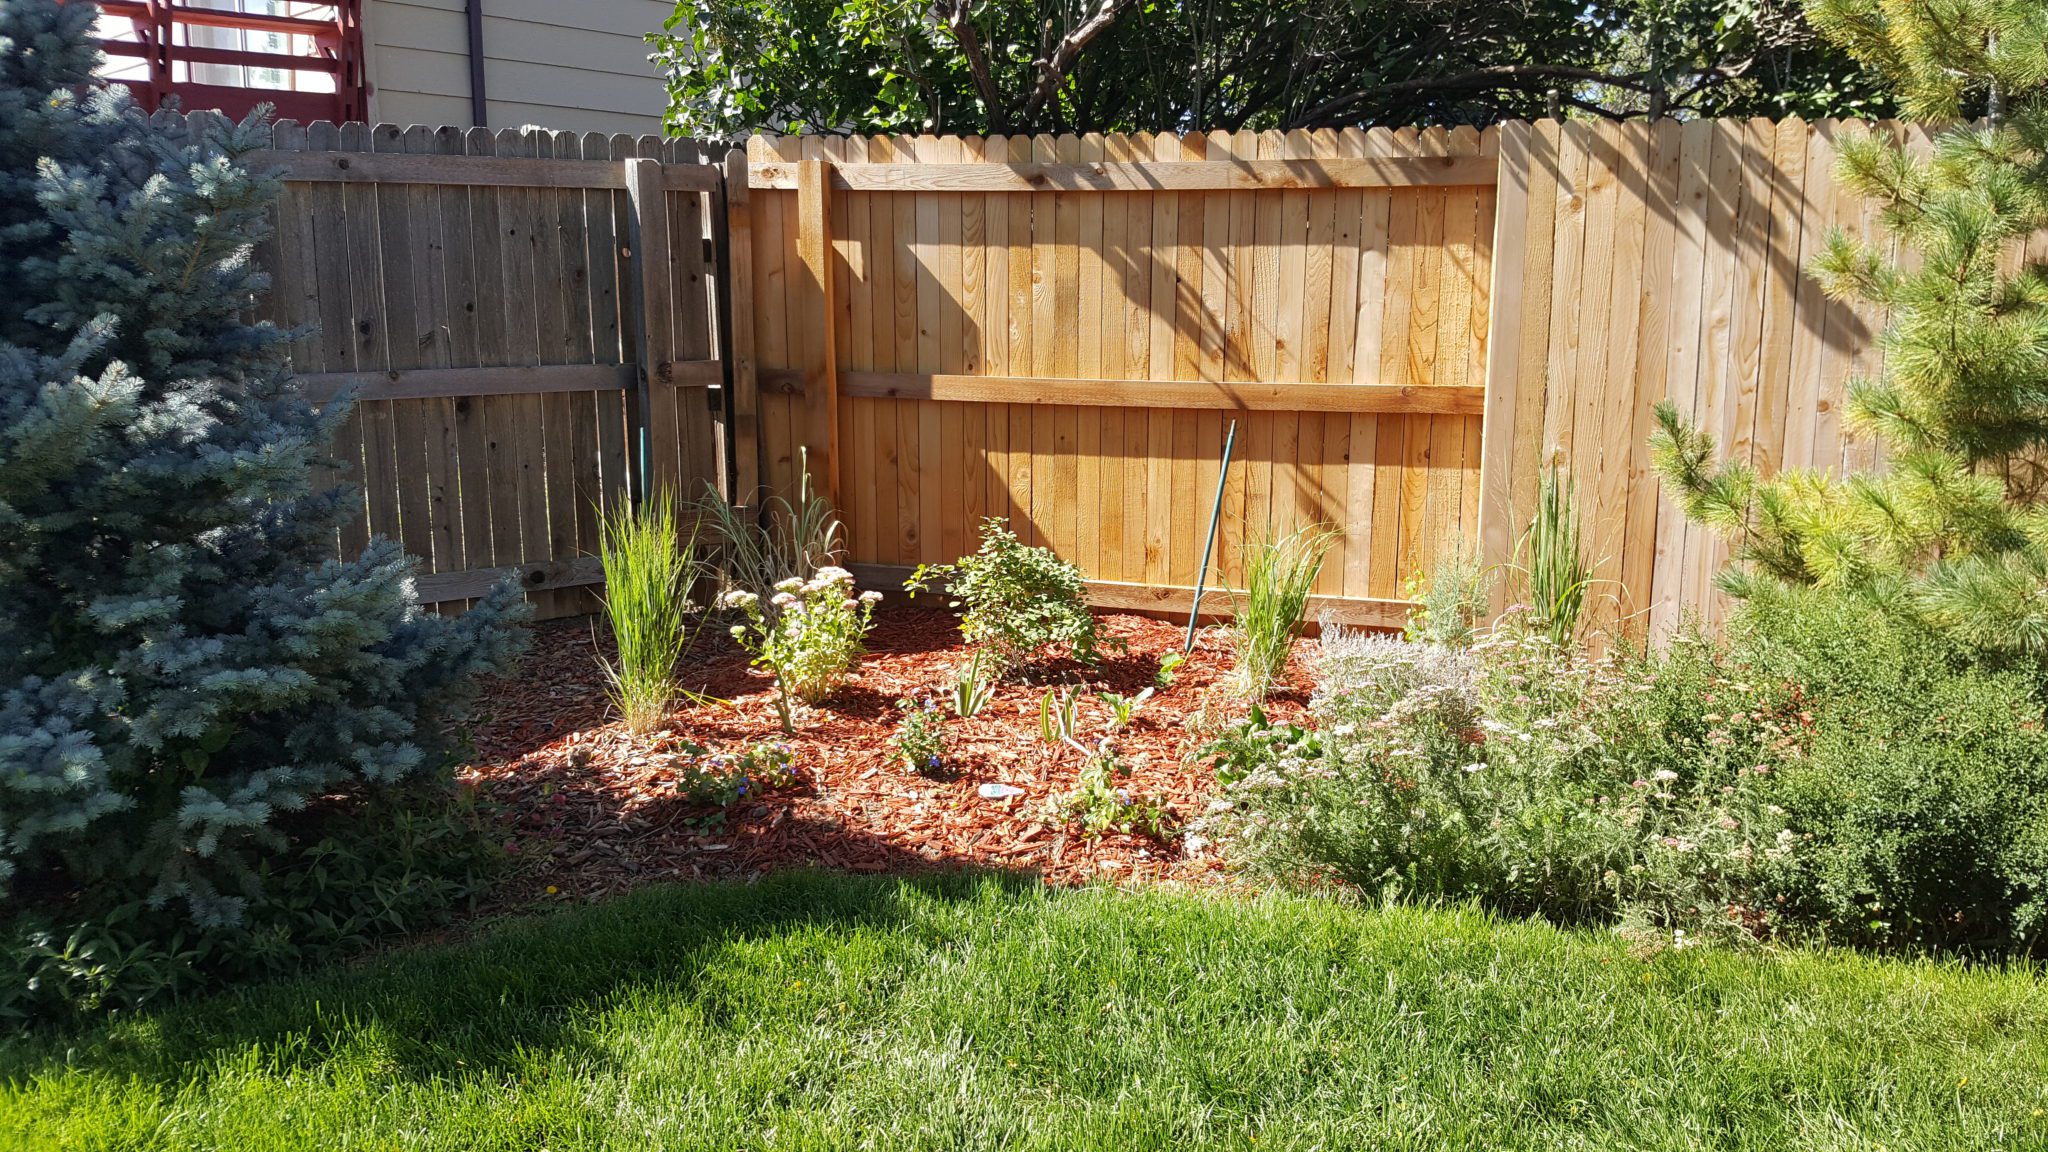
Earlier this summer Mrs. Vintage and I renovated a corner of the border garden. The section we fixed up had been an eyesore for quite a while. Instead of plants, the area had been home to a plastic shed and piles of firewood. Not only was it unsightly, it left a gap in the border. This gave the garden border the appearance of a smiling hockey player missing his front teeth. It simply broke the flow of the garden.
A hole in the flow
Rustic
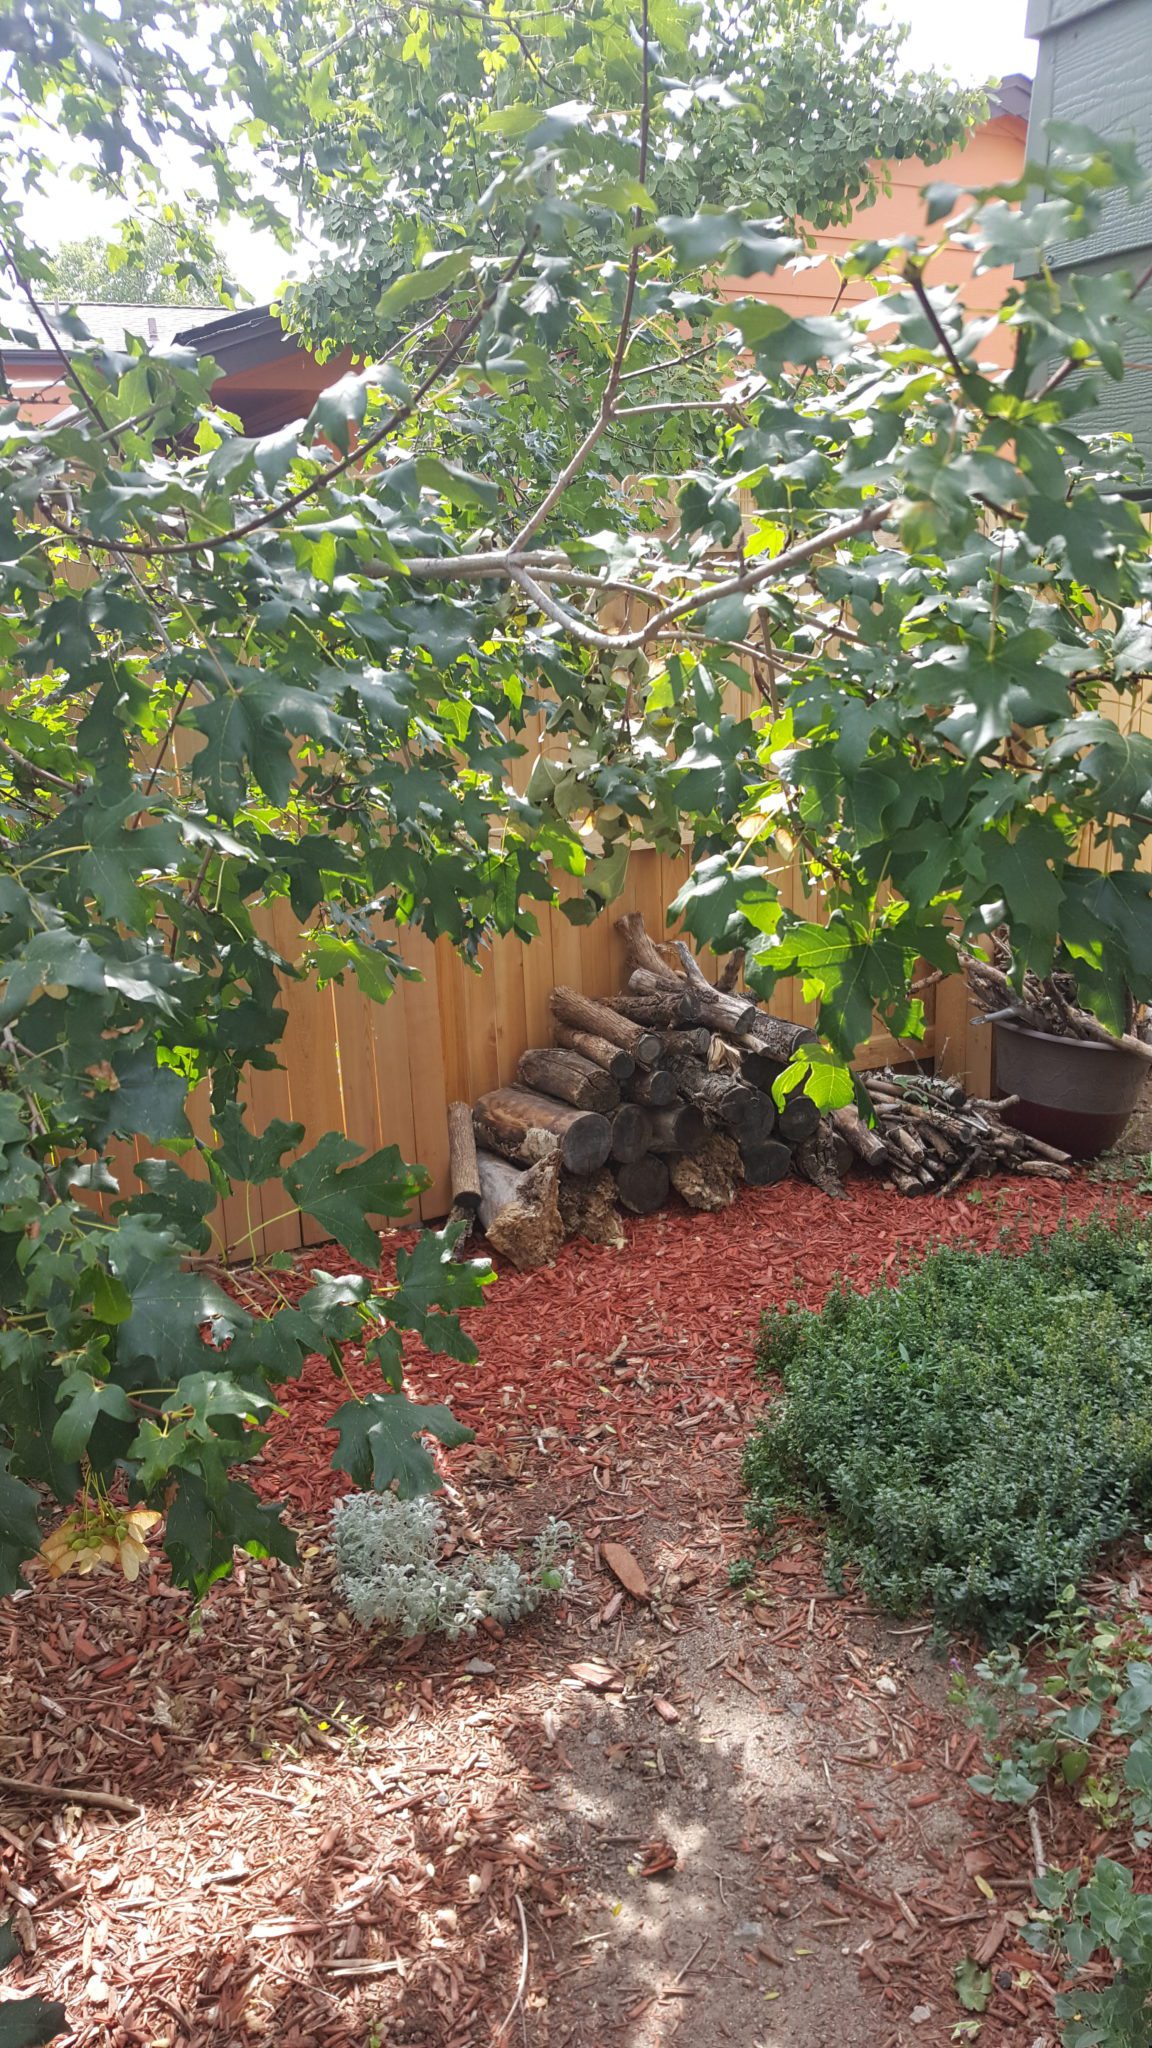
Mrs. Vintage came up with the idea of moving the plastic shed next to the big shed on the other side of the yard. Once that was accomplished, she cleaned out a secluded area to store the firewood. We then moved the firewood and stacked it neatly so now it has a kind of rustic appeal all of its own.
Then it was my turn to start thinking creatively. There was much pondering and creaking of rusty hamster wheels in ol’ MrVintageMan’s head.
You see, you can’t just plop plants in a border garden and expect it to work. There has to be a certain continuity or else the border can end up looking like a jumbled hodge-podge of mis-matched plants. To make a border work, you need to somehow tie the garden together.
I’ll get to how I tie mine together in a minute, but I want to show how some of the best gardens use what are called “sweeps” of plants. Sweeps are large sections of the same plant used in a specific area, usually in a sweeping motion. This is a way to mimic nature. Look at a wild field: water loving plants cluster around streams and waterways, while the drier areas might be more sparsely settled by grasses and/or cacti. Plants settle into zones that are best suited for their temperament. See the picture below for an example:

Example of garden sweep
Credit: Chicago Botanical Gardens
Paul James, the host of HGTV’s “Gardening by the Yard”, had an enormous section of his landscape devoted to hundreds of the same type Hosta. It was visually arresting. I wish I could find a picture of it.
I, on the other hand, do not have the room for this type of landscape feature.
In addition, I am something of what is called a plant collector. I pick plants that probably don’t belong together, such as a pink peony next to a yellow yarrow. I see a plant that looks cool and think “ooh, that would be cool in the Vintage yard”. Taken to an extreme, a collector’s garden can look more like a Jackson Pollack painting than a Van Gogh.
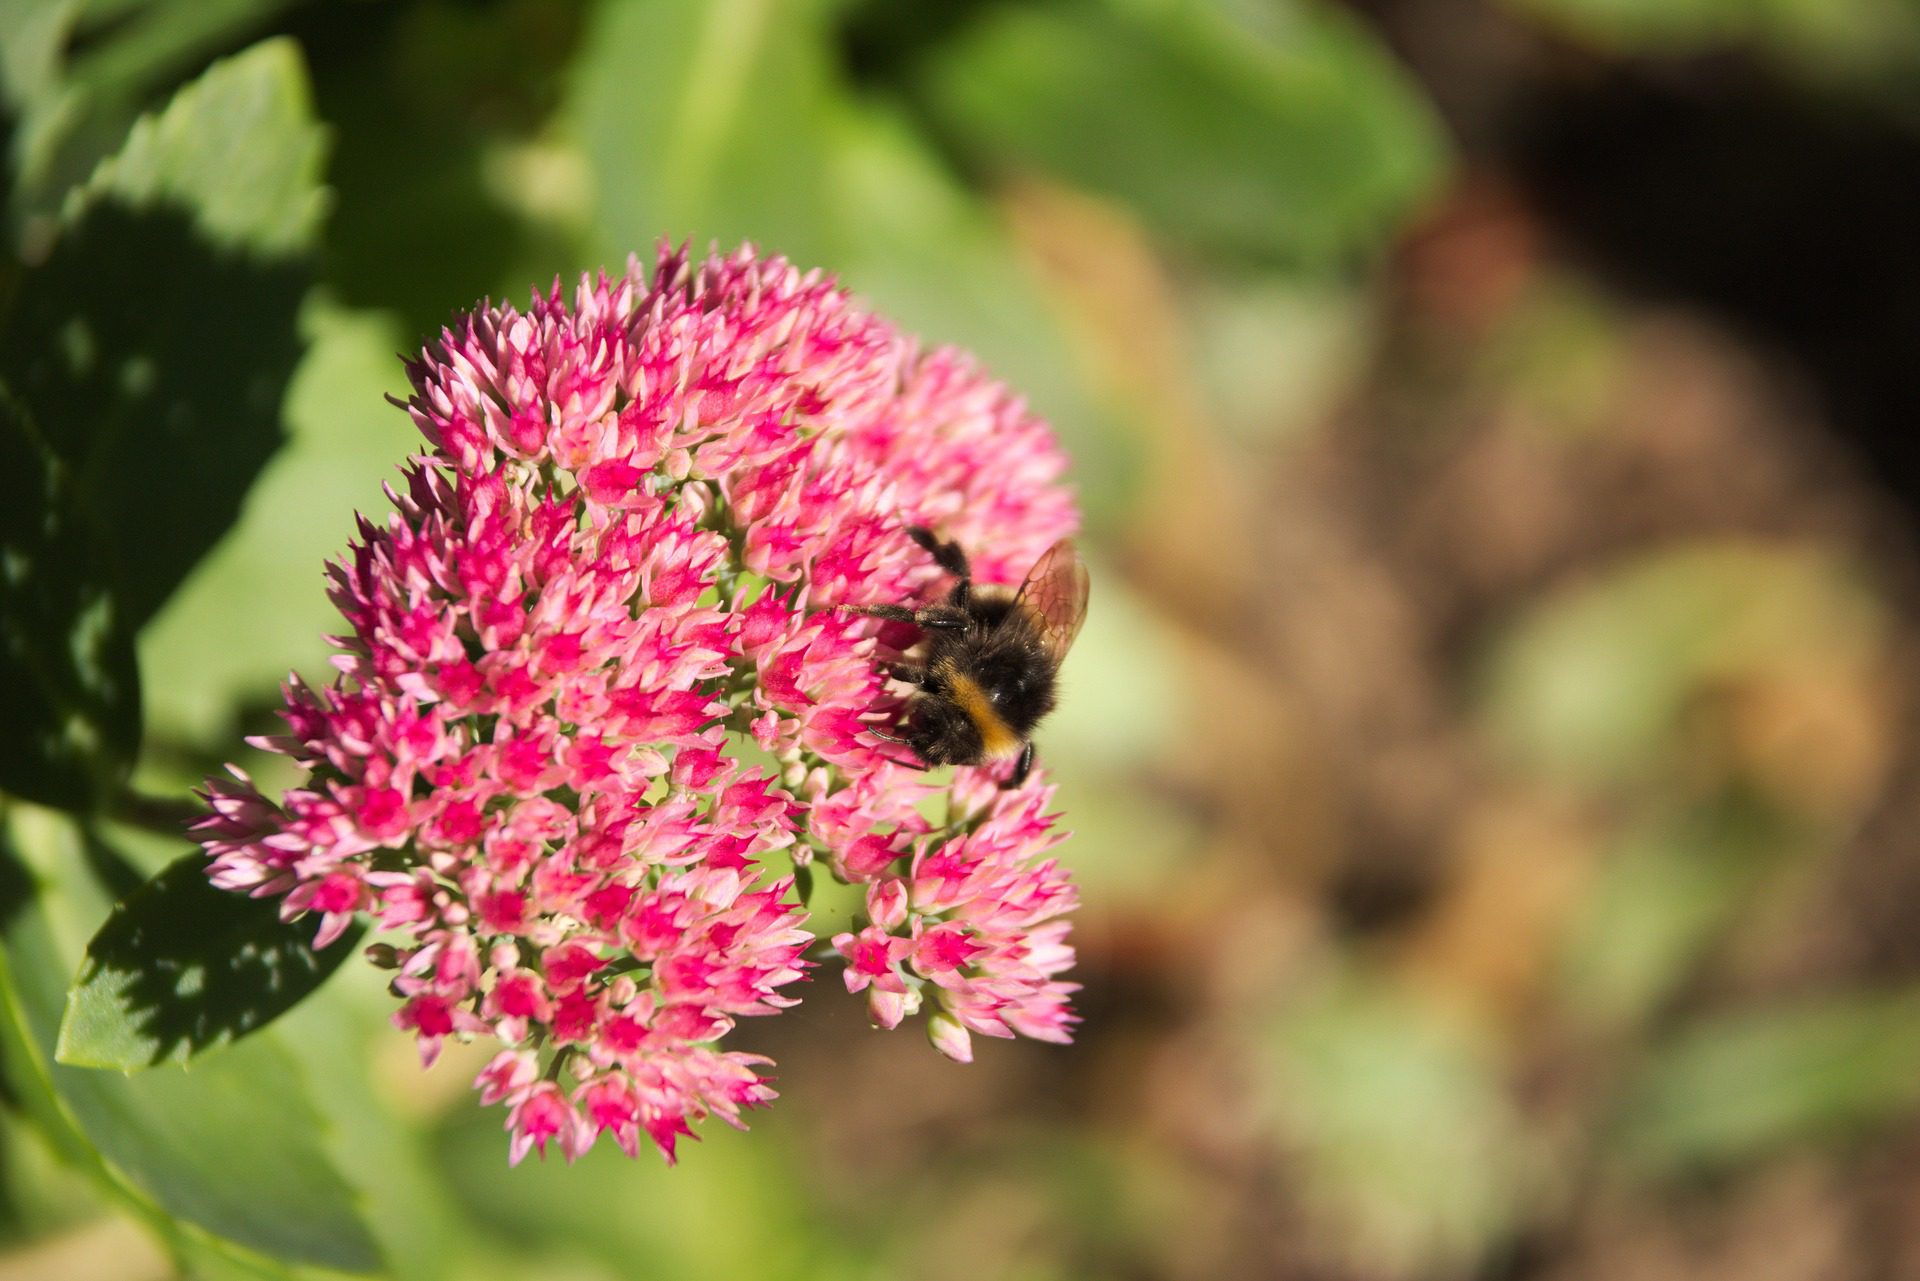
Sedum “Autumn Joy”
So how do I make my border flow? Simple, I use one or two plants of similar shape throughout the garden. The eye sees repeated plants as it travels the border, giving the brain an impression that there is in fact a sweeping motion.
I use ornamental grasses or grass-like plants, such as iris’s and daylilies, throughout the border to create this effect. I also use tall sedums, such as “Autumn Joy” and “Matrona”, to help with the effect as well.
This reoccurring plant palette gives the border cohesion; or to say another way, it “ties the garden together”.
When I began making plans for the new area, the first thing I had to decide is what plants would I use to tie the new section in with the rest of the border. I ended up using both grass/grass-like plants and tall sedum combined. I put in two types of ornamental grasses: a Miscanthus “Zebra” grass and three “Northwind” switch grasses. When Mrs. Vintage cleaned up the area for the firewood, she gently removed some iris’s that weren’t doing too well there. I separated the rhizomes and planted a few of them in the new area as well.
The sole sedum is “Autumn Fire”, which is similar to “Autumn Joy” sedum, but will turn a brighter shade of red in the fall.
With that, the rest of the plants fell into place. A Birchleaf Spirea, a couple of transplanted Brunnera, several Plumbago (also known as “leadwort”) and a few Columbines went in. I mail ordered a couple of “Harrington Pink” asters, which will be delivered in September. Those poles you see in the pictures are where the asters will be placed.
In a year or two the plants will reach their mature size and will mesh with the rest of the garden. The gap will be no more.
Now I just need to give the area a little TLC (and water) and in a year or two the gap-toothed effect will be gone. The “flow” be will be complete, and order will be restored to the galaxy.